Washi Tape Ideas: Thanksgiving Vase Craft + More
THIS POST MAY CONTAIN AFFILIATE LINKS. PLEASE SEE OUR FULL DISCLOSURE POLICY FOR DETAILS.
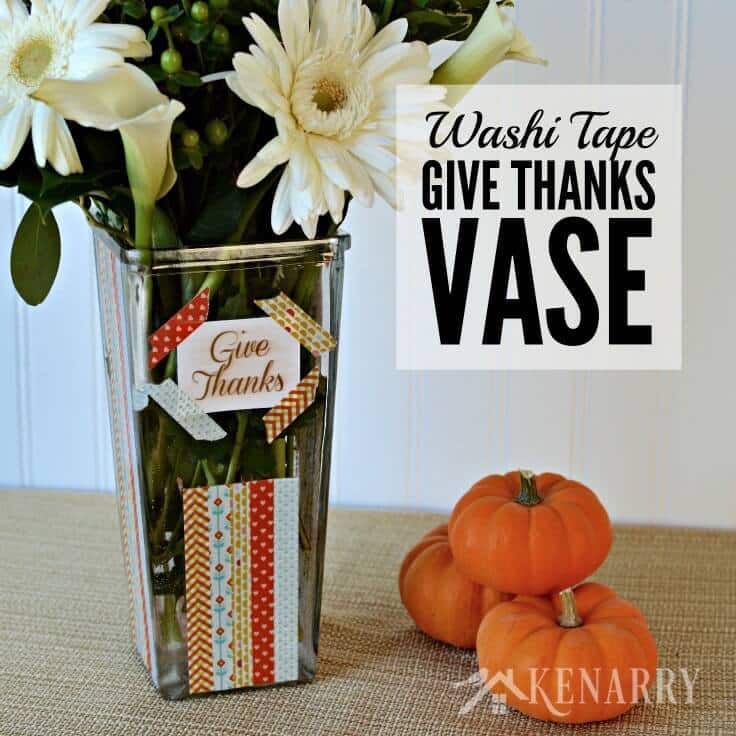
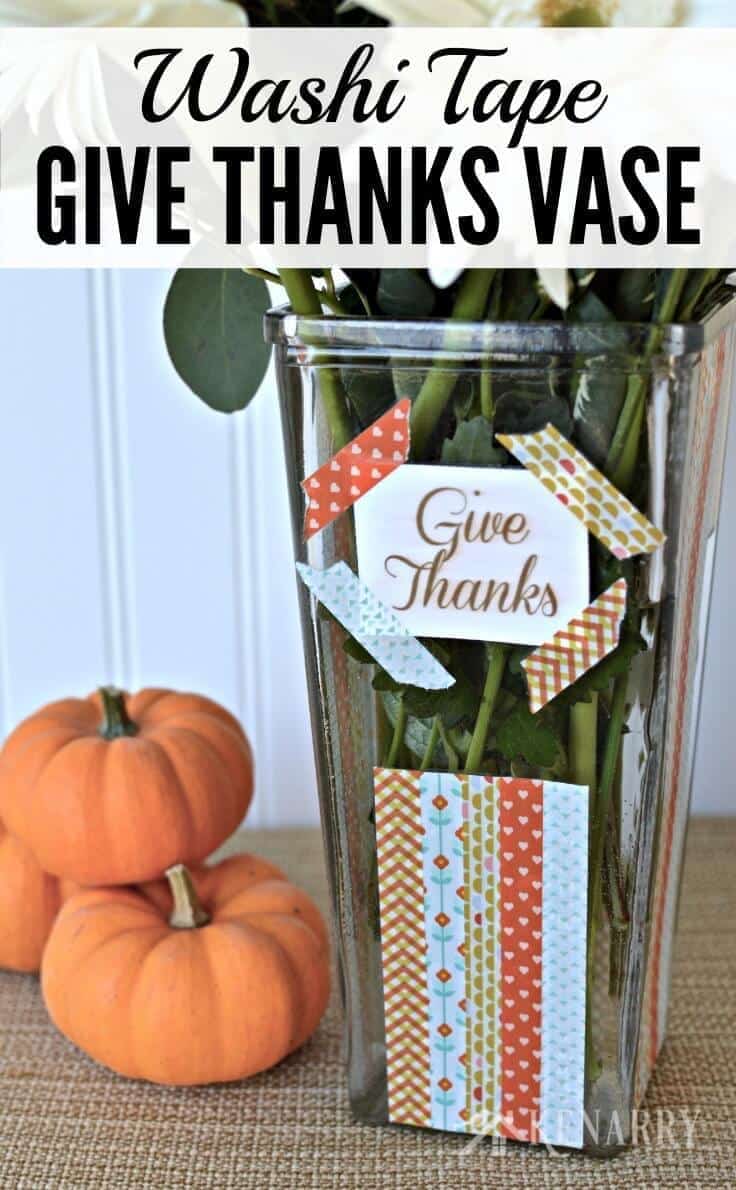
Today we’re sharing how to make a washi tape vase for Thanksgiving plus you’ll learn where to get tons of other washi tape ideas.
Have you seen all the colorful washi tape at craft stores, but wondered what to do with it? Today I want to tell you about an incredible resource where you can find tons of great washi tape ideas, plus learn tips and techniques on how to actually use it.
I’m also sharing a colorful washi tape vase you can make for Thanksgiving in less than an hour. Prepare to be inspired! After today’s post, you’re going to want to run out and buy several rolls of washi tape.
Disclosure: We received a complimentary copy of Washi Tape Crafts, a new book by Amy Anderson to review. No other compensation was provided, however this blog post also contains affiliate links for her book and other products or services we think you’ll like. This means if you make a purchase from one of these links, we’ll make a small commission at no additional cost to you so we can keep the great ideas for the home coming your way. All opinions expressed are our own, derived from our personal experience.
Washi Tape ideas
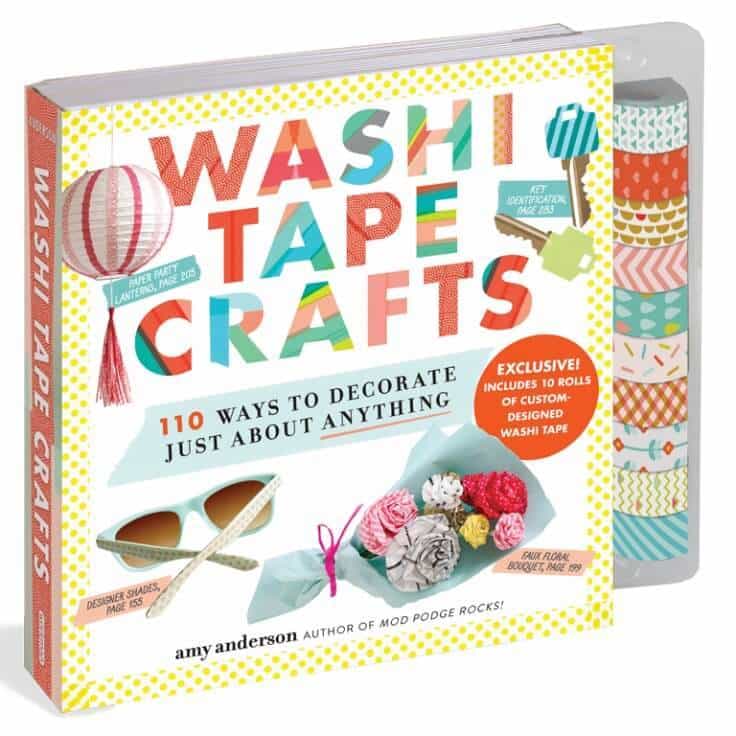
Earlier this summer, we featured Amy Anderson in the Summer Spotlight. Amy is the creator of washitapecrafts.com, modpodgerocksblog.com, and the author of Mod Podge Rocks! She always has brilliant craft ideas, so I was thrilled when she asked me to review her latest book, Washi Tape Crafts: 110 Ways to Decorate Just About Anything. The book is so fun and actually packaged with ten rolls of washi tape (18 feet each) in custom-designed patterns made especially for this book. It’s incredibly cute, compact and useful — a perfect stocking stuffer for a craft lover in your life!
I don’t know about you, but I’ve been admiring washi tape at craft and department stores for several years. There are so many fun colors, styles, and patterns available, it’s almost overwhelming! I never bought any though because I wasn’t sure what I would actually do with it.
Thankfully, Washi Tape Crafts includes color photographs and step-by-step instructions for 110 different washi tape ideas including one-of-a-kind gifts, home decor, jewelry, holidays and other celebrations.
What I really appreciated though is that the book includes more than just washi tape ideas. Amy also teaches key techniques like precision tearing, wrapping, weaving, how to make bows, flowers and other shapes plus how to seal and weatherproof designs to make them more permanent.
Washi tape on DIY home decor
I couldn’t wait to make a project of my own using some of Amy’s washi tape ideas after reading her book. One of the washi tape ideas Amy shares is how to decorate a vase using vertical strips of washi tape up the sides.
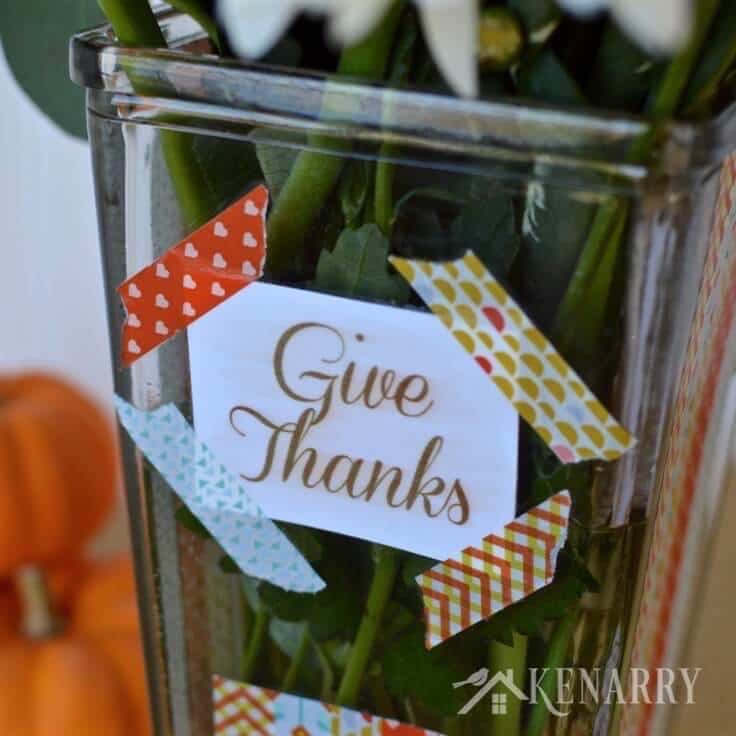
With Thanksgiving coming up soon, I decided to put my own spin on the idea by adding a “Give Thanks” message and a special inscription for someone I’m especially thankful for this year – my dedicated Bible study leader and faithful friend, Erica.
Washi Tape Ideas: How to Make a Thanksgiving Vase
Making a Thanksgiving vase using washi tape is incredibly easy. I’ve got to be honest until I read Amy’s book and played around with the washi tape that comes with it, I had no idea washi tape was removable, let alone how remarkably easy it is to use.
It seriously takes less than an hour to make this Thanksgiving vase, not including the drying time for Mod Podge used to seal it.
What You Need:
- A clear vase with flat sides
- Rubbing alcohol
- Cotton balls
- Washi Tape Crafts by Amy Anderson – If you want your Thanksgiving vase to look just like mine, you need the washi tape that comes with Amy’s book.
- X-Acto knife
- White cardstock
- Access to a color printer
- Scissors
- Mod Podge, matte finish
- Paintbrush

Instructions:
Here are the super-easy instructions. Anyone can follow this tutorial, even kids. This is a fun craft you can do as a family.
1. Wash the Vase
It’s important to start with a clean surface that’s free of dirt or lint. Wet a cotton ball with rubbing alcohol and wipe down the outside and inside of the base. The alcohol will evaporate and dry quickly so you can move to the next step.
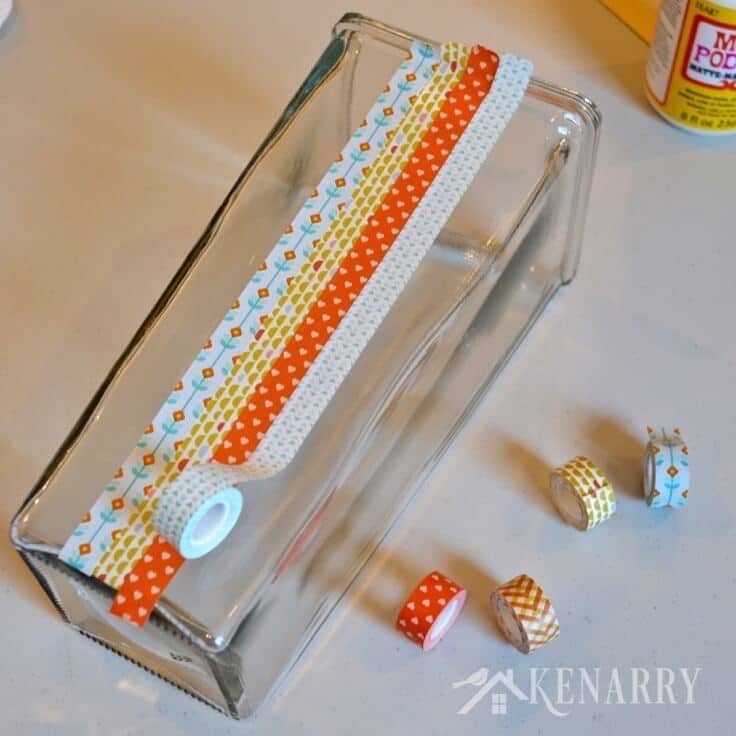
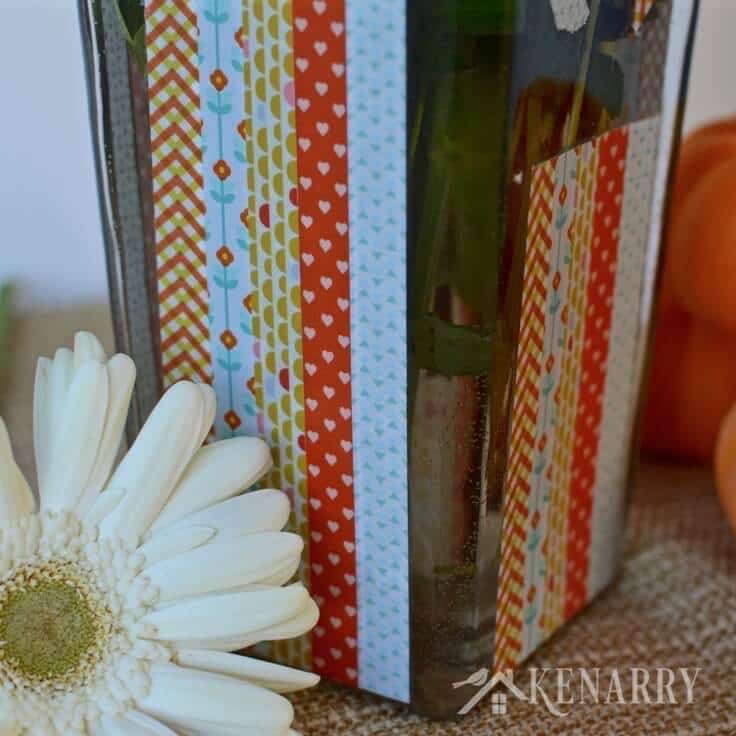
2. Cover the Vase in Washi Tape
Run washi tape vertically down the sides of the vase. For mine, I used five different complementary colors/patterns that came with the Washi Tape Crafts book. Y
ou can measure if you want, but I just eye-balled it to determine where the center of each side was. Don’t worry about getting the ends even or perfect. You’ll trim them in the next step, so just rip the washi tape or cut it with scissors when you’ve gone the entire length of the vase. Repeat with any remaining colors or patterns of washi tape on two more sides of the vase.
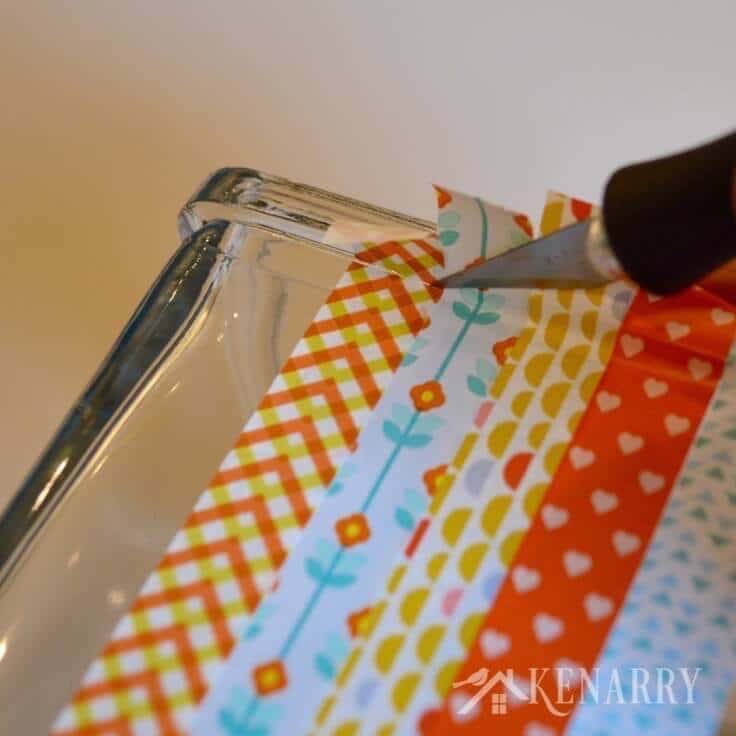
3. Trim the washi tape
Use an X-acto knife to cut a straight line along the top and bottom of the washi tape on each side of the vase. The washi tape scrap ends should then be really easy to remove.
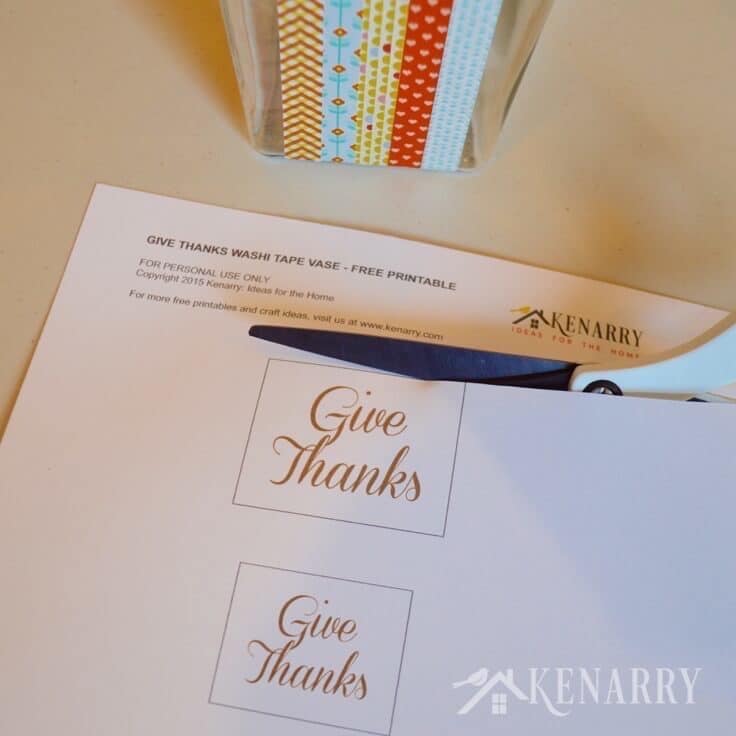
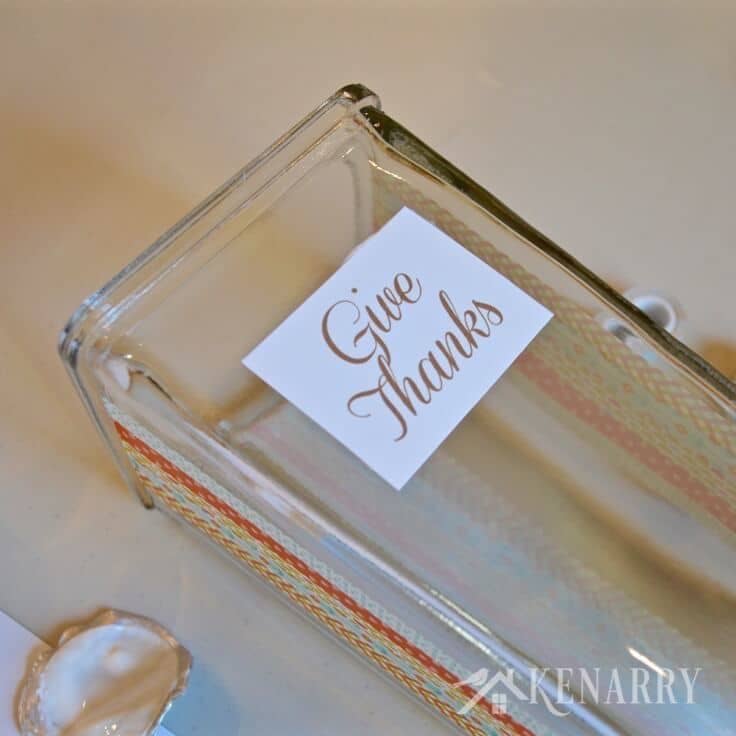
4. Print and cut the Give thanks Message
Download the Give Thanks Washi Tape Vase Free Printable (406 KB PDF) and save to your computer for your own personal use only. Print the Give Thanks Free Printable in color on white card stock and cut around it using scissors.
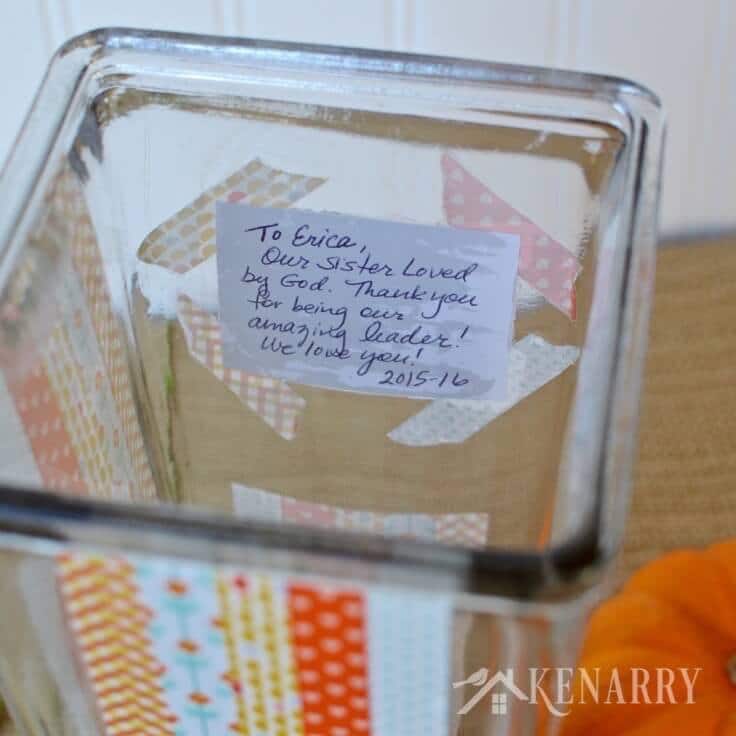
I included two different sizes so you have options depending on the size of your vase. If you want to add an inscription for a friend to the inside of your vase, now is the time to write it on the backside of the Give Thanks message. Make sure the ink is dry before you move on to the next step to prevent smearing.
5. Glue the give thanks message to the vase
Use a paintbrush to lightly spread Mod Podge along the backside of the Give Thanks message and apply it to the side of the vase. Once you have it secured in place, apply a thin layer of Mod Podge across the front of the Give Thanks message.
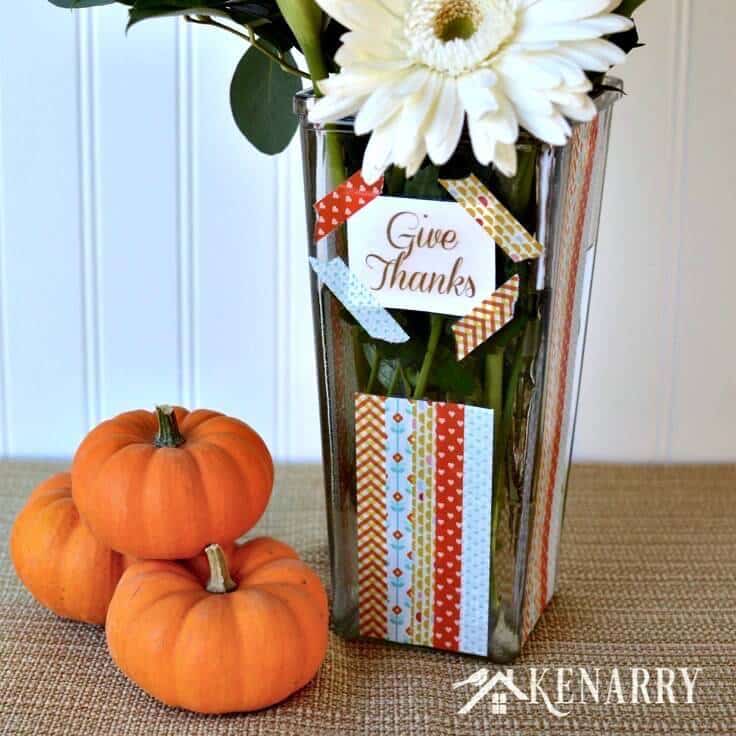
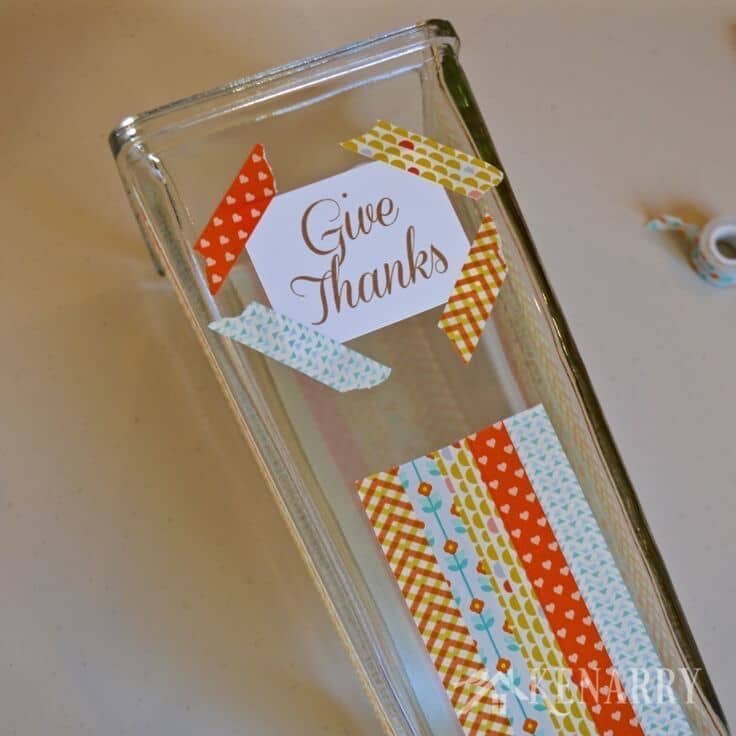
6. Apply washi tape to the Give Thanks Message
Tear off small pieces of washi tape in assorted colors and apply it to the corners of the Give Thanks message. I chose to rip it to give the vase a whimsical, fun look, but Amy mentions other cutting techniques you can use with washi tape in the Washi Tape Crafts book.
To finish the front of the vase, I also applied five vertical strips of washi tape like I did on the sides and used the X-Acto knife to trim it into a straight line.
7. Coat the washi tape with mod podge
Since the vase will be filled with water, you want to make sure the beautiful washi tape you just applied will be water-resistant. Use a paintbrush or a paint sponge to apply Mod Podge on top of the washi tape on the front and sides of the vase.
Make your layers smooth, but don’t worry if the Mod Podge goes over the edges of your washi tape onto the glass.
Allow 15-20 minutes for the Mod Podge to dry between coats. I ended up applying three coats of Mod Podge to the washi tape on each side of the vase and the Give Thanks message on the front.

8. Clean the excess Mod Podge off the Glass
Once all the Mod Podge layers have dried, you can use the tip or blade edge of the X-Acto knife to clean the excess Mod Podge off the glass. Be careful not to scratch the washi tape with the X-Acto knife. You should only be touching the glass. This step reminds me of a dental hygienist cleaning plaque off teeth.
With Mod Podge over the washi tape, the vase is now water-resistant. I would not submerge the Thanksgiving vase in water, run water directly over the sides of the vase or run it through the dishwasher. To clean the vase, just wash the inside with a damp rag.
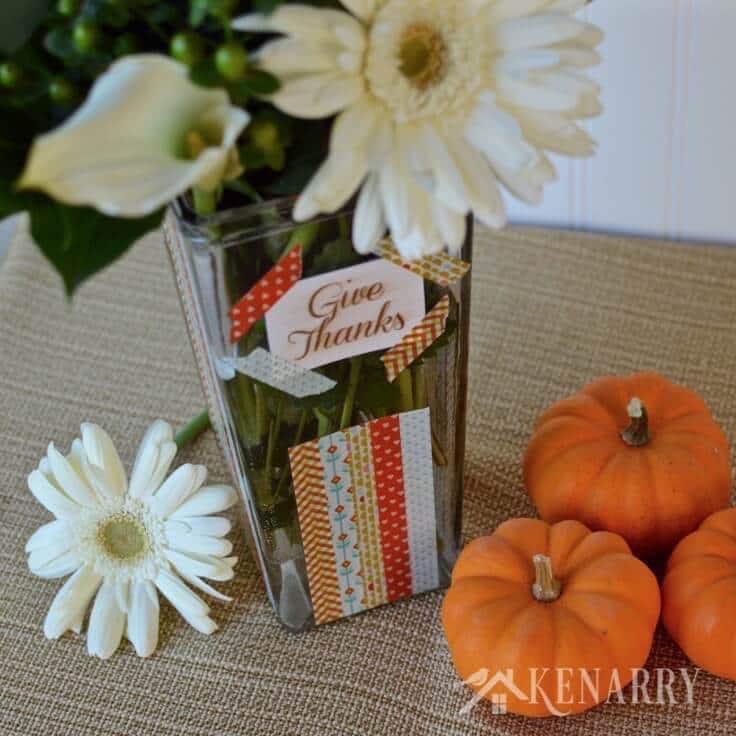
9. Fill the Thanksgiving vase with flowers
Finally, put together a bouquet of your friend’s favorite flowers or gather a festive arrangement for Thanksgiving. Add a thank you card and you’re ready to give this Thanksgiving vase to someone who deserves your gratitude this year.
It would make a great hostess gift, a present for a neighbor or pick-me-up for a friend. My Bible study group gave this colorful Give Thanks vase to our leader several weeks before Thanksgiving so we included a gift card so she could buy flowers to fill it before she hosts her family at her house for Thanksgiving.
After crafting with washi tape, you’re going to be inspired to try out all the other ideas in Washi Tape Crafts: 110 Ways to Decorate Just About Anything. There’s really no end to the fun things you can create with all of Amy’s washi tape ideas! While you’re here, you may also like these DIY Star Die-cut and Washi Tape Note Cards or DIY Painted Glass Vases for Fall. If you enjoyed this Thanksgiving vase craft, please share it with your friends or pin it for later:
Another Helpful craft book
If you’re a fan of craft books and tutorials, you should also check out “The Complete Book of Chalk Lettering: Create and Develop Your Own Style” by Valerie McKeehan. The publishers sent me a complimentary copy when they sent Amy’s Washi Tape Crafts book.
“With Valerie as a guide, learn to create gorgeous chalk art ideal for home, wedding, and holiday décor. Projects in the book include: party invitations, greeting cards, welcome signs, spooky themed font, and more. Best of all, The Complete Book of Chalk Lettering serves as a practice space — the inside cover and foldout back cover are lined with blackboard paper for your own designs.”
More Fall Craft ideas
While you’re here, be sure to check out these other craft ideas on Ideas for the Home by Kenarry® –
- Easy DIY Vinyl Pumpkin Without a Cutting Machine
- Fall Burlap Give Thanks Pillow Cover Tutorial
- Give Thanks Burlap Banner: Perfect Addition to Your Thanksgiving Decor
- Gratitude Game Free Printable Thanksgiving Activity
Originally published November 2015. Updated November 2018.
What a sweet gift! And I love the little message . . . you really knocked it out of the park! Thank you so much for sharing! xo
You are very welcome, Amy. I absolutely loved your book. So many great ideas to try with washi tape. Now what can I make for Christmas…