DIY Star Die-cut and Washi Tape Note Cards
THIS POST MAY CONTAIN AFFILIATE LINKS. PLEASE SEE OUR FULL DISCLOSURE POLICY FOR DETAILS.
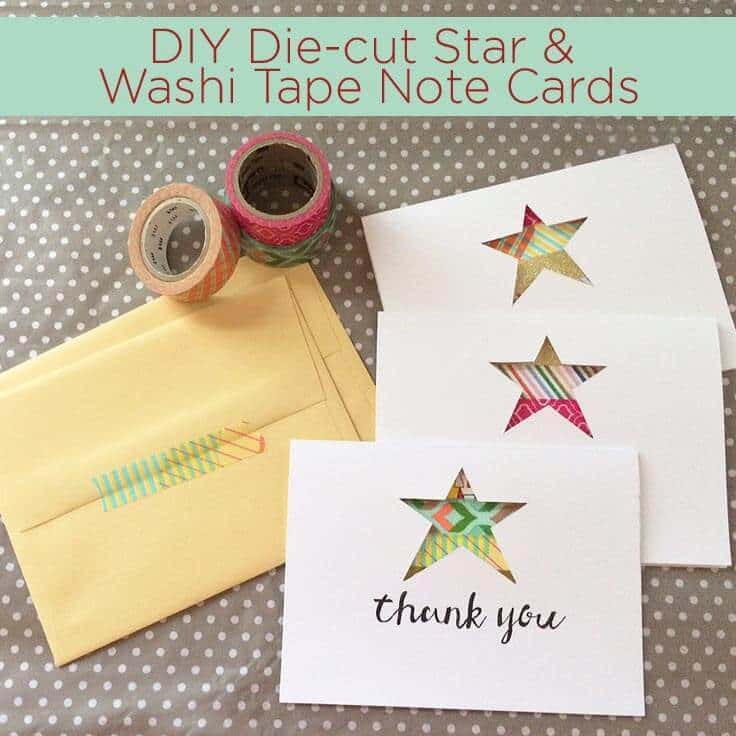
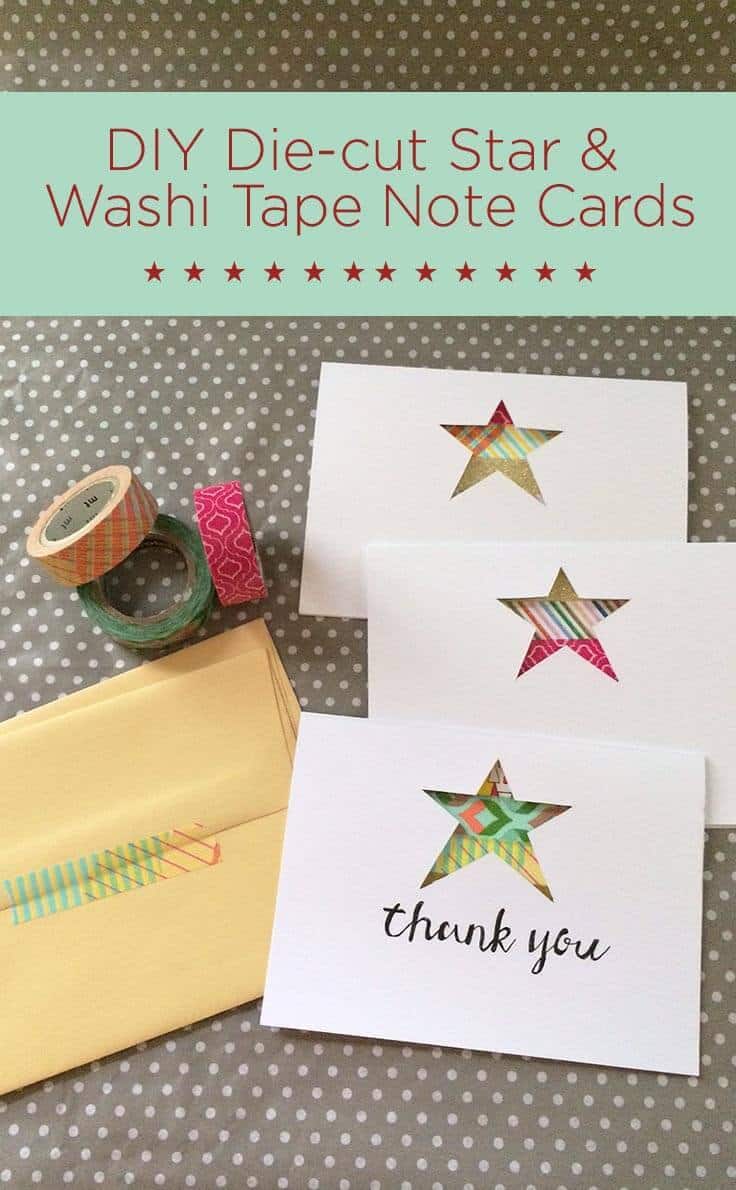
Make your own unique note cards with a fun star cut-out and colorful washi tape. Learn how to work with paper and washi tape to create custom stationary.
Hi all, this is Lori Greco back again from Greco Design Company. I’m sharing my DIY Die-cut Star & Washi Tape Note Cards with you today. Boy that was a mouthful! These note cards are super easy to make and I have even provided a star template that you can download, print and use as a guide.
If you’re like me, I always seem to need a card for things like birthdays, a thank you, a school message, or just a simple card to send a note to a friend. Cards are so expensive and store-bought ones can be so impersonal. Being a graphic designer, I have made a lot of my own cards and stationary but when my daughter needed to send out thank you notes for her birthday, I wanted to make something a little different.
Here’s what you’ll need:
- Blank note cards & envelopes. I used letter-sized card stock and trimmed the paper in half to make 2 cards that are 5.5″ x 8.5″. Fold them in half to 5.5″ x 4.25″ and you have your own blank note cards. You can also buy this pack of 10 blank cards and envelopes from Michael’s for $3.99. If you make your own note cards, you’ll need to buy A2 sized envelopes at any paper or art supply store. I love these from Paper Source.
- An x-acto knife
- pencil & thin black marker
- washi tape in a variety of colors
- My star stencil {if needed}
Step-by-step instructions:
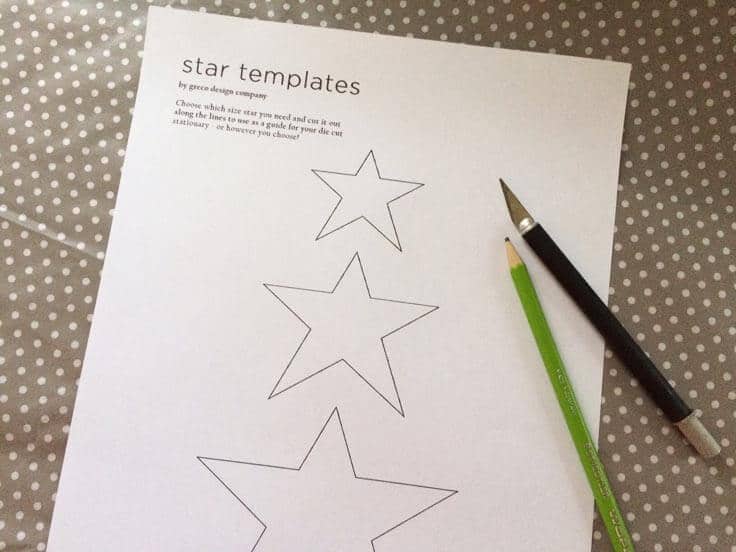
1. Download and print this star stencil
Exclusive for Kenarry subscribers, receive the FREE printable star stencil by signing up below. You’ll get the download link sent directly to your inbox. I used the smallest star for this project. Feel free to use them for any other needed projects too.
All printables from Ideas for the Home by Kenarry® are for your own PERSONAL USE ONLY.
After you’ve signed up, watch for an e-mail to confirm your e-mail address and download the free digital printable. Plus you’ll have the opportunity to get the weekly Kenarry Ideas In Your Inbox newsletter, as well as product discounts, special offers and other content that is EXCLUSIVE for Kenarry subscribers only.
You can also join our Idea Insider VIP Club to get unlimited access to the full vault of unique and beautiful printables we offer to make gift giving, holidays and everyday life more special. A lifetime membership in our Idea Insider VIP Club is a great way to save time and money with easy access to hundreds of printable cards, tags, wall art and more right at your fingertips.
NOTE: This printable is not in the Idea Insider VIP Club. It’s available for FREE through the sign-up form above.
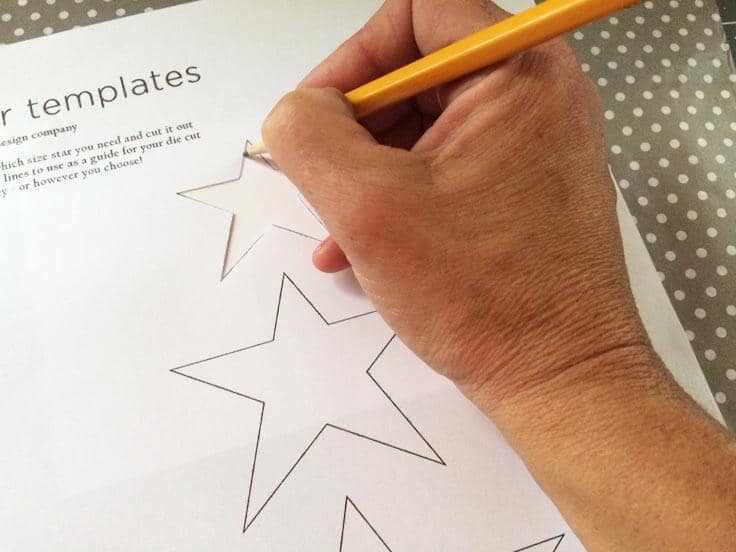
2. Cut out the star and trace it onto the front of the note cards
I drew my star on the top center of the card so there would be room for writing inside. This also allows space for a message – like “thank you” or “hello” – to go on the front under the star if you choose to include one – or you could keep the front blank.
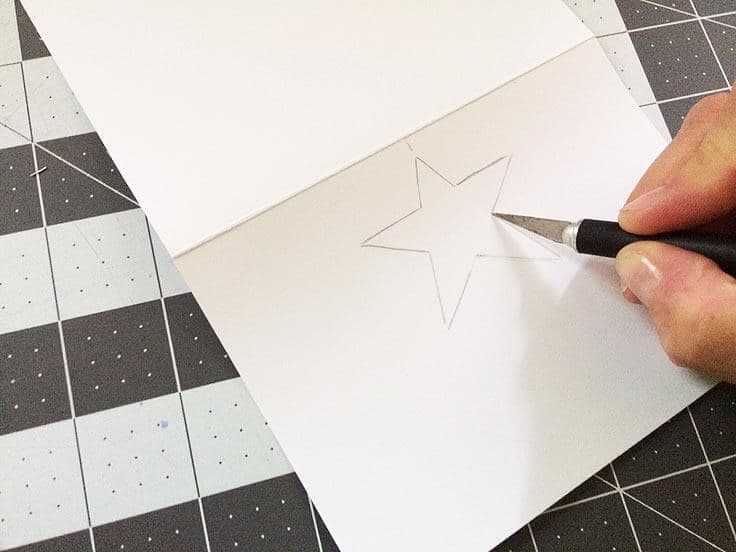
3. Using your x-acto knife, trim the the star out carefully
I didn’t use a ruler because it made it harder to see where the lines started and ended. Erase any pencil marks.

A little tip about cutting a straight line: always look slightly ahead of where you’re cutting and it will be much straighter than if you look directly where you’re cutting.
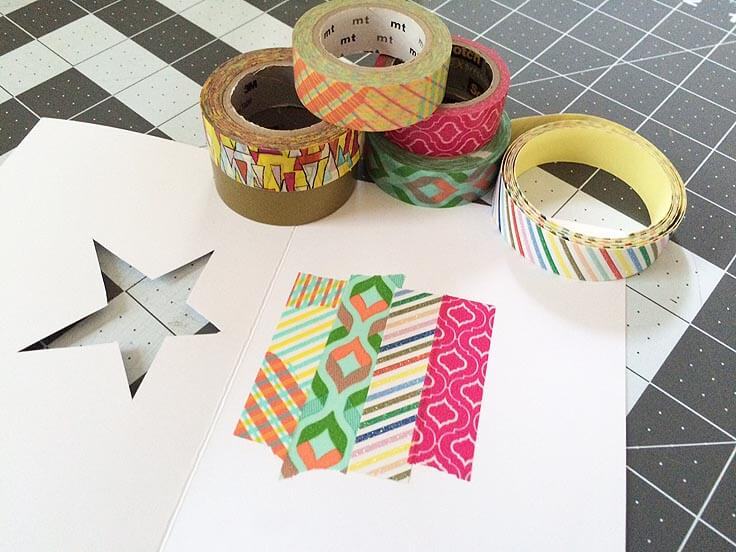
4. Apply the washi tape
Open the card and apply 4 strips of washi tape on the inside bottom half of the note card so that they show through the star die-cut.
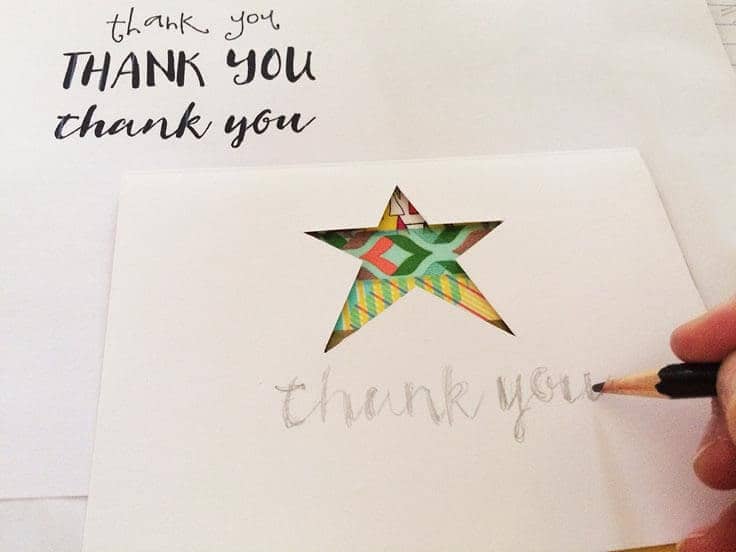
5. Add a message
If you want to include a hand written message on the front of the cards, simply print out a font that you like and either trace it onto the card or freehand it with a pencil and then a thin black marker. Mine’s not perfect but it adds to the homemade look of these cards.
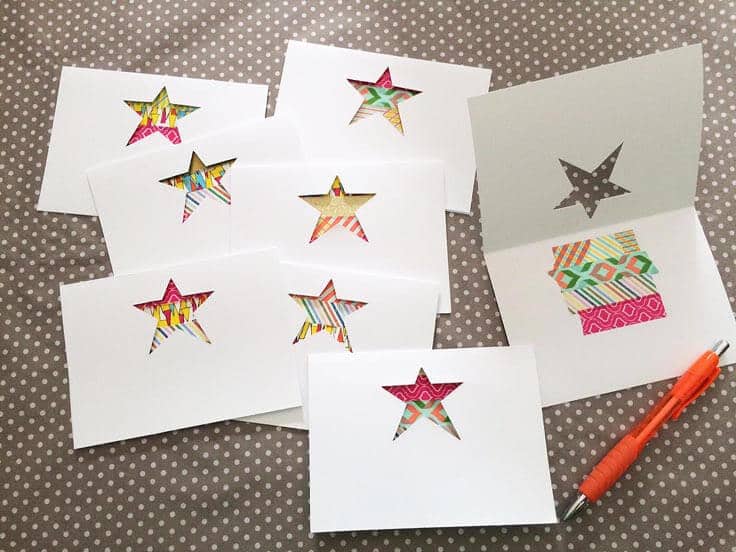
6. Create more!
Make a bunch in a variety of colors and patterns.
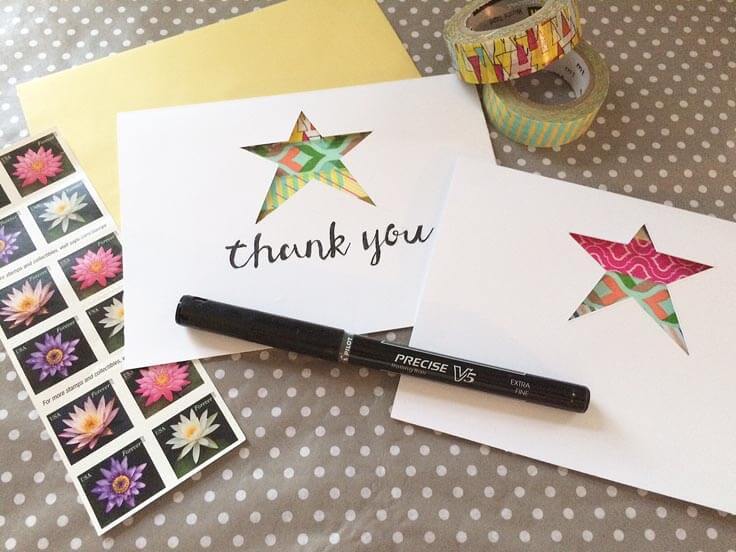
7. Insert into envelopes
Mix these note cards with colorful envelopes so they stand out nicely. Add even more interest by sealing them with a strip or two of washi tape. Now you have custom made, die-cut washi tape note cards to use for an occasion!
You may also enjoy these related ideas on Greco Design Company:
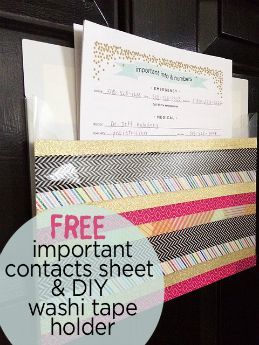
Washi Tape Organizer
Invitation Designs

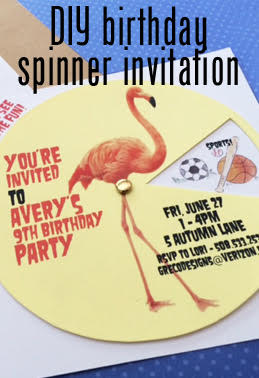
DIY Birthday Spinner Invitation
Love the ideas you see here on Ideas for the Home by Kenarry®? Subscribe today to get our FREE DIY & Craft Planning Calendar, plus our weekly Ideas in Your Inbox newsletter filled with creative tips and exclusive offers!
What’s Next?
While you’re here be sure to check out other craft projects on Ideas for the Home by Kenarry® –
Such sweet cards! Love these : )
Thanks, Rose! Didn’t Lori do a great job with these? I bet they’d work great with other shapes too.