Simple, Personalized Water Bottle Cover
THIS POST MAY CONTAIN AFFILIATE LINKS. PLEASE SEE OUR FULL DISCLOSURE POLICY FOR DETAILS.
Every stitch of this simple, personalized water bottle cover will remind your child of your love for them, even while they are away at school.
Here’s your chance to be on your child’s mind, even while they are at school. This craft is a perfect valentine’s gift if you ask me. One that keeps on giving – a water bottle cover they will use every day.
 It’s Alycia from Our Homestead Where My Heart Is and you have to know, I am not a knitting expert by any means.
I learned over 10 years ago and ended up having to re-teach myself because it had been so long since I knitted anything. There are tons of You-Tube videos out there now that make it easy!
This simple, personalized water bottle cover is just that. SIMPLE. This is the perfect project for a beginner just learning how to knit.
How to Make a Knitted Water Bottle Cover
Disclosure: This blog post contains affiliate links for products or services we think you’ll like. This means if you make a purchase from one of these links, Ideas for the Home by Kenarry® will make a small commission at no additional cost to you so we can keep the great ideas for the home coming your way. All opinions expressed are derived from personal experience.
I chose a medium worsted weight wool yarn that I found at my local craft store. The wool will wick away any moisture and keep your child’s desk or table dry. It will also hold its shape better then a synthetic yarn. A wool blend should work well too.
Start off by knitting with a small size 4 circular needle.
Cast on 42 stitches.
Knit 1, purl 1 across (this is called a rib stitch) for a total of 15 rows.
Continue to knit in the round until it is long enough to cover the bottle you choose.
This is my sons’s favorite stainless steel bottle so he requested I made it to fit.
I actually got carried away with myself and made it a little bit too long so I ended up pulling out some stitches. A little bit of extra practice never hurt anyone I say. 🙂
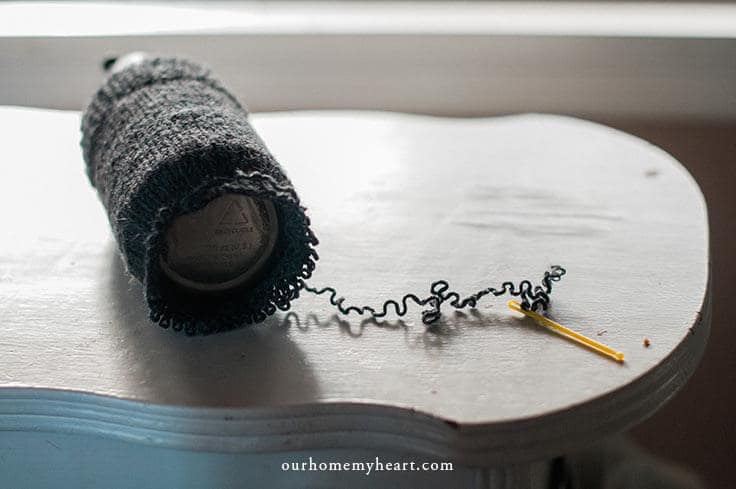
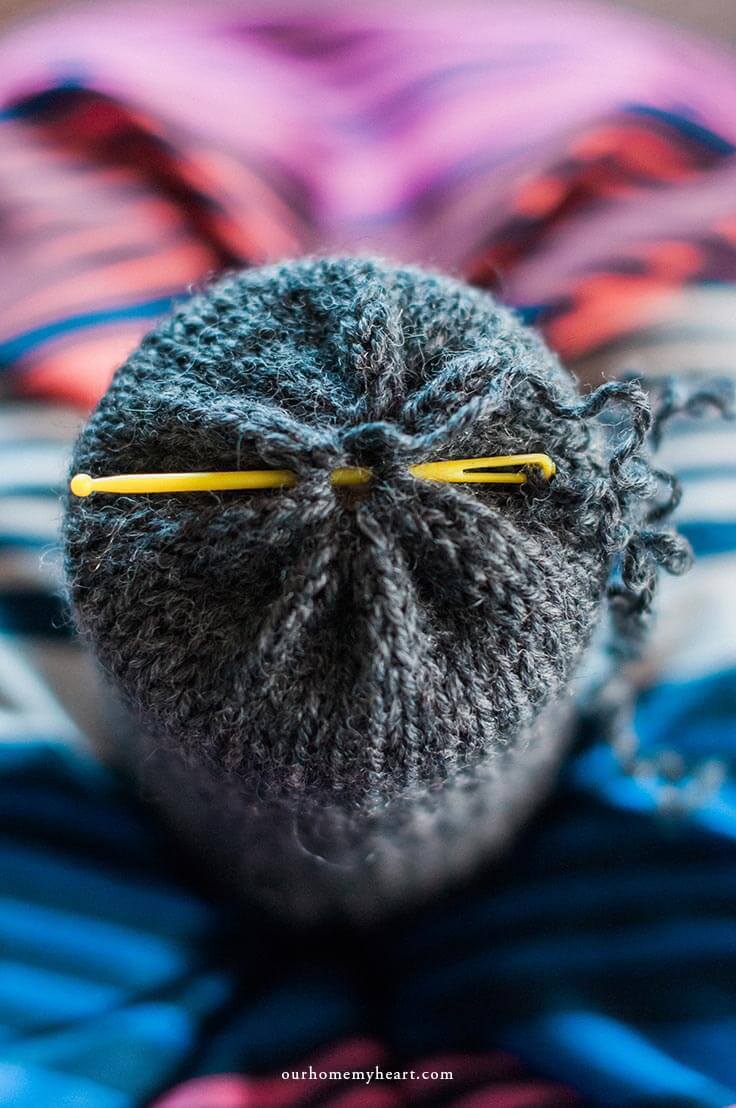
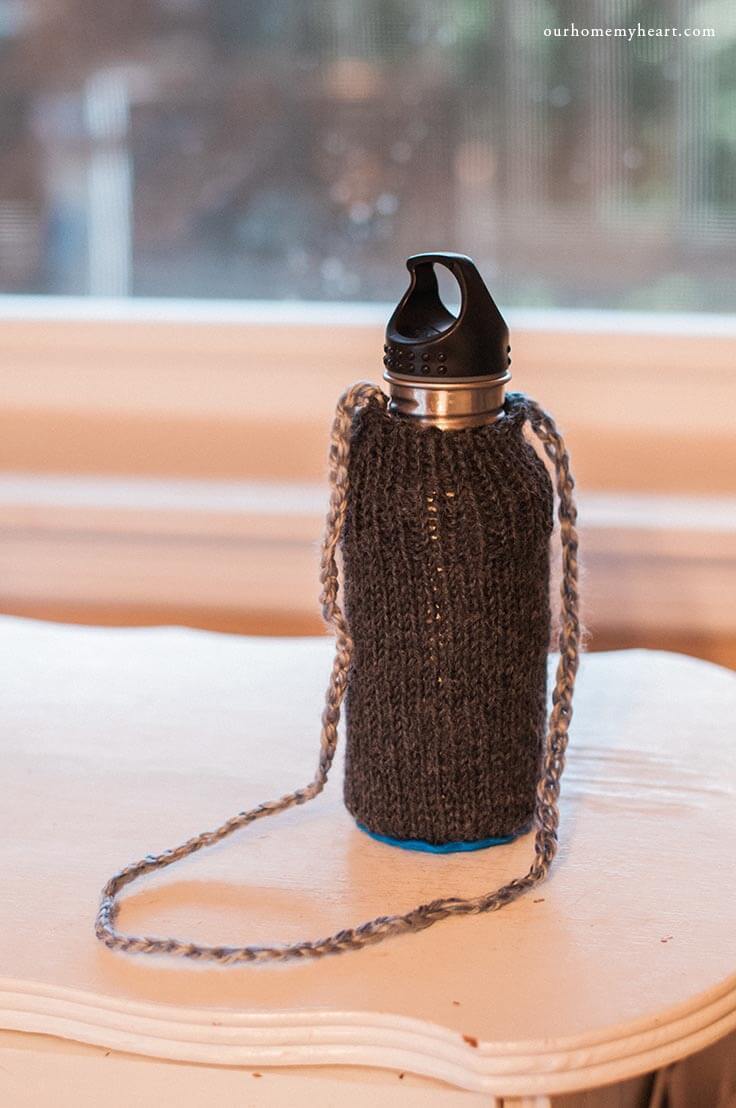
Instead of casting off, I just pulled the knitting needles out gently and replaced it with a yarn needle.
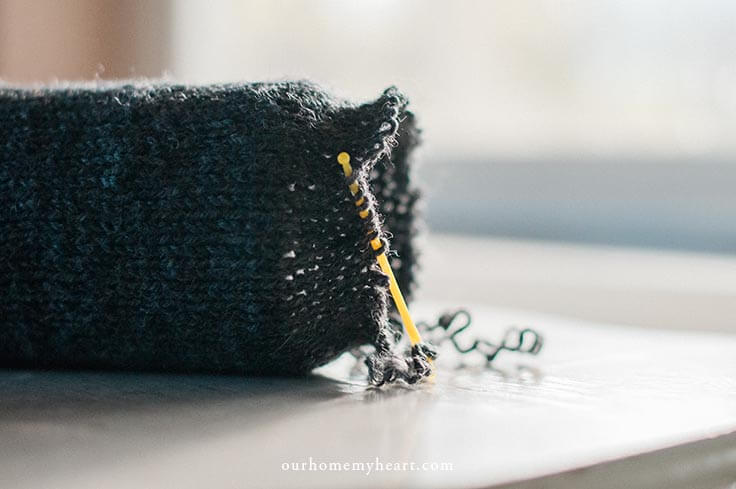
I pulled the needle until the loose piece of yarn at the end had gone through each of the loops (yes I’m very technical).
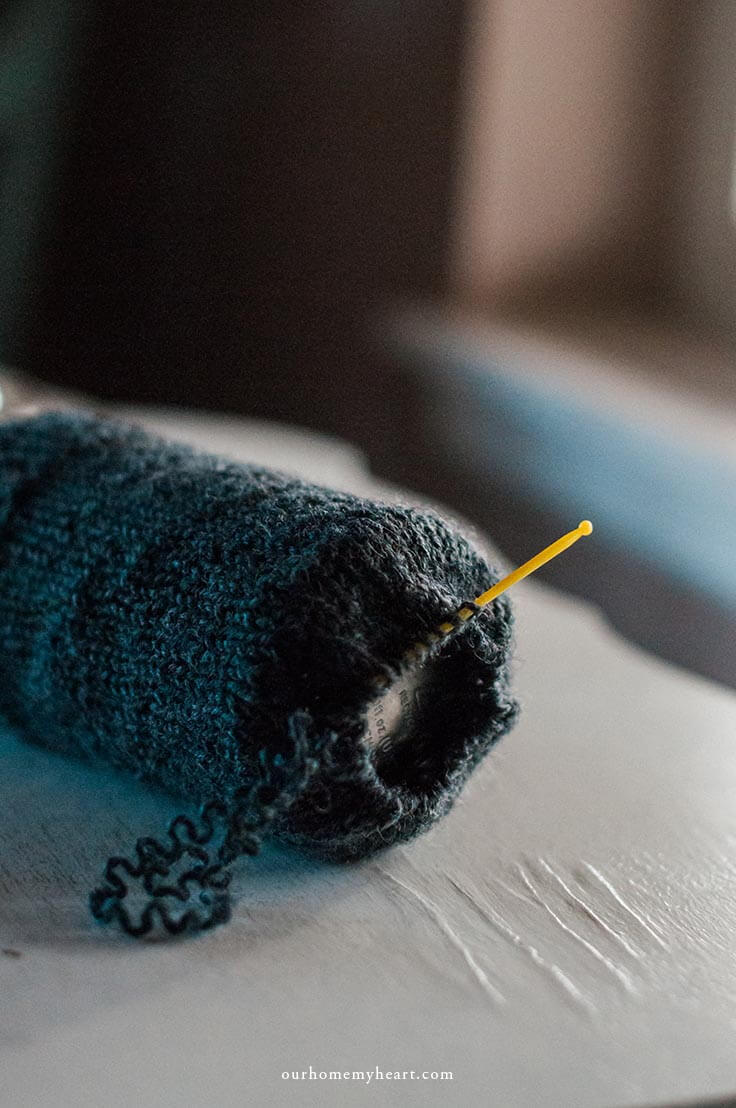
Then I just pulled it nice and tight.
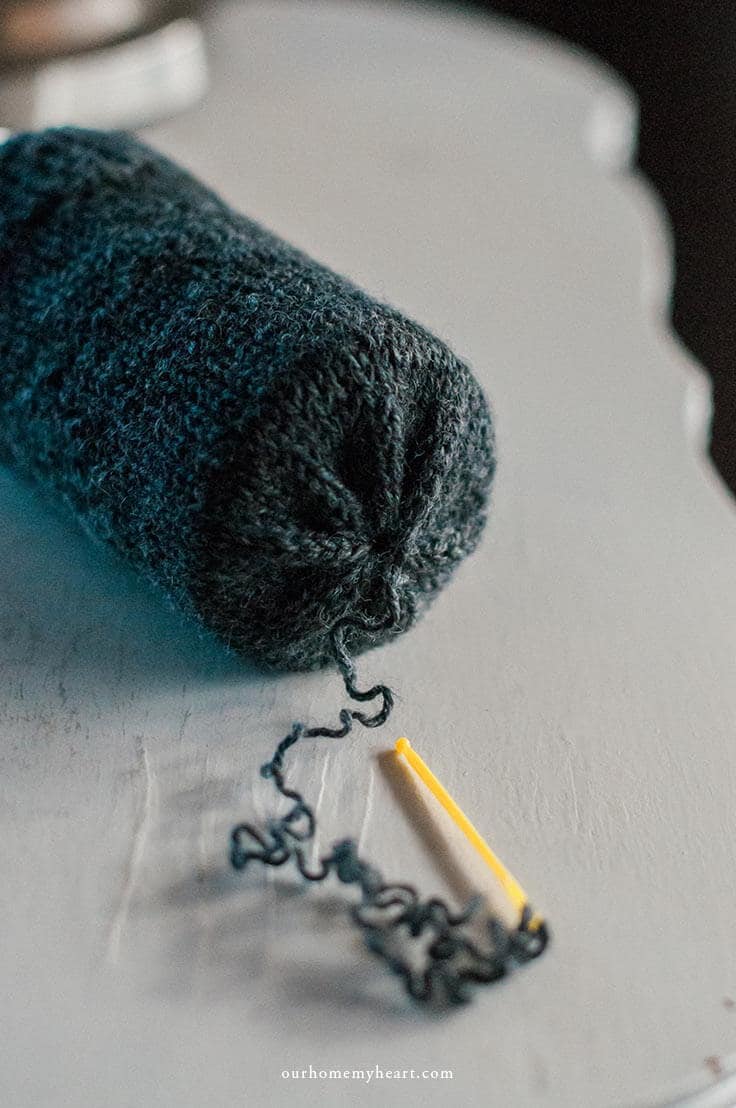
I pulled the needle through from side to side and then from top to bottom.
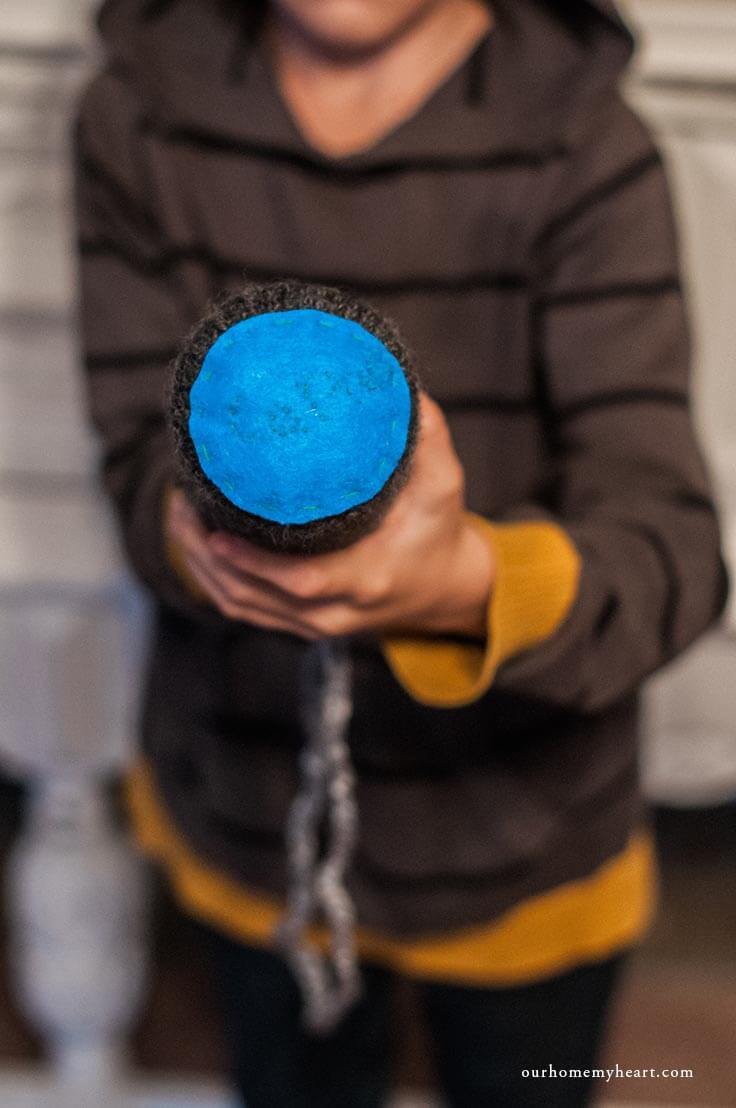
This tied off the end and ensured that it wouldn’t unravel. Now the only problem was that the bottom wasn’t as flat as I would have liked it to be. So the simple, PERSONALIZED water bottle cover was born.
How to Personalize the Water Bottle Cover
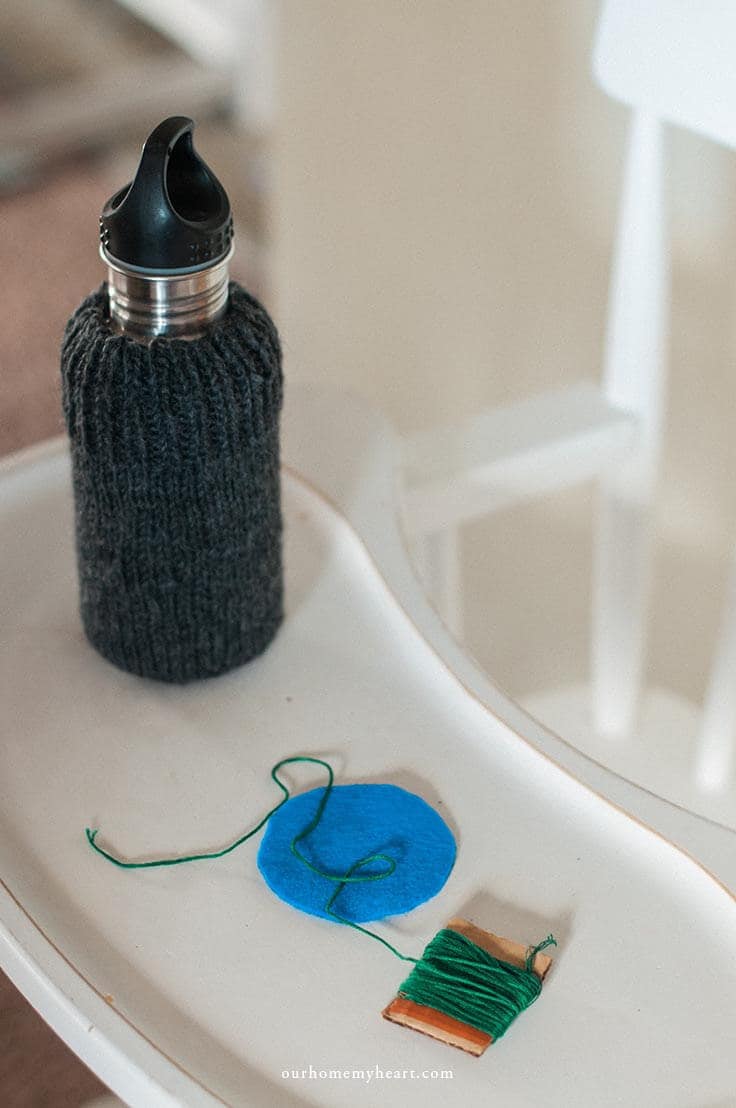
I found a cup that was the same size around as the bottom of the water bottle, and let my son pick out some felt.
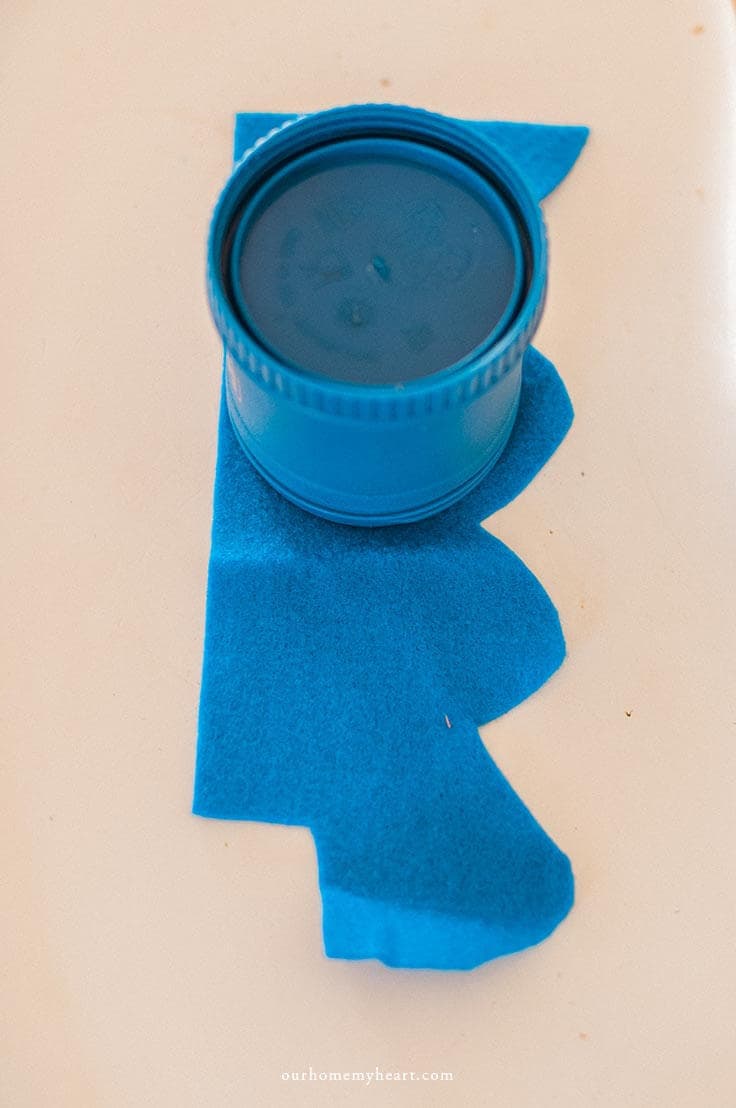
Then I just traced a circle from the bottom of the cup onto the felt with a permanent marker.
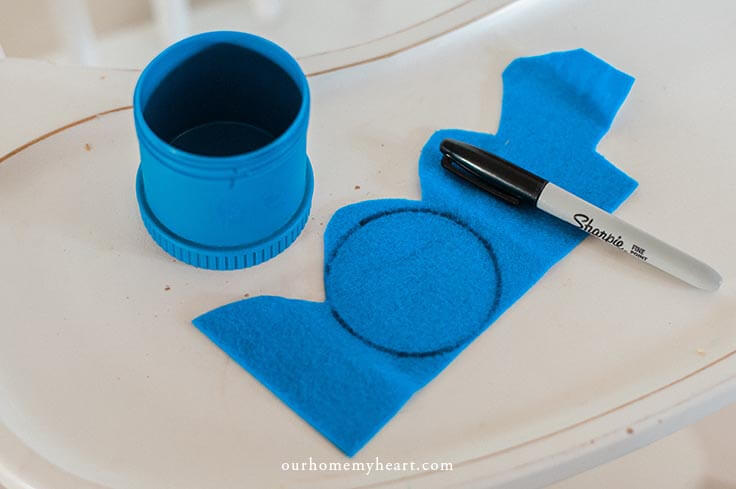
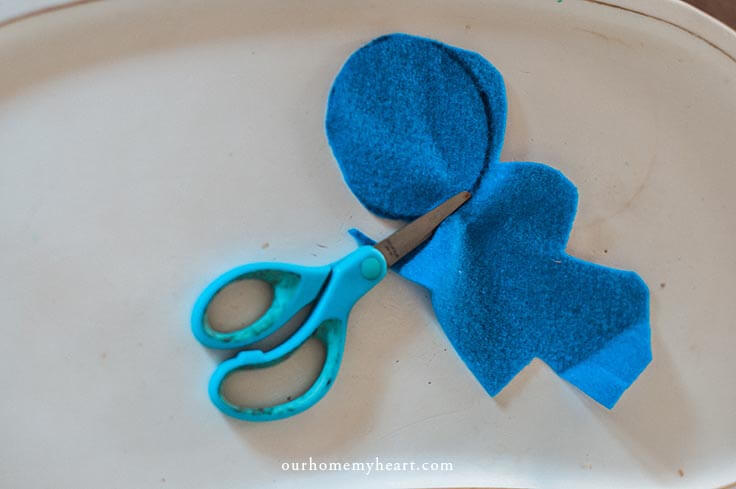
I even let my son cut out the circle himself.
He did a pretty good job if you ask me!
The last thing you will need is some embroidery thread and a needle.
My son picked out green to go along with his blue felt because we’re Seahawks fans around here living in the Seattle area.
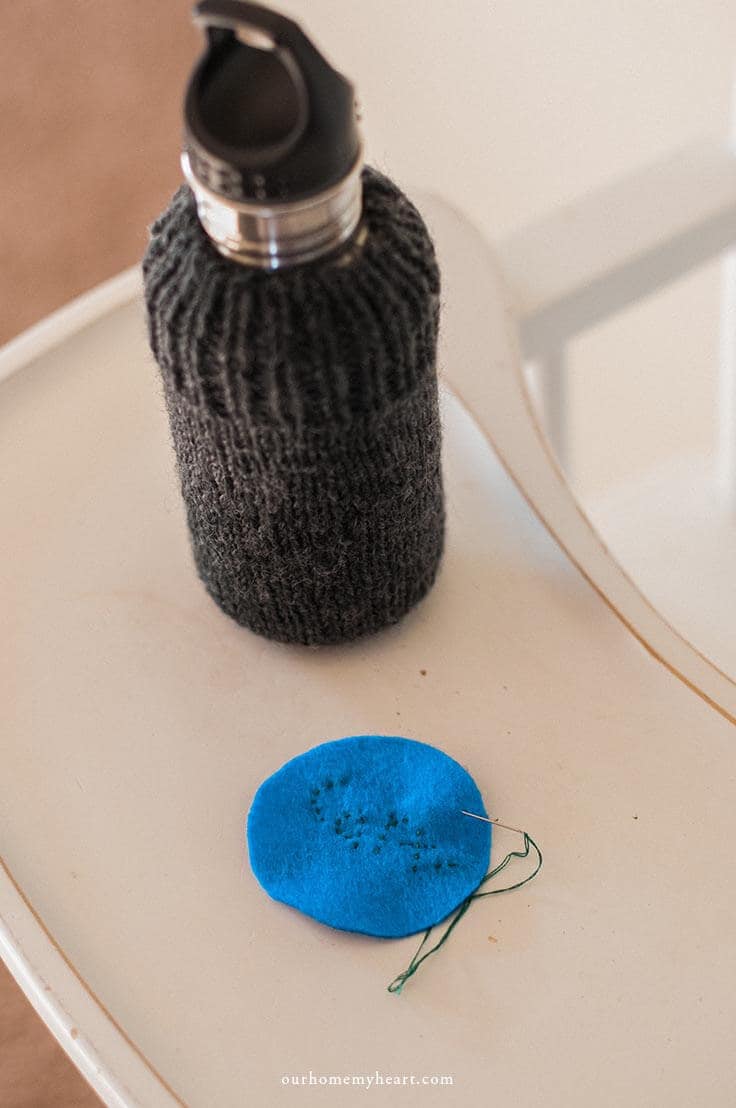
I had him write his name on the felt with pencil, then just did a small running stitch along the lines.
Embroidery at its finest. 😉 I thought it would be special to have his name in his own handwriting and now that I think about it he probably could have done the embroidery himself too.
It could have been finished when I stitched the felt onto the bottom of the cover and slipped it right on the water bottle.
But my Carter had one more idea. He needed something to help him carry it.
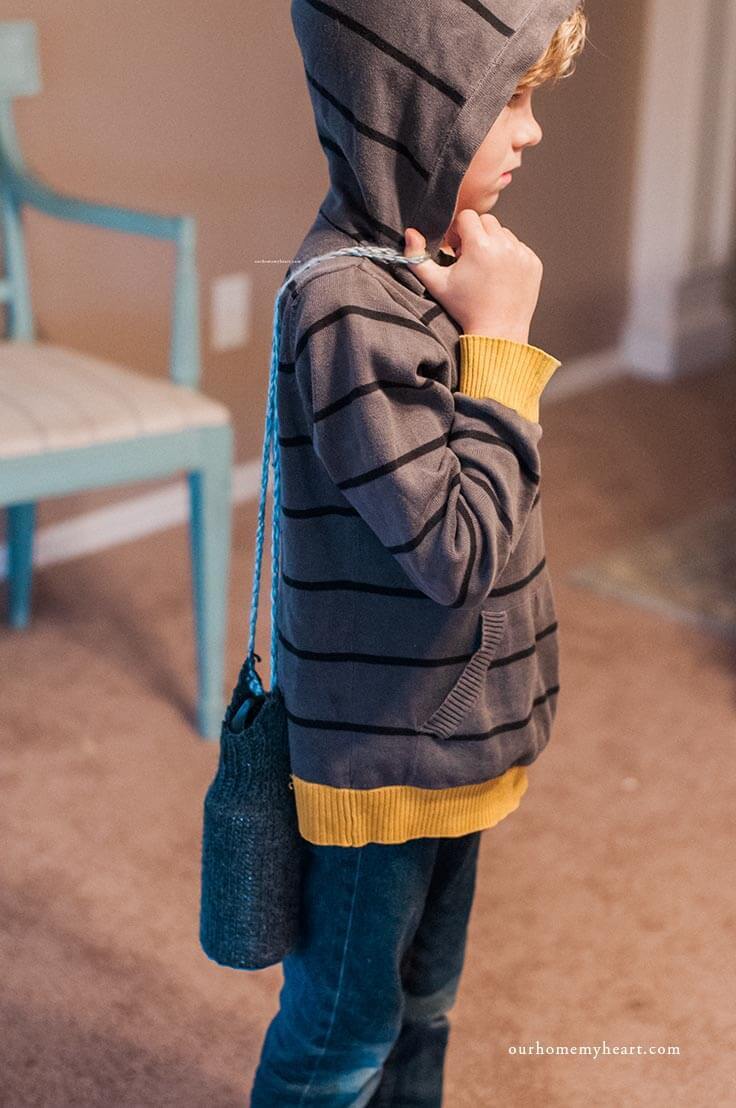
How to Create a Carrying Strap for Your Water Bottle Cover
This is another part you can have your kids help with!
Carter learned to finger knit and is constantly using scrap yarn to make ropes like this one. He picked out his favorite and I stitched it onto each side with the embroidery yarn. There are tons of finger-knitting videos on You-Tube as well if you want to learn or teach your kids how to do it. Of course this part is completely optional as well.
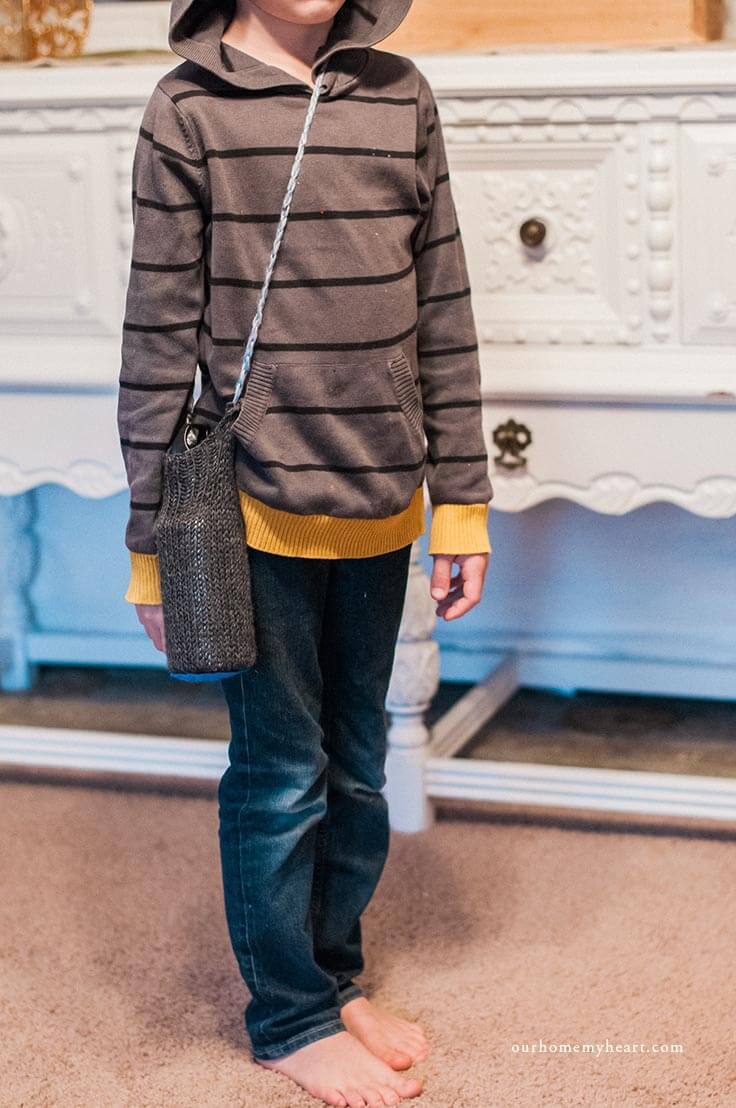
There you have it. The final product. A functional and adorable made by you water bottle cover, filled to the brim with love.
Don’t forget to stop on over at my blog Our Homestead Where My Heart Is to read more about our adventures and family projects.

My Urban Backyard Garden
Life Lessons From a Chicken

Games of Change
While you’re here, be sure to check out these other craft projects from Ideas for the Home by Kenarry® –