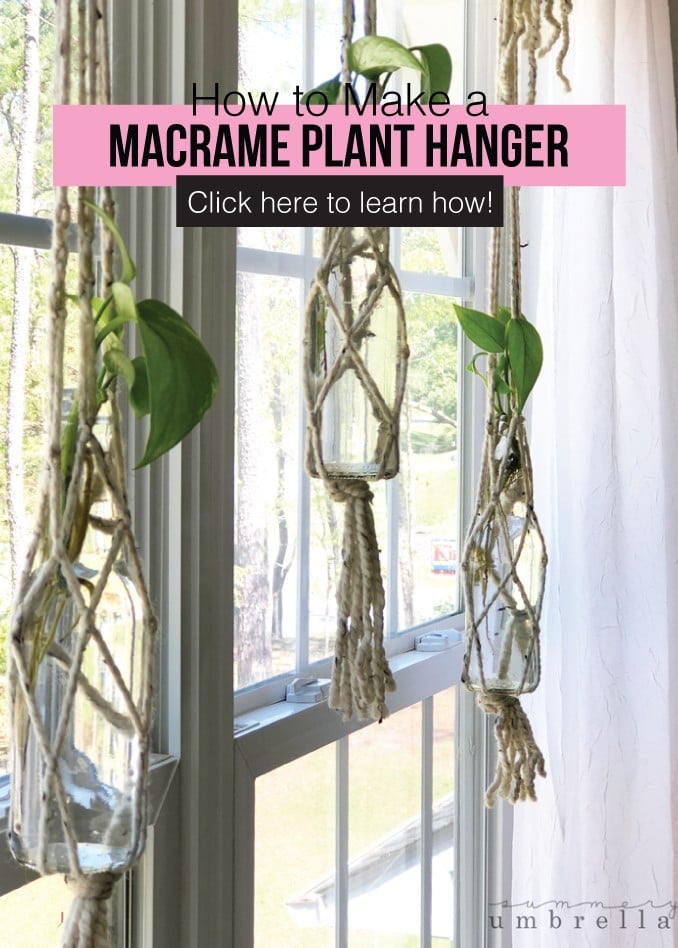
How To Make A Macrame Plant Hanger With Easy Supplies
THIS POST MAY CONTAIN AFFILIATE LINKS. PLEASE SEE OUR FULL DISCLOSURE POLICY FOR DETAILS.
Learn how to make a diy macrame plant hanger with easy supplies that you have at home. Not only is it creative and fun, but super affordable too!
Hello, Kenarry readers! It’s LZ Cathcart from The Summery Umbrella, and today’s project will help you bring in a little bit of color to any area of your home. You can use it with real or artificial plant life, as well as indoors or out. Either way, I just know you’ll love this DIY macrame planter hanger project as the newest addition to your home!
A Beautiful DIY Plant Hanger
Not too long ago I really, reallyyy wanted to buy a few plants, hangers, etc. to spice up my upstairs art studio, but I really didn’t want to pay the prices that I was seeing.
Plus, I don’t have much of a green thumb (even though I try hard!) so I needed a plant that was super, low maintenance. Thankfully I have managed to propagate plants rather well and knew that my devil’s ivy would be the perfect fit for this project.
With that being said, I tend to create a lot of nature related posts! If you’ve never stopped by my neck of the woods (my blog) I enjoy sharing my three favorite things: DIY, Design, and Decor projects.
For instance, you’ll find everything from How to Force Flower Bulbs to my DIY Fresh Flowers Vinyl Decal as well as my hand-drawn vectors for all of your crafting needs. Definitely make sure to stop on by and say hi sometime. I’d love to see you over there!
If you’re looking for a low-maintenance plant to add to your hanger, try making these DIY beautiful artificial potted plants.
Not to mention, you’ll definitely want to check out my other hand-lettered/drawn tutorials for signs, printables, and drink coasters that I’ve created on Ideas for the Home by Kenarry® in the past. They’re all incredibly easy DIY’s that can also double as excellent gifts!
Want more ideas like this? Subscribe today to get our weekly Ideas in Your Inbox newsletter plus other exclusive gifts and offers — all for FREE!
How to Make a Macrame Plant Hanger with Easy Supplies
Let me just start off by saying that macrame can seem a little intimidating at first. But trust me after you create your first one you’ll realize that it’s actually super easy. Plus, it kind of reminds me of braiding hair. A little tedious at first glance, but then it becomes fairly addicting! So, let’s get started.
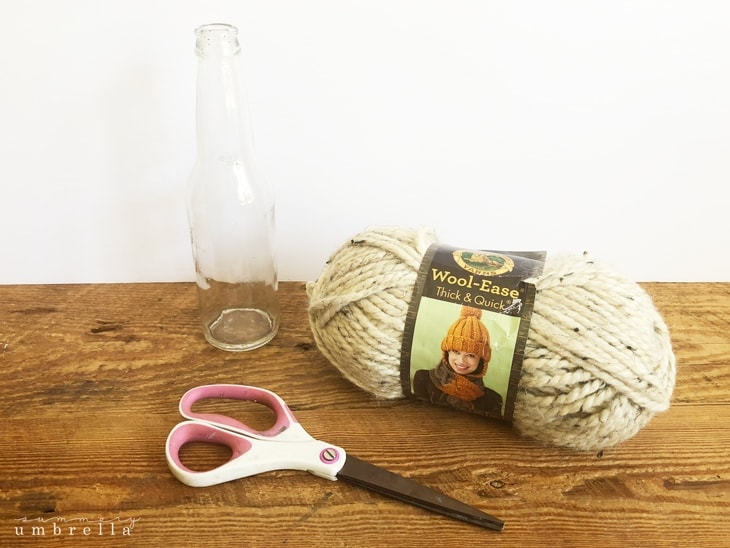
What you’ll need:
- Yarn
- Scissors
- Glass Bottles
- Artificial Plants or Real Plants
Instructions:
1. Prepare your Glass bottles
Remove the label from your glass bottle, and clean the inside and out with soap and water.
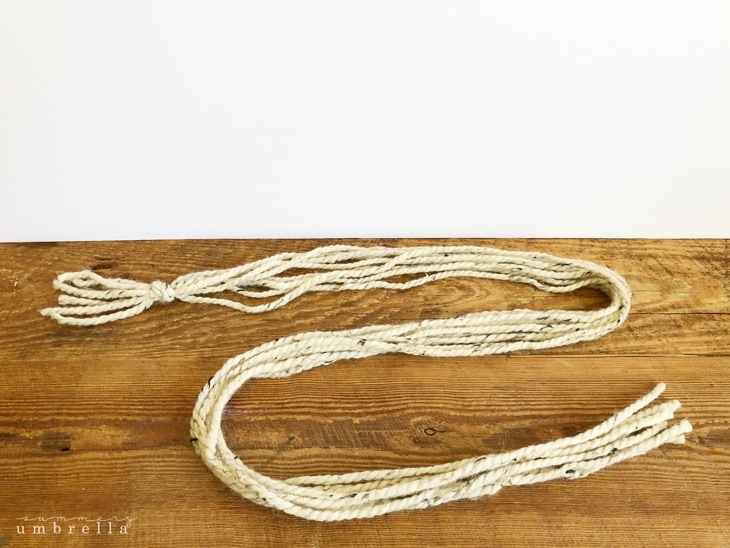
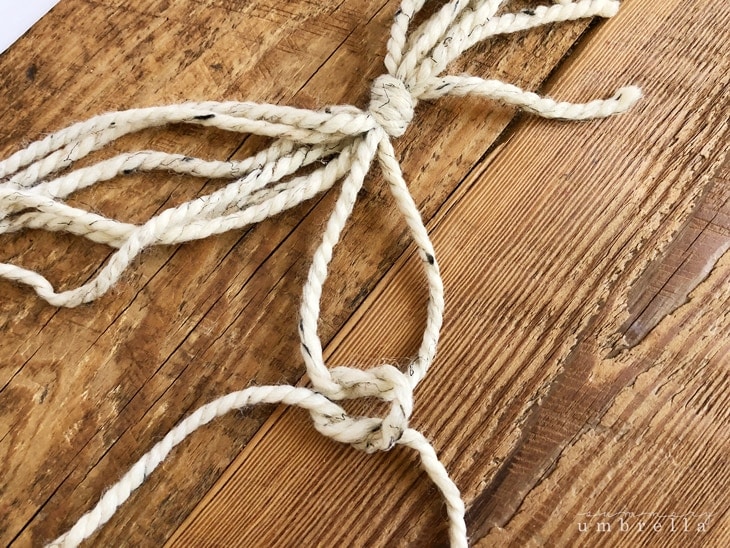
2. Measure out your yarn and tie them together
You’ll want to measure out approximately 3 – 4 feet for eight pieces of yarn. I know this is very vague, but it really will depend on where you’ll be putting your macrame hanging planters. You might want to add varying lengths as I did or make them much longer than I’m suggesting.
Once you have them all cut, tie them together with a knot on one end.
3. Make a square knot with the first two strands of yarn
Pull out two strands of yarn and make a square knot (right strand over left, then left strand over right) approximately two inches from your knot.
Then, take the next two strands and do the same thing. Repeat this process with the remaining strands.
4. Create a square knot using two different strands of yarn
For this next step you’ll want to do exactly what you did in Step 3, BUT the two strands of yarn you’ll be using will be completely different (but next to each other) when you’re tying the knot.
Create this knot approximately 2-3 inches from the previous knot. Repeat this step with the remaining sets of strands.
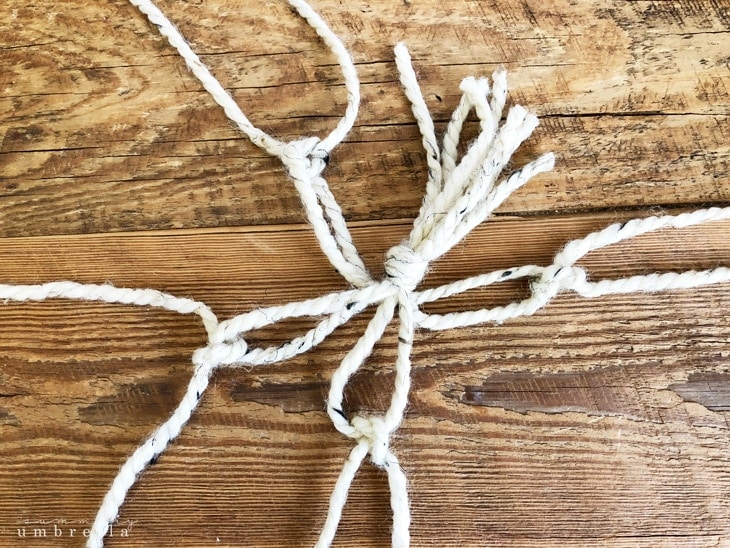
5. Repeat Step 4 with alternate strands of yarn
Just like in Step 4 you’ll grab alternate strands of yarn (2 each) to create your last row of square knots.

6. Repeat Step 5 with alternate strands of yarn
Now you are going to make some more square knots with alternate strands of yarn. Keep them spread out so you can see all the knots.
7. Repeat Step 5 Again with alternate strands of yarn
Last time! Go ahead and repeat Step 5 just one more time with alternate strands of yarn.
8. Create an additional 8 knots
Now, on each set of yarn strands (that you created from Step 7) create 8 knots approximately 6 inches above the last knot.
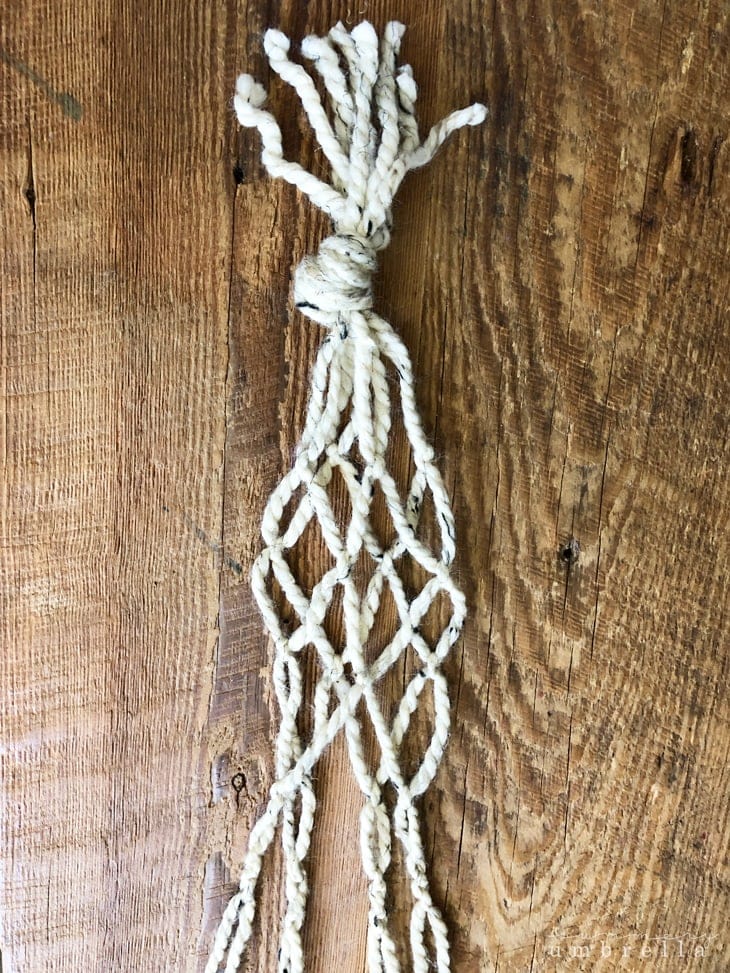
9. Tie them all together at the end
At the very end of your macrame plant hanger you’ll want to tie all your strands together, but give yourself approximately three inches for a tassel.

Wasn’t that easy? And fun?! This project is super addicting once you create your first one. I’m not joking when I say that I have them all over my house!
What is the best cord for macrame?
Since this needs to be strong enough to hold a planter or jar, I chose to use strong wool yarn for my macrame plant hanger. You can also use leather for macrame – it’s durable and softens after repeated use.
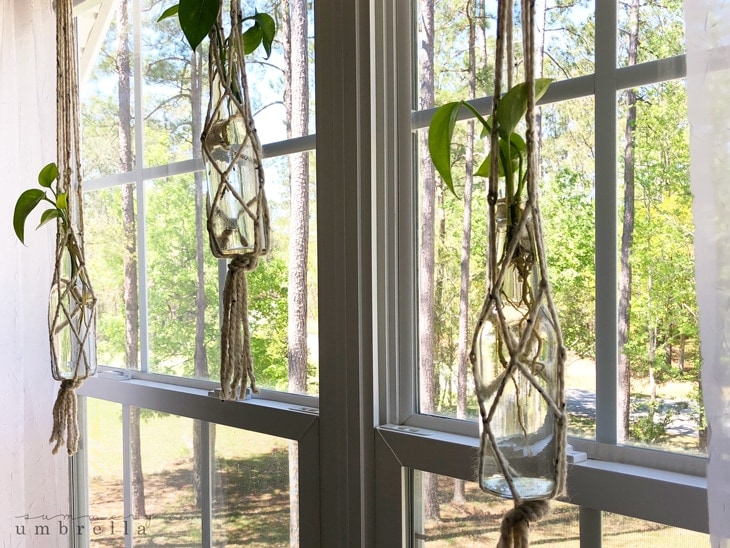
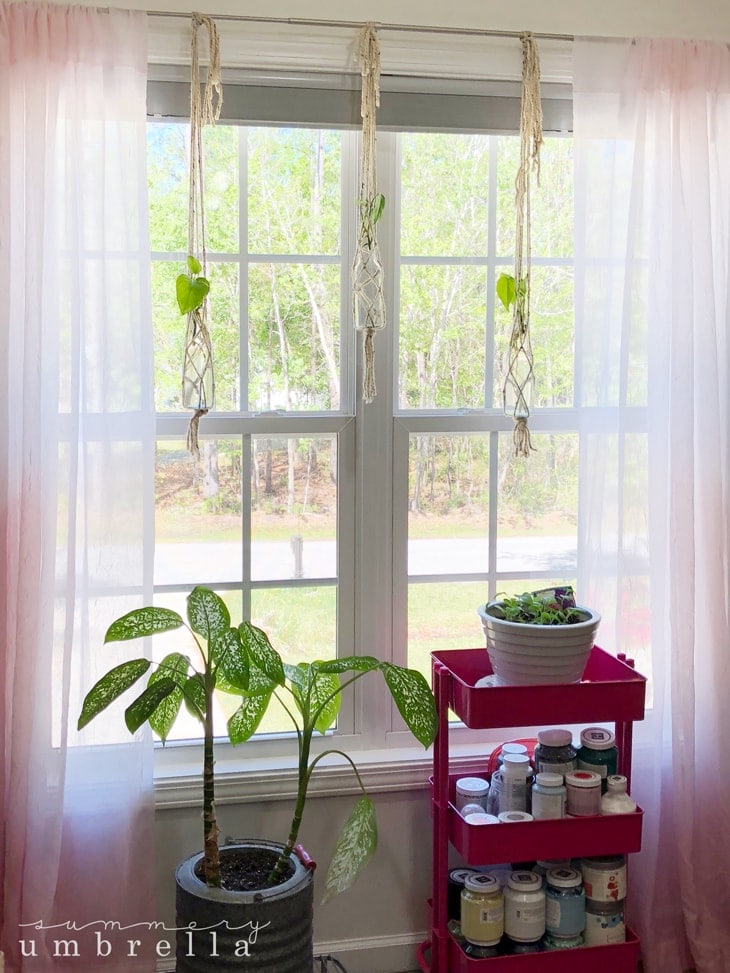
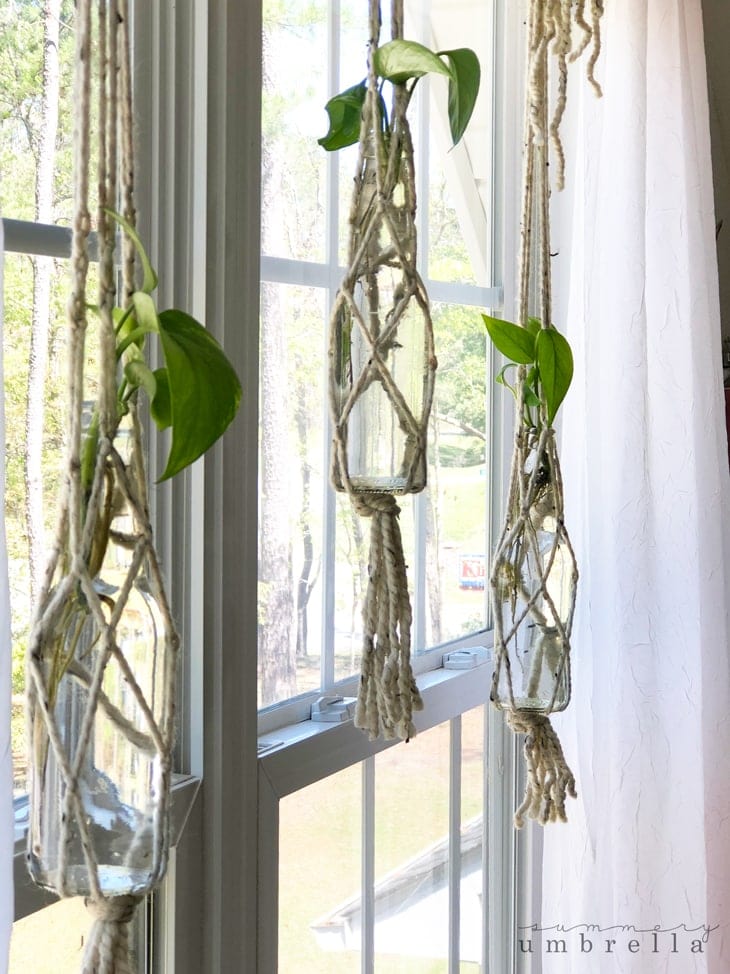
Where do you hang macrame plant hangers?
Hang it up near a window. This will give your plants plenty of sunshine! The best way to hang them up is by tying them to the curtain rod, just like I did.
You can really get creative with the type of plant container you use. For example, you can use tin cans, mason jars, cups, and more!
Until next time, Happy Crafting!

looking for more crafty projects?
If you enjoyed How to Make a Macrame Planter then you’ll definitely enjoy these other plant related posts too!
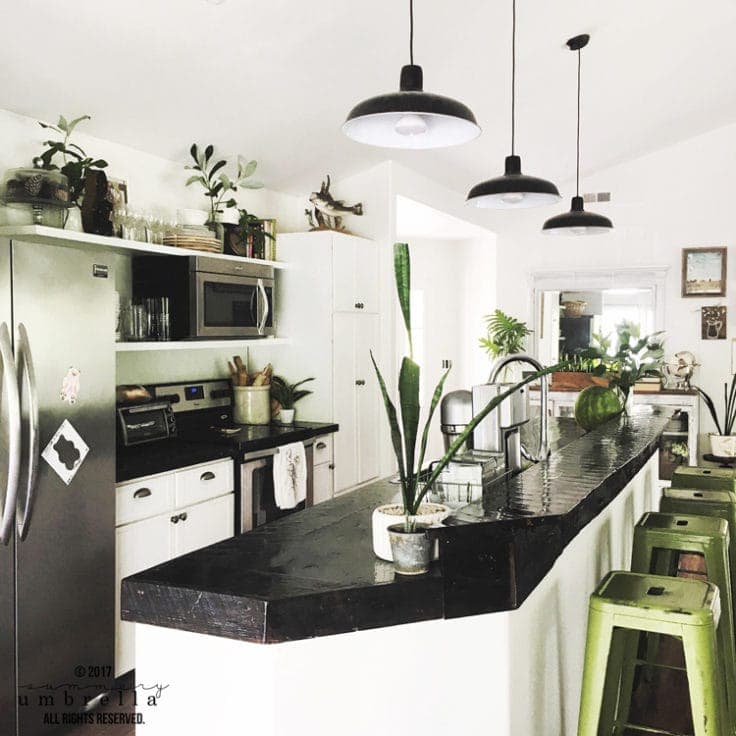
How to Decorate with Plants to Energize Your Room
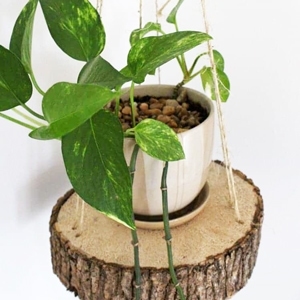
DIY Hanging Planter Using a Wood Slice
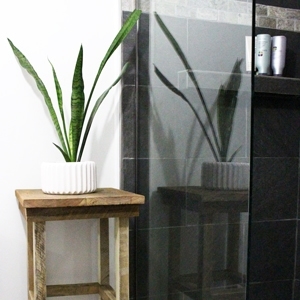
How to Build a Wood Planter Stand
Love the ideas you see here on Ideas for the Home by Kenarry®? Subscribe today to get our FREE DIY & Craft Planning Calendar, plus our weekly Ideas in Your Inbox newsletter filled with creative tips and exclusive offers!
You may also enjoy these plant related DIY crafts on Ideas for the Home by Kenarry®:
By using yarn, does the hanger stretch, or maintain it’s shape? Does it break, or unravel? Concerned about losing my plant babies, or coming home to a disaster.
Hi Bonnie,
I’d make sure you use thick, strong yarn like you see in the photos. You can pull on the yarn a bit to see how much stretch it has and to test the strength. If you’re really concerned you could also use rope or twine for this project.
Best wishes,
Carrie
Ideas for the Home by Kenarry