How To Stencil Faux Tile Around Your Fireplace
THIS POST MAY CONTAIN AFFILIATE LINKS. PLEASE SEE OUR FULL DISCLOSURE POLICY FOR DETAILS.
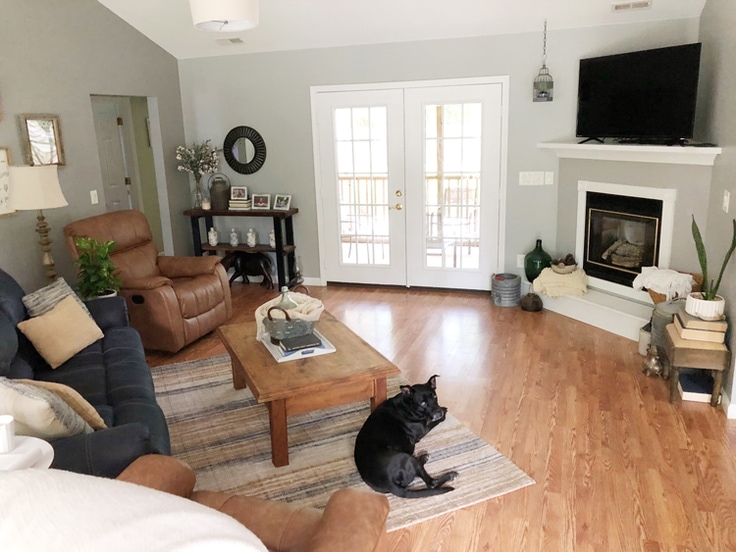
Do you crave a new look for your fireplace, but need an inexpensive fix? Look no further! Learn how to create beautiful faux tiles around your fireplace in this step-by-step tutorial.
Hello, Kenarry readers! It’s LZ Cathcart from The Summery Umbrella, and I’m going to show you how to DIY an absolutely, super affordable option for a fireplace update. It’s low on supplies, and only requires a little bit of patience and time. Join me now!

Just in case you’ve never stopped by my neck of the woods (aka. my blog) I enjoy sharing my three favorite things: DIY, Design, and Decor projects. For instance, you’ll find everything from How to Force Flower Bulbs to my DIY Fresh Flowers Vinyl Decal as well as my hand-drawn vectors for all of your crafting needs. Definitely make sure to stop on by and say hi sometime. I’d love to see you over there!
How to Stencil Faux Tile Around Your Fireplace
I am admittedly a perfectionist. It’s kind of sad, but soooo very true. I struggle tremendously with crooked rugs, off-centered lighting, and haphazard socks and shoes all over the floor.
However, I am continuously pushing my own buttons to try and rid myself of these crazy habits, but it’s a work in progress to say the least! So, you can imagine how much I struggled with this particular project.
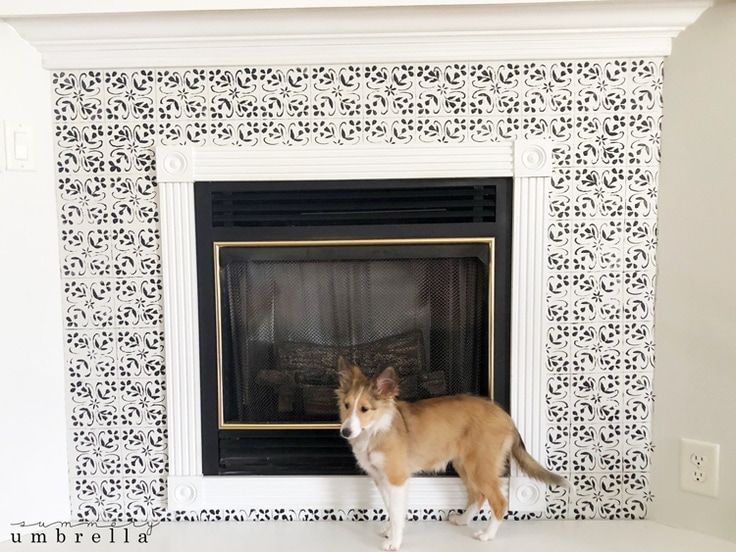
All of my stenciled faux tiles needed to line up just right in order to look consistent, but I’ll tell you a secret… they don’t! And you know what? It didn’t matter. Score one for imperfections and DIY projects! Let’s get started.
Want more ideas like this? Subscribe today to get our weekly Ideas in Your Inbox newsletter plus other exclusive gifts and offers — all for FREE!
Supplies Needed:
- Painter’s Tape (or clear tape)
- Black paint (latex, or acrylic)
- Paint brushes and/or Sponge Brushes
- Silhouette CAMEO and Mat
- Vinyl
- Transfer Tape
- Squeegee (or a Credit Card)
- Tulip Design Tile Template Download
Instructions:
1. Download the tulip design tile template
First things first, head on over to my website and download the template. It’s a free template that works with Cricut machines.

2. Measure your fireplace
Prior to cutting out your template make sure that you’ve determined the best size for your tile. For instance, I resized my design to fit a 5″ x 5″ square because this was the best measurement for the width of my fireplace. In other words, I could fit two full tiles side-by-side next to each other.
In fact, I highly recommend drawing out your entire square “only” pattern with a pencil prior to moving on to the next steps. It’ll help keep you on track while painting in the stencil.
3. Cut out two square pieces of vinyl
Cut out two square pieces of vinyl. Remove the backing from both and apply the sticky side to each. Smooth out with your squeegee, and place on your mat. These vinyl pieces will be your stencil!
TIP: Just make sure when you cut it out that you resize your machine’s blade to accommodate this extra vinyl width.
4. Cut out the template
Using your Silhouette CAMEO cut out the template with the vinyl on your mat. If you need assistance cutting out this design please check out these tutorials!
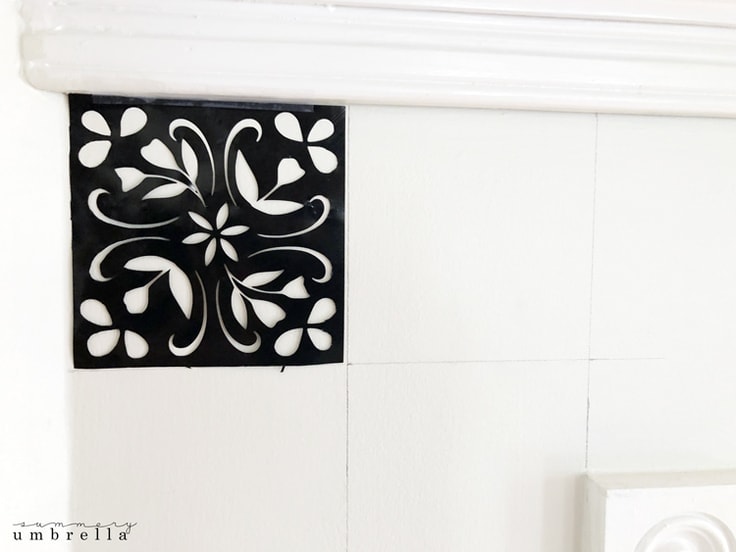
5. Remove your vinyl from your mat
Remove the vinyl from your mat.
Next, carefully remove the interior vinyl pieces so you are left with a stencil. See below image.
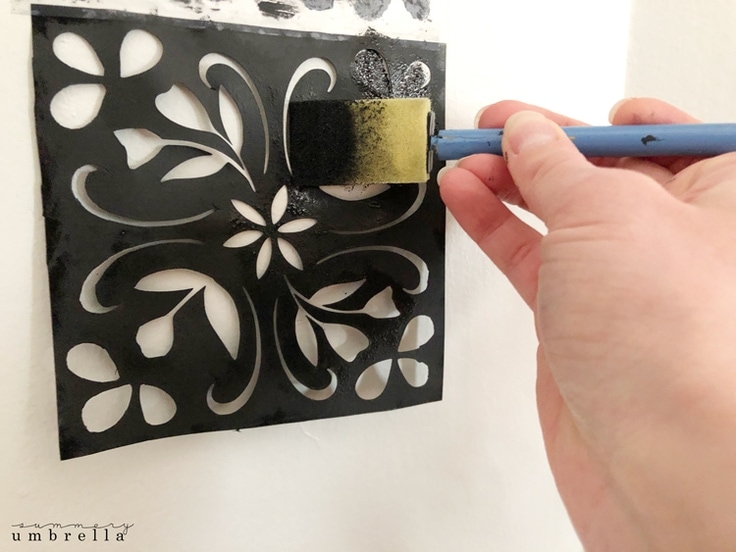
6. Apply a piece of tape to the top of stencil
For this next step you’ll want to add a small piece of tape to the top of your stencil so it sticks onto your fireplace wall while you paint it.
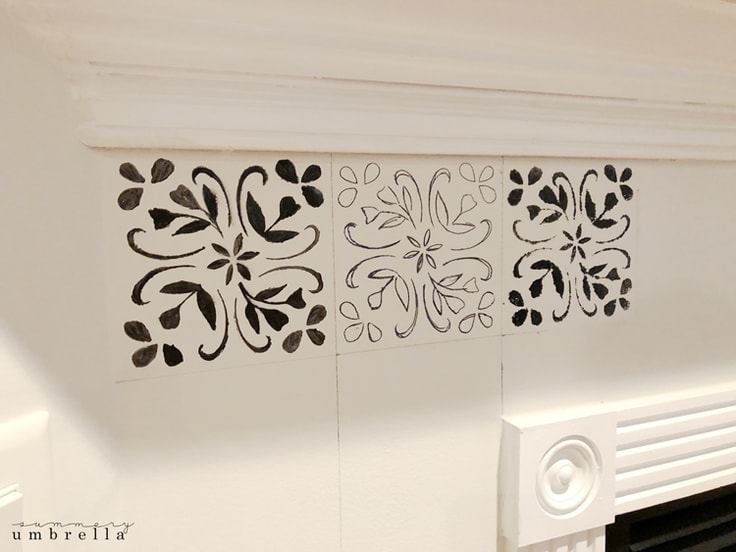
NOTE: In the image below I tried three methods to see which would be easiest and quickest for adding my stencil. (Left to right: with a paint brush, black marker, and then with a sponge brush).
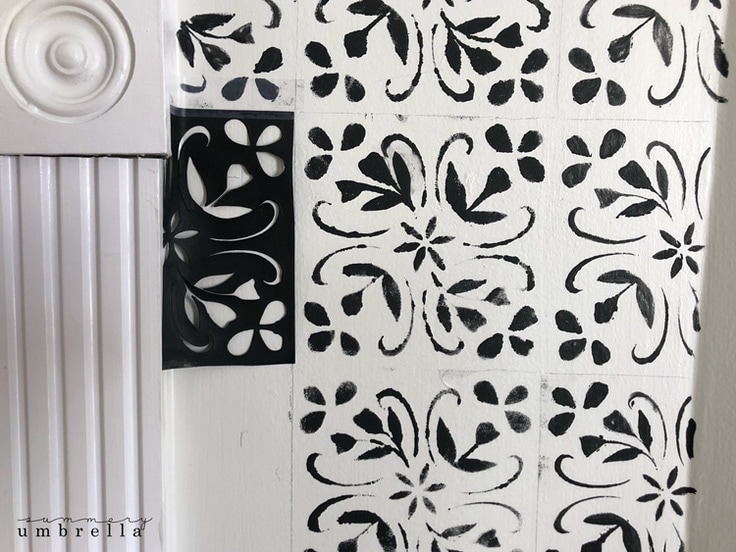
7. Paint!
Now, it’s time to paint in your tiles. Like I said earlier in this post, I’m a bit of a perfectionist so I really wanted to hand paint every square.
However, it would have taken me too long if I had taken this route. A sponge brush will produce messier results, but it’ll be much quicker in the end.
TIP: I had a lot of “half” tiles that needed to be painted. My advice: save them up until the end and then cut your stencil to make it easier to accomplish. See below.
8. Lightly paint in your tile lines
Then, lightly paint in your pencil lines around all of your faux tiles with the edge of your sponge brush or paint brush.
9. Add a vintage flair
Last, if you’d like, grab a household cleaner and a sponge, and scrub away some of the design. Use a clean and wet paper towel to remove any of the paint that wipes away.
That wasn’t too bad was it?! Definitely low cost, but yes, a little patience is required!
I found that breaking this project up into one hour increments over a three day period didn’t make it seem so daunting.
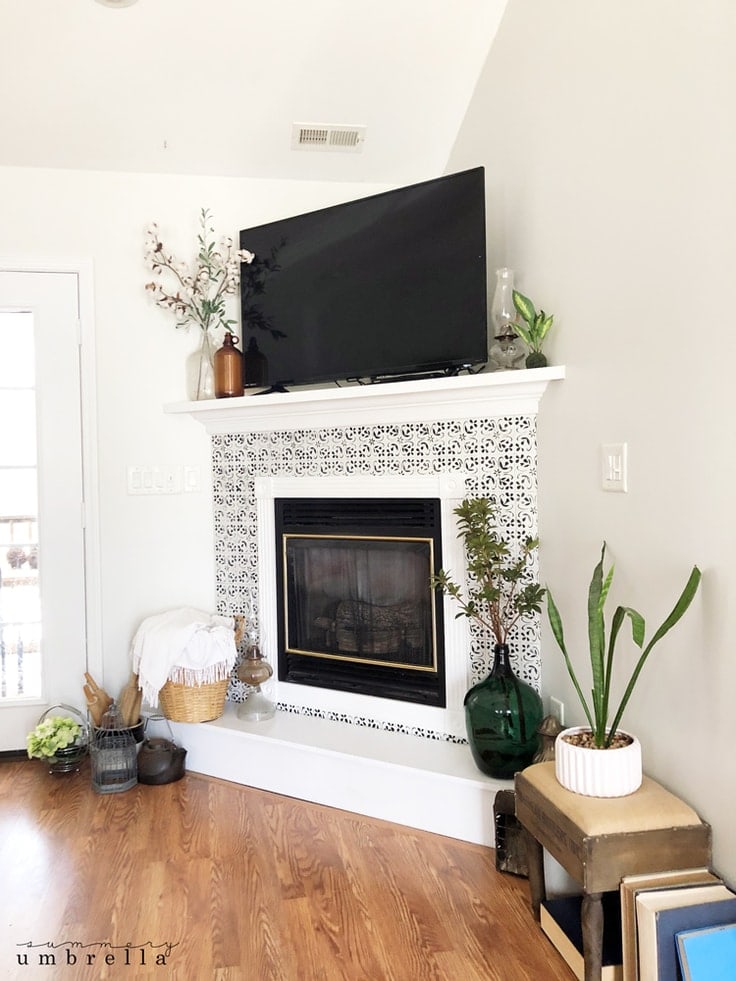
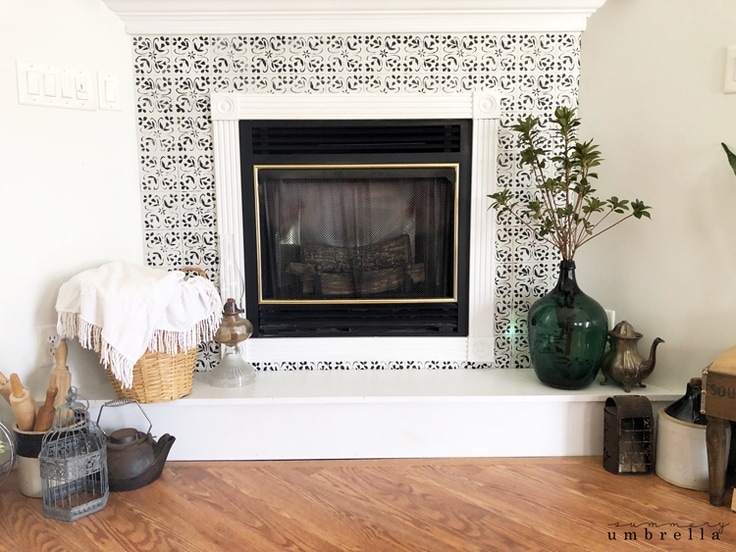
Now all I need to do is paint up that brass piece and this beauty will be ready for showtime!!
If you love easy projects you must check out these Faux Craft Techniques That Look Like the Real Thing. You won’t believe what some of these items are made of!

Now, go get your craft on, and I’ll see you again next time ?

Love the ideas you see here on Ideas for the Home by Kenarry®? Subscribe today to get our FREE DIY & Craft Planning Calendar, plus our weekly Ideas in Your Inbox newsletter filled with creative tips and exclusive offers!
What’s Next?
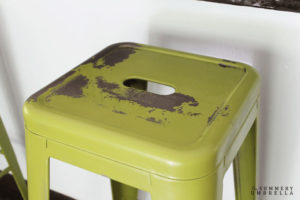
How to Paint and Distress Metal Bar Stools
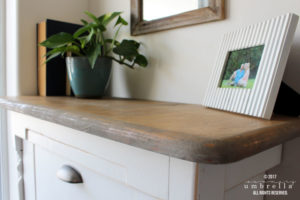
Repurposed Tabled Turned Tilt-Out Garbage Can
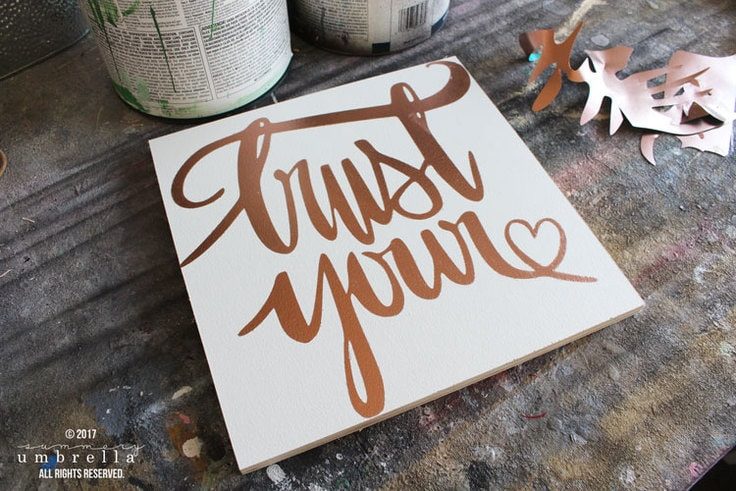
Trust Your Heart DIY Wood Sign
You may also enjoy these other crafty ideas on Ideas for the Home by Kenarry® –
This is beautiful! I just did the same thing with my fireplace tile last week!