Make A Beautiful Double-Sided Stenciled Pillow: Easy No-Sew Project
THIS POST MAY CONTAIN AFFILIATE LINKS. PLEASE SEE OUR FULL DISCLOSURE POLICY FOR DETAILS.
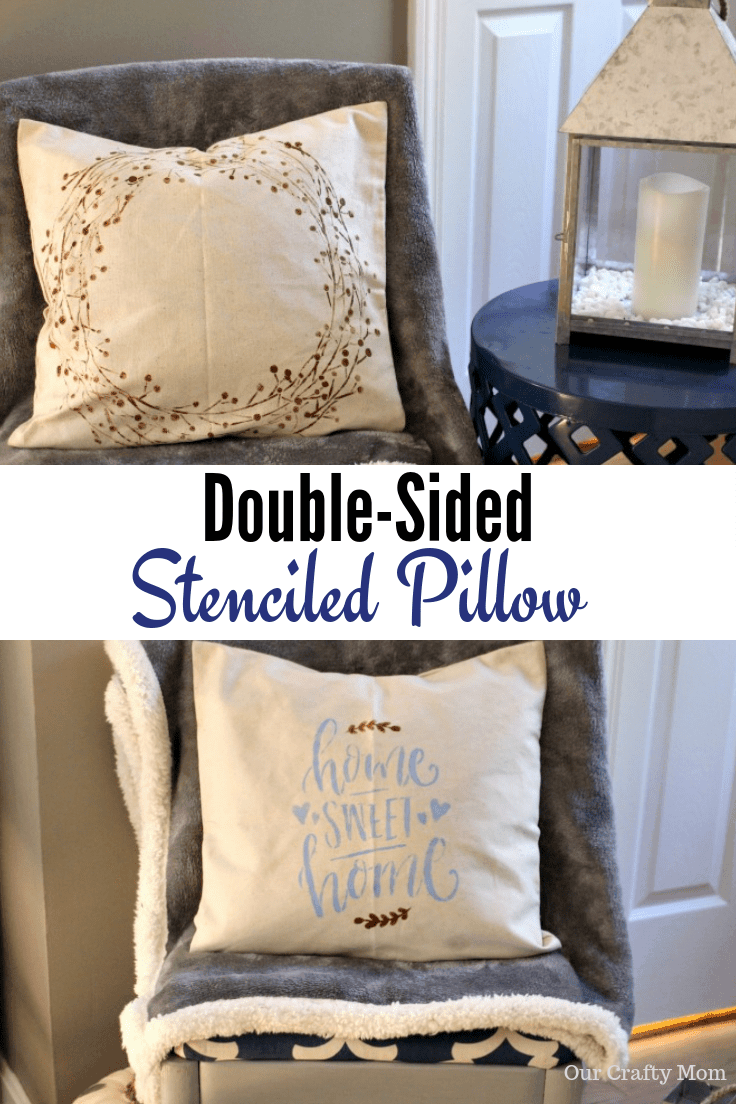
You can easily add a personal touch to your home with a double-sided stenciled pillow and the best part is, it’s no-sew!
Hello Kenarry Readers! It’s Michelle from Our Crafty Mom. I’m excited to be back sharing a double-sided, stenciled pillow that you can make in no time! Unfortunately, I cannot sew (yet), but there are so many beautiful pillow covers now that you can easily put your own personal stamp, or in this case, stencil on without having to sew a stitch!
How to Make a No-Sew Stenciled Pillow
Whether you want to make a seasonal pillow, or something you can use year round, this double-sided pillow is a fun option. Keep an eye out for pretty stencils at the craft store and don’t forget to use a coupon. There are so many great options.
Want more ideas like this? Subscribe today to get our weekly Ideas in Your Inbox newsletter plus other exclusive gifts and offers — all for FREE!
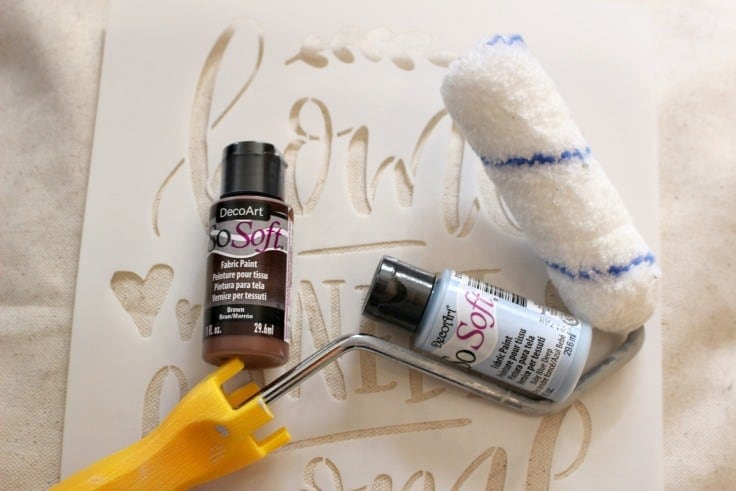
Supplies Needed:
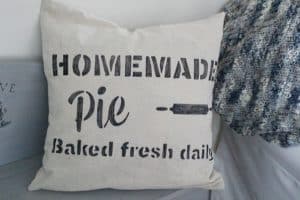
- Winterberry Wreath Stencil
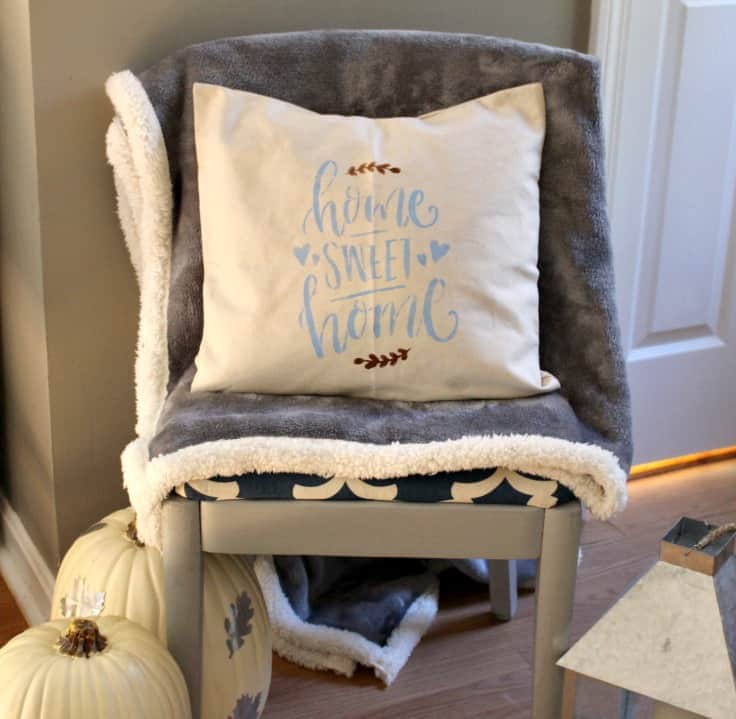
- Home Sweet Home Stencil
- So Soft Fabric Ink – Indian Turquoise
- So Soft Fabric Ink – Brown
- Linen Throw Pillow Covers 18 x 18″
- 18 x 18″ Pillow Insert
- Fabric Spray Adhesive
- 4″ Foam Paint Roller
Instructions:
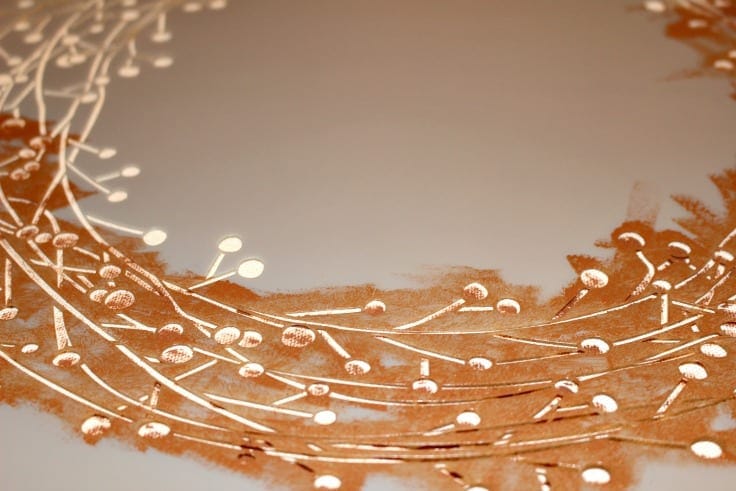
1. Spray fabric adhesive on the wreath stencil.
Lightly spray the back of the wreath stencil with the fabric adhesive and place it on the pillow cover. Be sure that the stencil is placed evenly on the pillow cover. The pillow cover and wreath stencil recommended above are the same
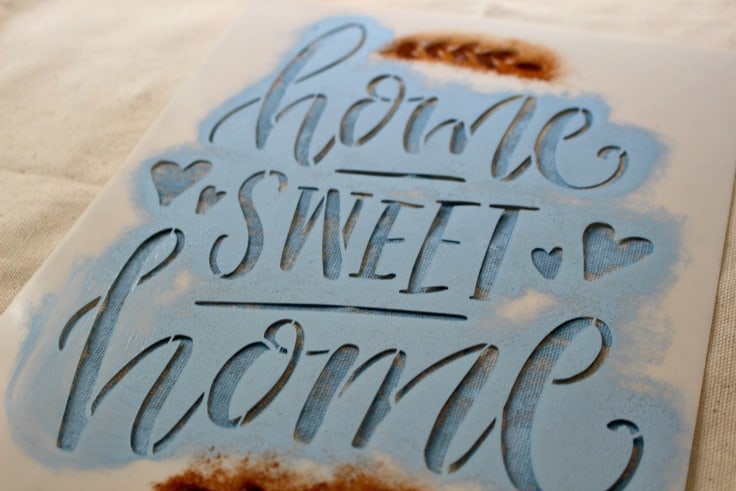
2. Apply fabric paint.
Pour brown fabric paint on a paper plate and run the paint roller over the paint. It is best to start lightly adding the paint to the wreath stencil. If you add too much paint it may bleed.
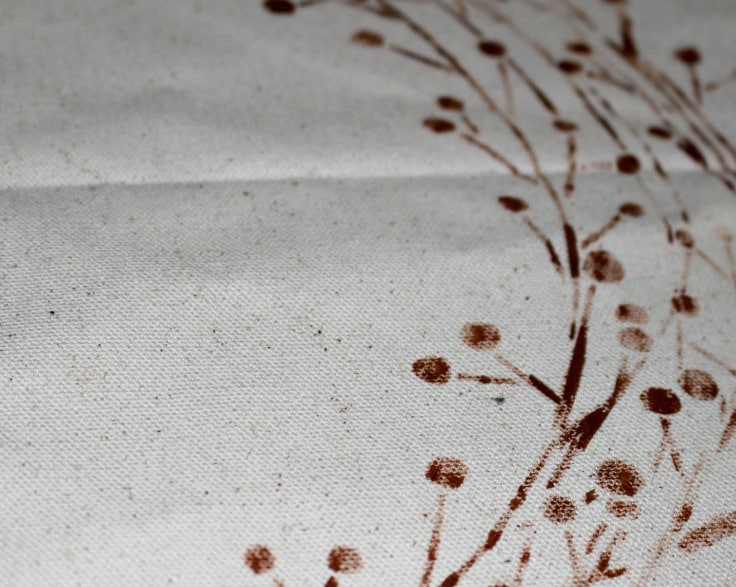
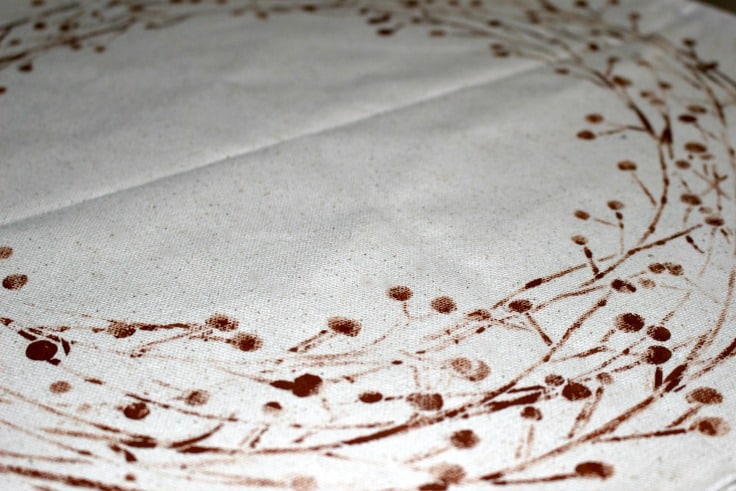
3. Check the coverage.
Once you have gone over the entire stencil with the paint roller, you want to check the paint coverage. Carefully lift a corner of the stencil and check to see if you are happy with the coverage. If you need a little more paint, lightly roll on another layer. Two coats should definitely be enough to cover the entire stencil.
4. Let the pillow dry.
As you are going to paint the opposite side of the pillow cover, you want to make sure the paint is dry. I usually let it dry overnight, but I would give it at least 2-3 hours just to be safe.
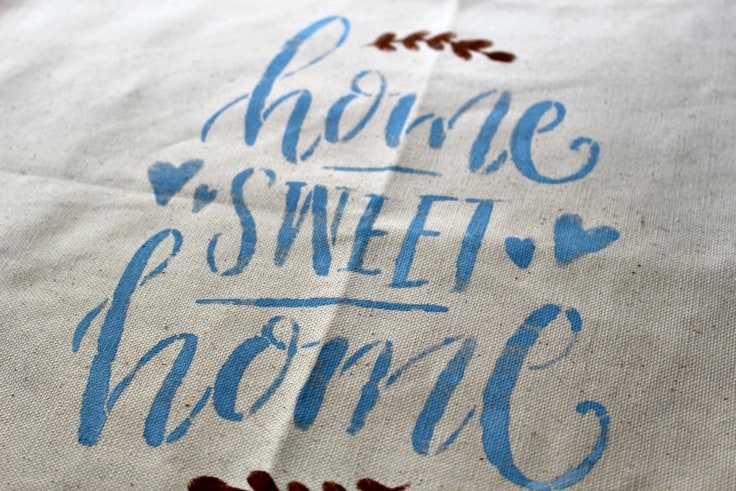
5. Stencil the other side of the pillow.
Once the stenciled wreath is dry, it’s time to stencil the other side of the pillow.
6. Apply fabric paint.
Follow the same process that you did for the front side of the pillow, by adding spray adhesive to the home sweet home stencil and placing it on the pillow form. Again, you want to lightly add the paint to the stencil with the paint roller.
7. Let the pillow dry.
Check the coverage and add a second coat of paint if necessary. Let dry overnight or atleast 2-3 hours.
8. Place pillow insert into the stenciled pillow cover.
Now place the pillow insert into the pillow cover. You can stop here and have a beautiful double-sided pillow that you made yourself, or you can add embellishments like pompoms, felt flowers or even a pretty ribbon trim. I chose to leave the pillow without any embellishments. It’s totally up to you!
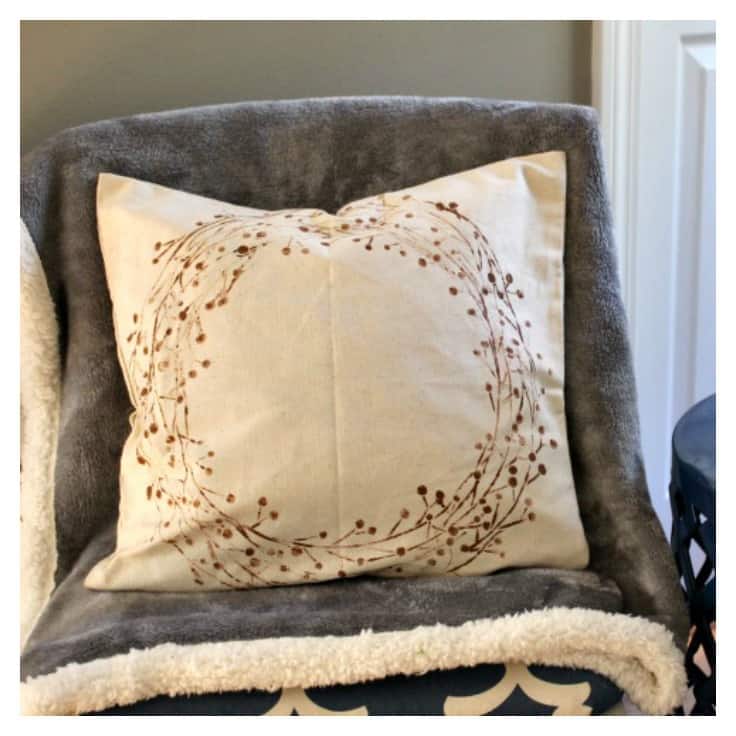
I love that the pillow is double-sided, so you can switch it over if you tire of it, or once the season is over. This is something that I do with not only all my DIY pillows, but also with most of the signs I make. I will share some below in case you want to make your own.

What’s Next?
How to Make A DIY Pom Pom Pillow


You may also enjoy these pillow ideas on Ideas for the Home by Kenarry® –