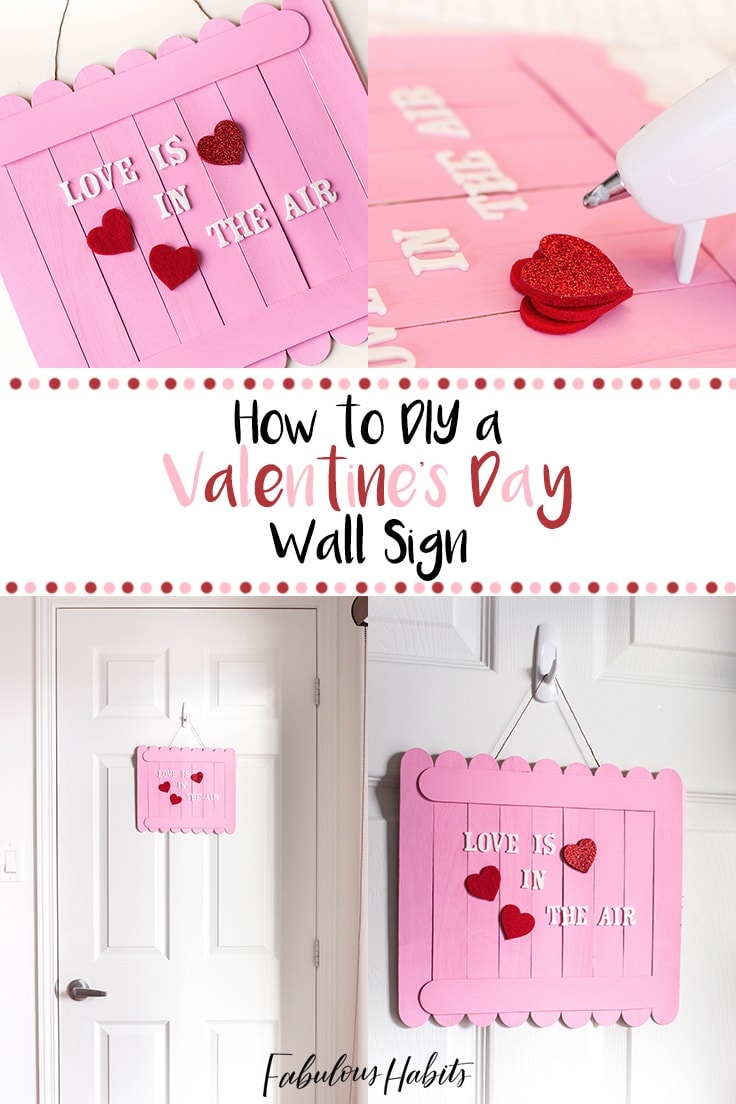
How to Make a DIY Valentine’s Day Wall Sign
THIS POST MAY CONTAIN AFFILIATE LINKS. PLEASE SEE OUR FULL DISCLOSURE POLICY FOR DETAILS.
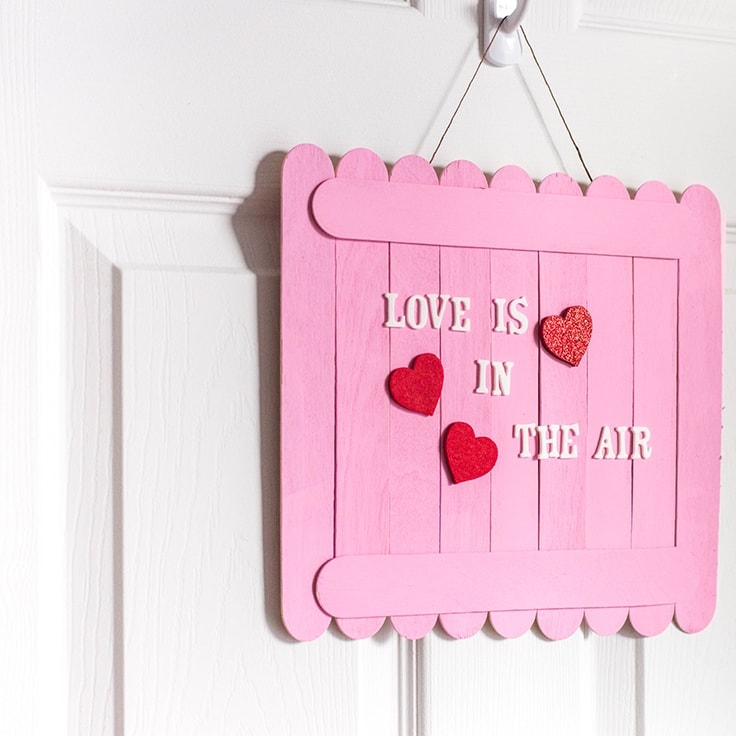
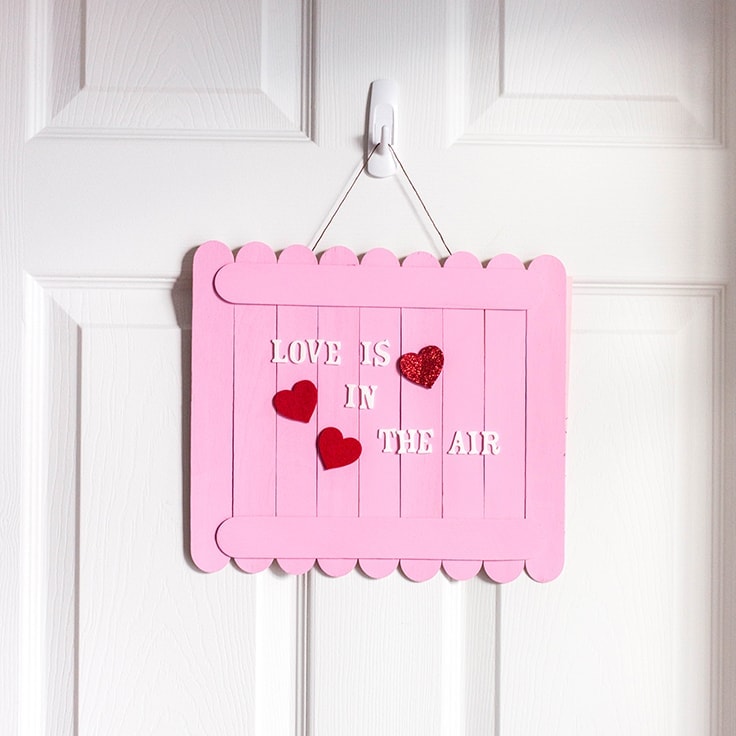
Show ’em that you care with this super easy DIY Valentine’s Day wall sign. C’mon! It’s time to spruce-up your home for the most romantic time of the year!
Hello, hello! Lisa reporting for duty! I am so excited to kick off my first Kenarry post of the year with this DIY Valentine’s Day wall sign.
I am a huge fan of Valentine’s Day. Heck, I was a fan of the holiday even before I met my husband. Over the years, I always tried to find a positive way to celebrate V-Day. When I was younger (and yup, very single), my best friend and I would go on “BFF Dates” and we would say ‘cheers’ to February 14th together!
Now that I’m a mama, I am celebrating this special day with my little family. I don’t go too crazy on Valentine’s decorations, but I couldn’t help but make this little number.
How to DIY a Valentine’s Day Wall Sign
The best thing about this DIY is that it doesn’t take much time to complete. You’ll have a bright, romantic, and super cute sign up on your door in no time!
What you need:
Want more ideas like this? Subscribe today to get our weekly Ideas in Your Inbox newsletter plus other exclusive gifts and offers — all for FREE!
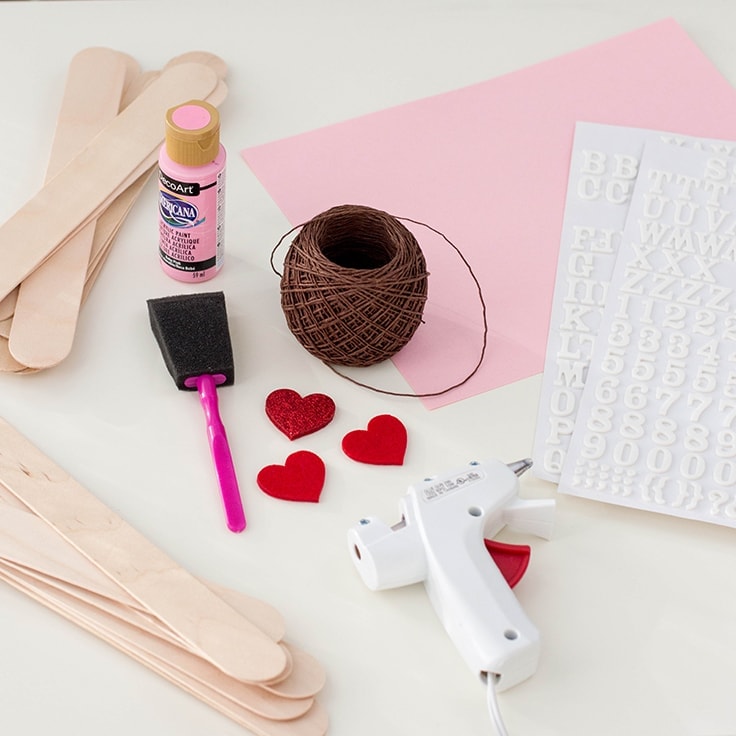
Craft/DIY Tools Needed:
- Foam paint brush
- Hot glue gun + extra glue sticks
- Scissors
Supplies
- Pink acrylic paint
- 1 pink cardstock, 8.5 x 11 in.
- Extra large wooden craft sticks (we used 12 of them)
- Letter stickers
- 3-4 small foam hearts (usually used for scrapbooking)
- Waxed twine
Instructions:
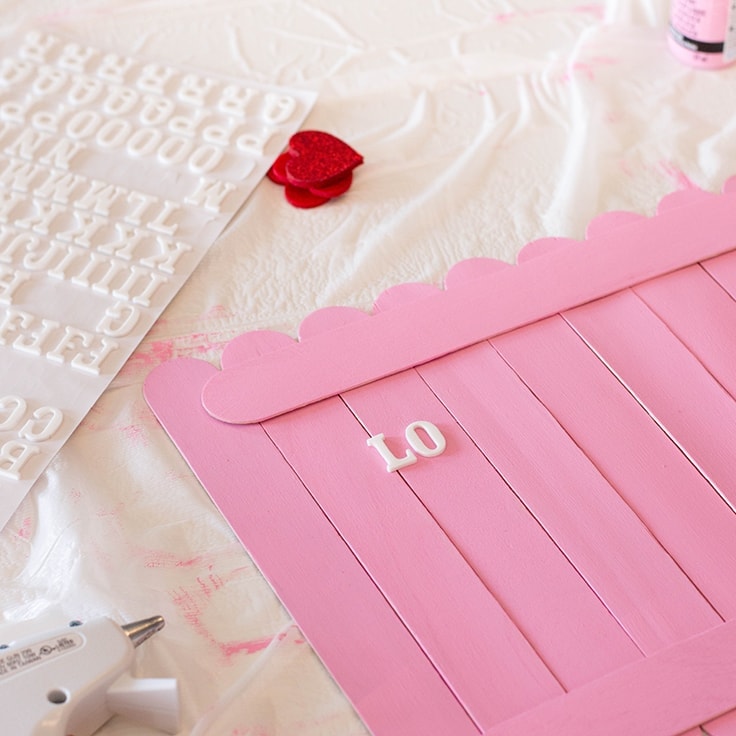
1. Estimate the Sizing
Place your cardstock horizontally on your working table. Lay out your wooden sticks side by side on the cardstock so you get an idea of how many you’ll need to cover it.
I was able to fit 9 popsicle sticks across, and then I kept an extra 3: 2 to glue on the bottom and top of the sign (horizontally), and the third for the back, to secure the twine.
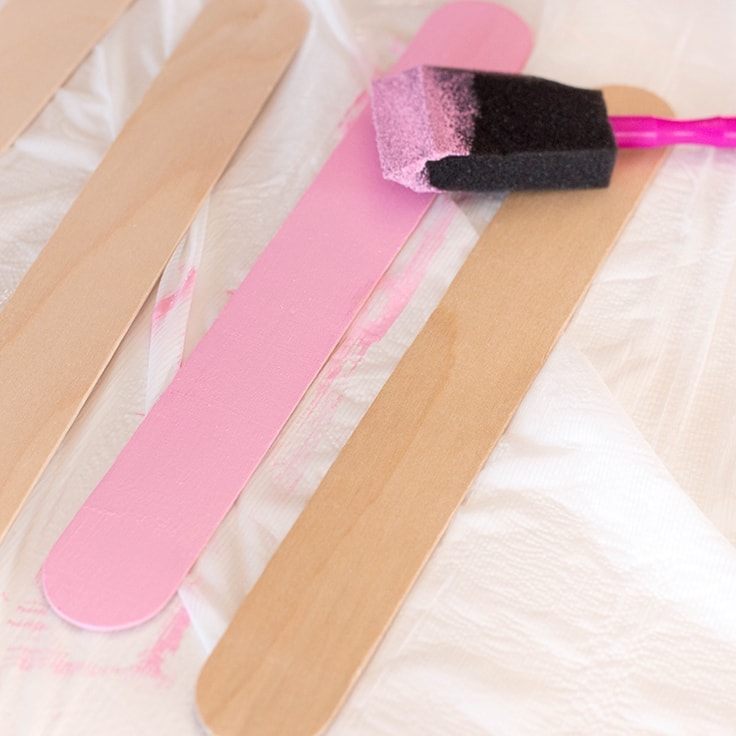
2. Roll up Your Sleeves and Start Painting!
Line your working surface with a garbage bag or newspaper (you won’t want to make a mess!).
Paint one side of each wooden craft stick and allow to dry completely.
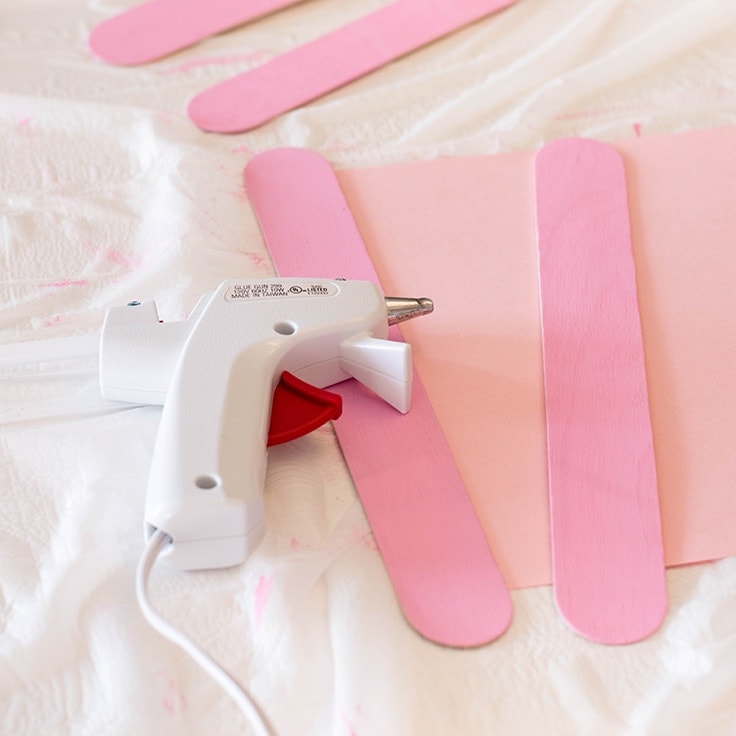
3. Glue and Secure
Glue each popsicle stick onto your cardstock. Remember, you’ll want to cover the entire cardstock and then add 1 to the top and bottom of the sign. Allow to dry.

4. Say it with Words (or Sticker Letters)
Once everything is nice and dry, place your sticker letters on the sign to say “Love is in the Air” (or, any romantic phrase of your choice!).
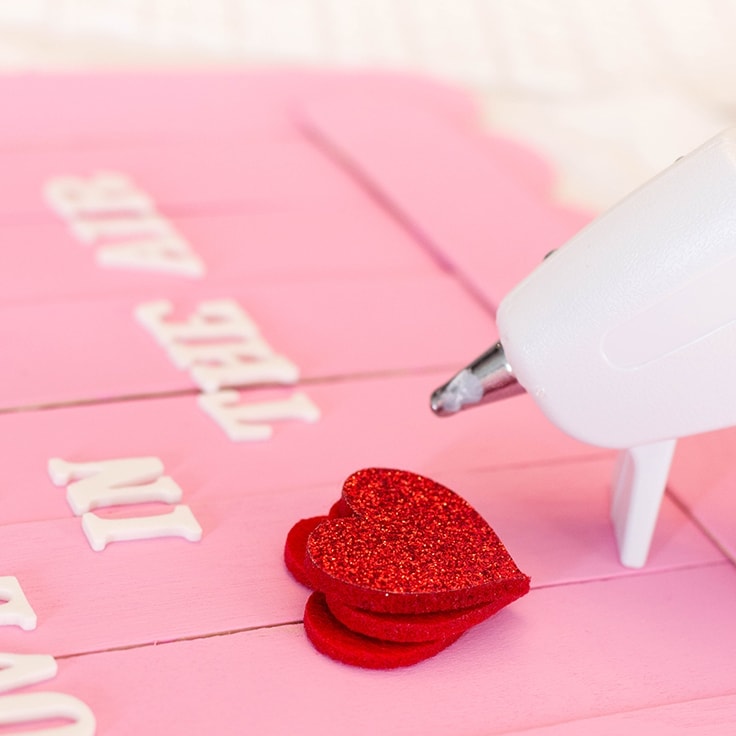
5. Add Some Hearts
Glue your hearts (wherever you please!) onto your sign. Some foam hearts have an adhesive backing, so gluing won’t even be necessary.
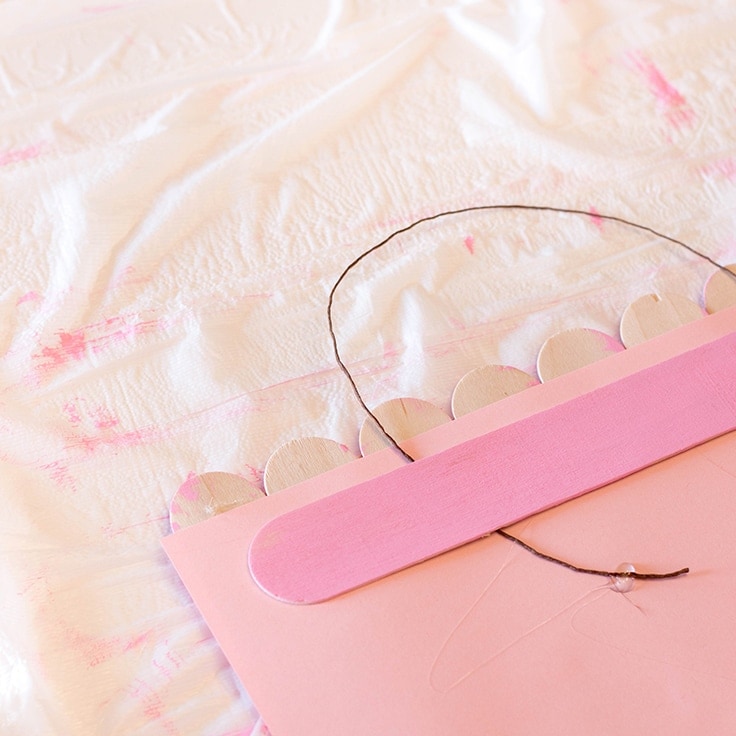
6. Hang it Up!
Cut about 4 inches of your waxed twine and glue it onto the center back of your sign. I used a popsicle stick and glued it on top of the glued portion of the twine just to secure it even more.
Hang it up on your door (with the help of a sticky hook) and feel the love!
What’s Next?
5 Ways to Treat Yourself this Valentine’s Day

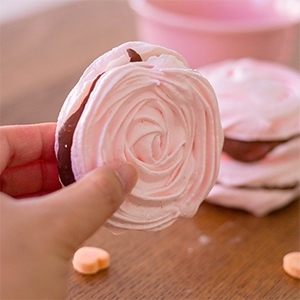
Meringue Cookies with a Chocolate Center
Emoji Cookies: The Sparkling Heart

You may also enjoy these Valentine’s Day ideas on Kenarry: