String Art Pumpkin: A Fun Fall Project
THIS POST MAY CONTAIN AFFILIATE LINKS. PLEASE SEE OUR FULL DISCLOSURE POLICY FOR DETAILS.
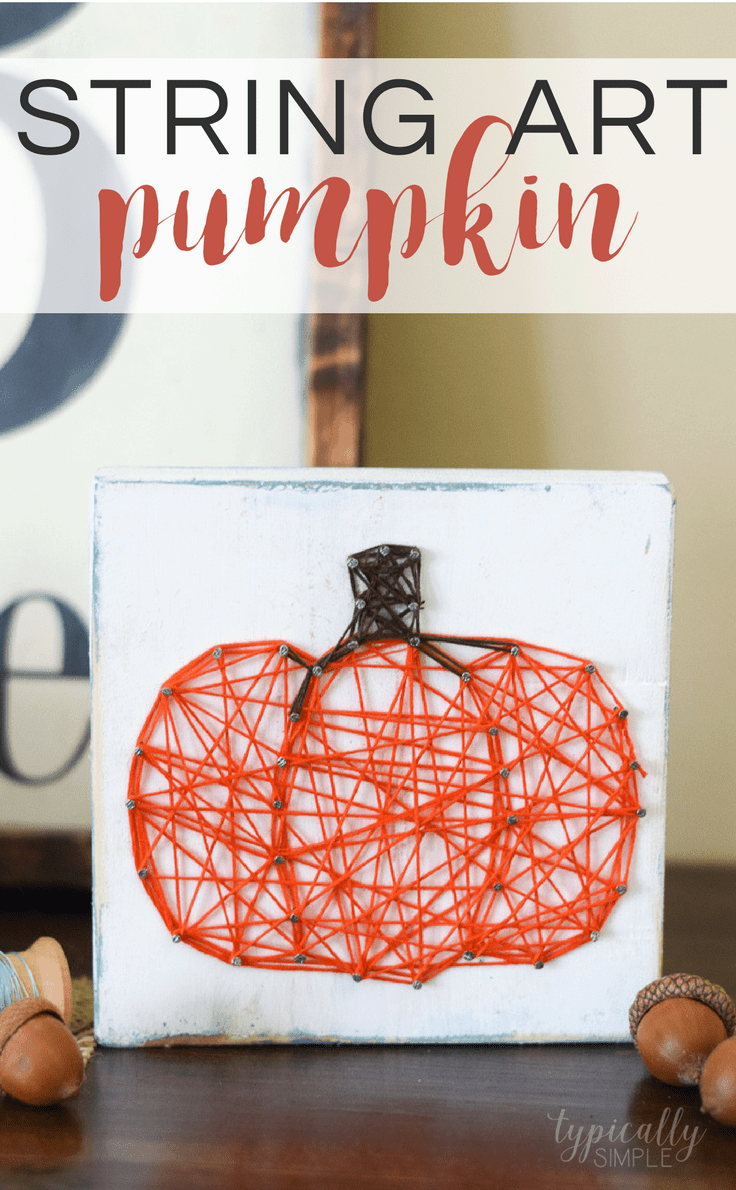
This string art pumpkin project is such a simple craft to make and will add the perfect pop of fall to your table or mantel!
Hi there, Kenarry readers! It’s Kelly from Typically Simple and I am back this month with a fun craft project that is perfect for fall!
I just love the look of string art and how easy it is to customize a string art project with different shapes, colors, and even words! They are also a fun and simple craft to make for a Pinterest Party or Girls Night Out.
Since fall is just around the corner (is anyone else ready for cooler weather?!) I thought it would be cute to make a pumpkin shaped string art to sit out on our table. I always end up with lots of scrap wood pieces from making other projects and they are perfect for these string art projects!

Disclosure: This blog post contains affiliate links for products or services we think you’ll like. This means if you make a purchase from one of these links, Ideas for the Home by Kenarry® will make a small commission at no additional cost to you so we can keep the great ideas for the home coming your way. All opinions expressed are derived from personal experience.
String Art Pumpkin Tutorial
Supplies
- wood
- paint or stain
- sand paper (optional)
- small wire brad nails
- hammer
- embroidery thread
- scissors
- pumpkin template

Instructions
Start by painting or staining your piece of wood. If you want a more distressed look, sand the edges a little with sandpaper after the paint has dried.
Print out a pumpkin template that is roughly the same size as the piece of wood. You can find free clipart shapes by using Google or if you have a Cricut or Silhouette, you can design your template in the software program and print it out.
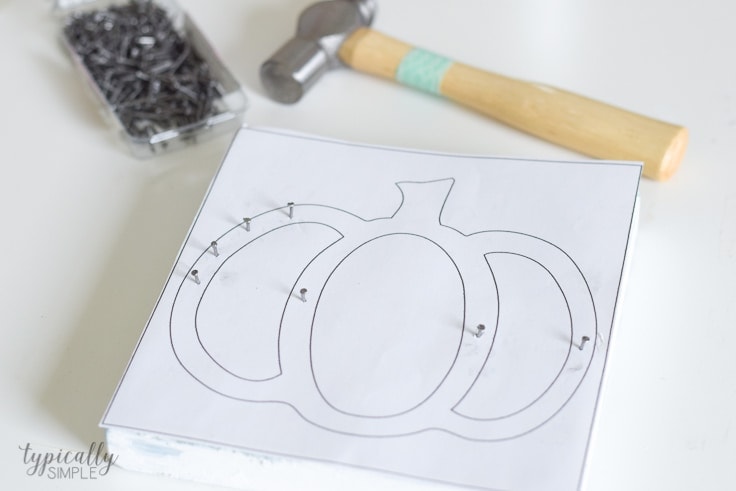
Place the template on top of the wood and start hammering in the nails. Hammer the nails right through the paper using the lines on the template as a guide. Make sure not to hammer them in too far, about halfway down works well, and space them evenly throughout.
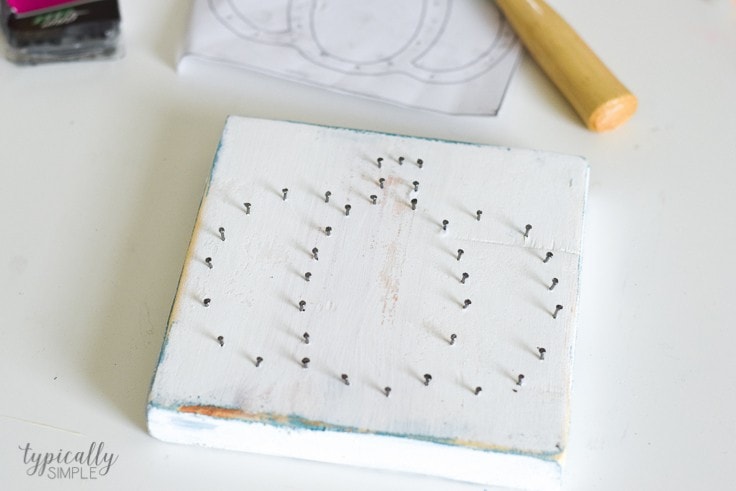
After all the nails are in place, pull up the paper template to reveal your pumpkin design.
Take one end of the embroidery thread and tie it in a knot around one of the nails. Start the stringing process by wrapping the thread around each nail, going up, down, across, or diagonal. Continue this process until the pumpkin shape is filled with string. Tie off the end to a nail and trim any excess with scissors.
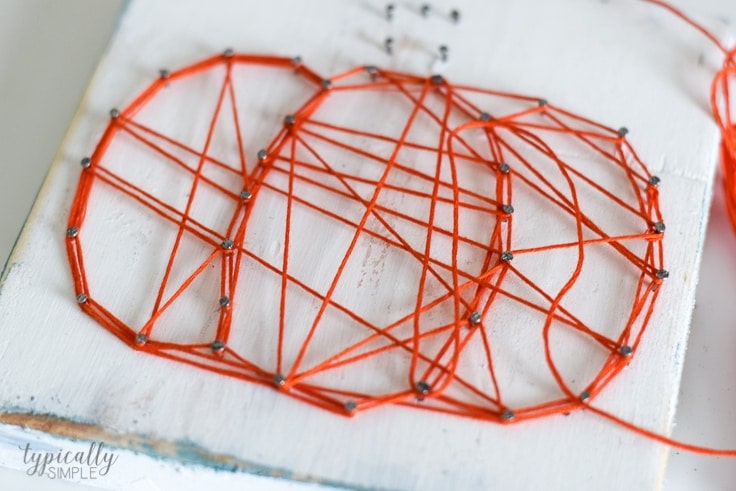
Using brown thread, I repeated the stringing steps to create the stem. Get creative with your string art – use different colors or even create a pattern with the string by zig zagging back & forth. So many possibilities!
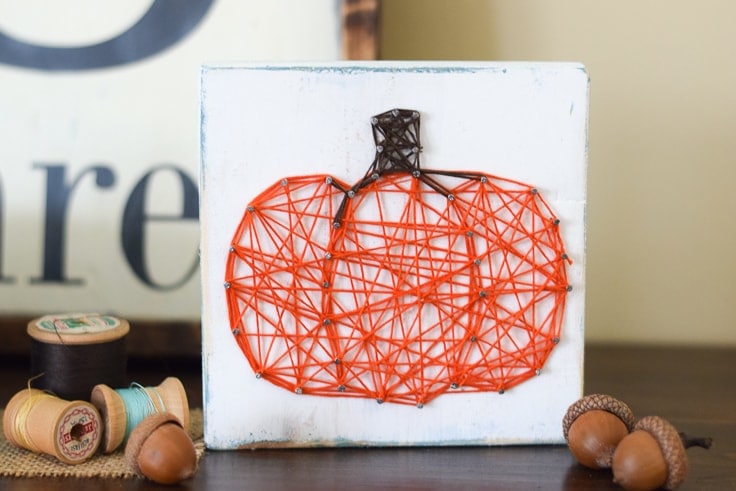
How cute would it be to create these pumpkins in a few different sizes or even use some unconventional fall colors, like teal and coral! String art is such a fun project to make for any holiday or season!
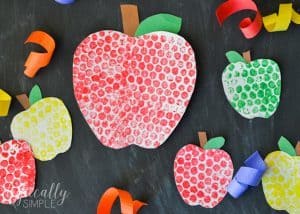
Here are a few more cute crafts that are fun for fall!
Bubble Wrap Painting Apples Craft
Love the ideas you see here on Ideas for the Home by Kenarry®? Subscribe today to get our FREE DIY & Craft Planning Calendar, plus our weekly Ideas in Your Inbox newsletter filled with creative tips and exclusive offers!
What’s Next?
Stick around and check out a few of our other fall pumpkin posts while you’re here:
Hi Kelly. Our readers will love this tutorial 🙂 We’ve included it in our craft inspiration roundup this week. https://craftylikegranny.com/fall-crafts/ Cheers Emily 🙂
Thank you so much for the feature, Emily! We love your round-up of fall idea — that crochet egg collecting apron is especially cute!
Love the string art pumpkin. We want to make with a class at church. Do you know about how much of the orange thread you used for one pumpkin? Thanks.
Hi Christie,
Thank you for reaching out to us! That’s such a great question and the answer is that it’s really a matter of personal preference and how “full” the crafter wants his/her pumpkin to be. We’d recommend having one pack of orange embroidery thread per person though you’ll likely have a little leftover. A pack of embroidery thread is typically 8.75 yards.
We hope that helps. We’d love to see photos of your class in action. If you post a pic on Facebook or Instagram, please tag us @kenarryideas
Happy crafting!
Best wishes,
Carrie
Ideas for the Home by Kenarry