Paper Crafts: Make Pretty Summer Table Decor
THIS POST MAY CONTAIN AFFILIATE LINKS. PLEASE SEE OUR FULL DISCLOSURE POLICY FOR DETAILS.
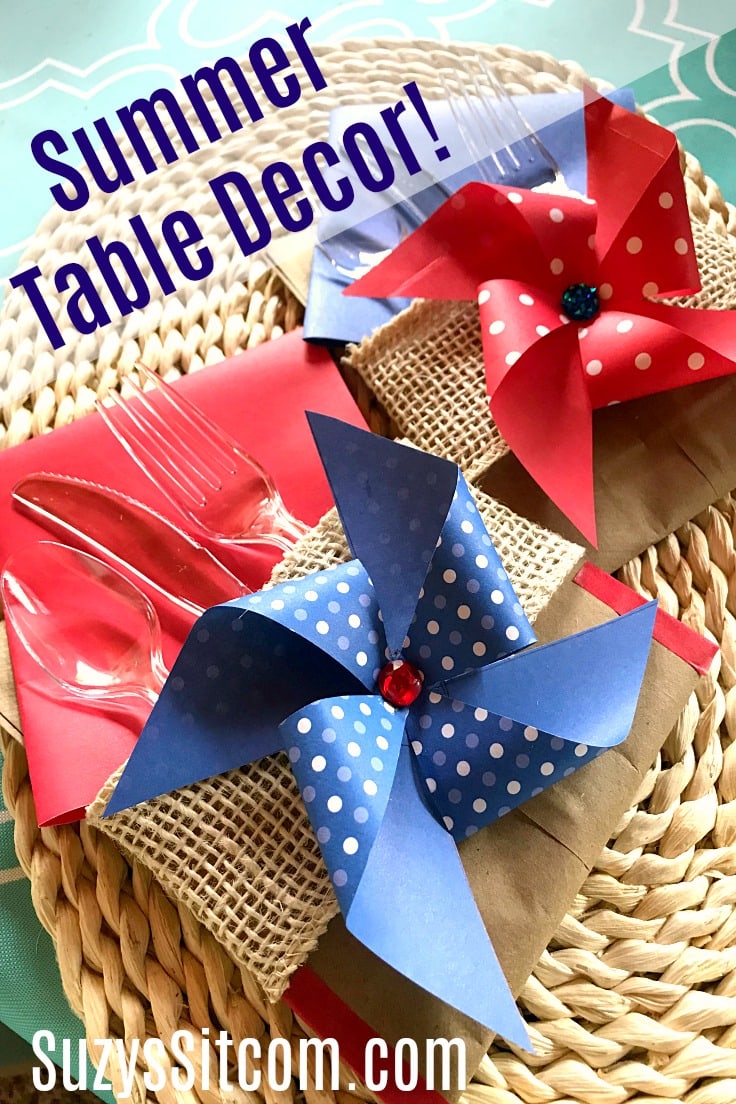
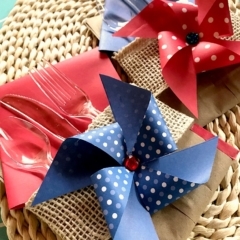
Create pretty summer table decor with paper! This easy tutorial shows you how to brighten up your summer table with cute table settings made from paper bags and card stock.
Did you know that June is traditionally the month for family reunions? In our house, that means fun family gatherings around the campfire, lots of great food, music, and fun. And even though we are often traveling, I love to set up a fun festive table.
Want more ideas like this? Subscribe today to get our weekly Ideas in Your Inbox newsletter plus other exclusive gifts and offers — all for FREE!
Here is a great paper craft project that combines the fun with a bit of creativity to make your own pretty summer table decor with brown paper bags and brightly colored decorative tape.
Planning a picnic or a small gathering is even more fun when you have neat little packages for your napkins and plastic ware.
After you make this paper craft, click over to try this easy paper art idea for summer too!
How to Make Pretty summer table decor
And finally summer is here! After such rotten beginning of 2020, we could all certainly use some sunshine. This is Suzy from SuzysSitcom and I do love a good paper craft. Let’s make some fun table decor to brighten up our summer table!

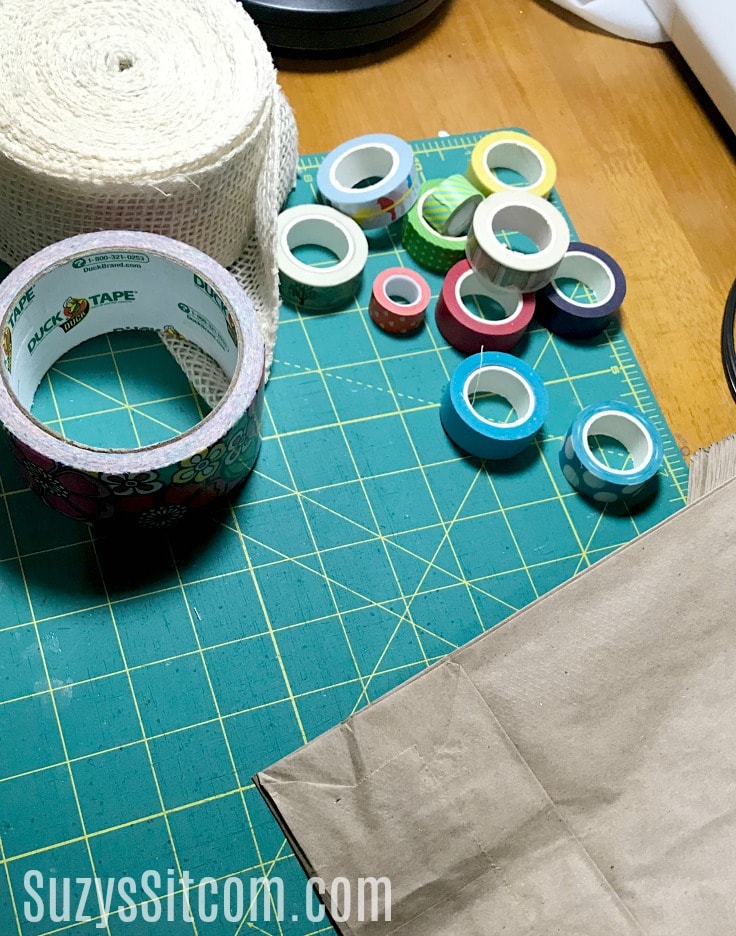
What you need:
- One roll of decorative tape 2-1/2″ wide
- One roll of coordinating tape 1″ wide
- Optional Burlap Ribbon 2-1/2″ wide
- Paper Bags
- Brightly colored cardstock
- Colored gemstones
- Hot glue
Instructions:
Here’s how to make your own summer table decor! You are going to love it.
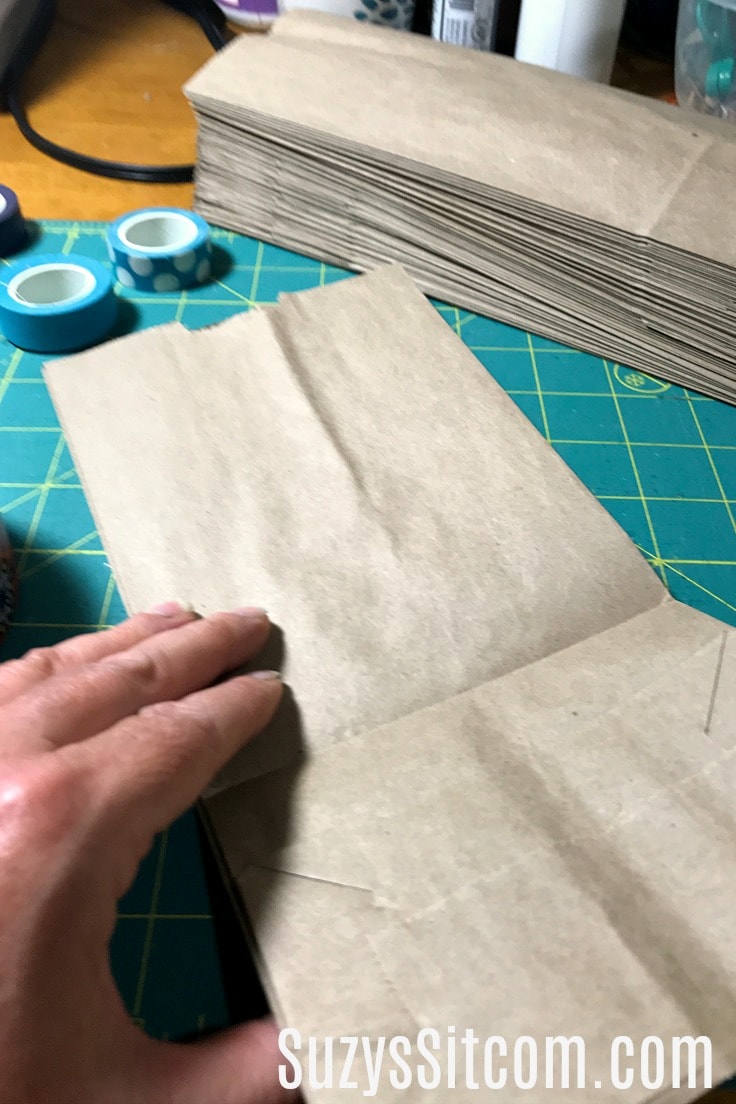
1. fold the paper bag
Place the paper bag with the bottom side up. Begin by folding the bottom of the bag up about 4″. Press the fold to create a crisp crease.
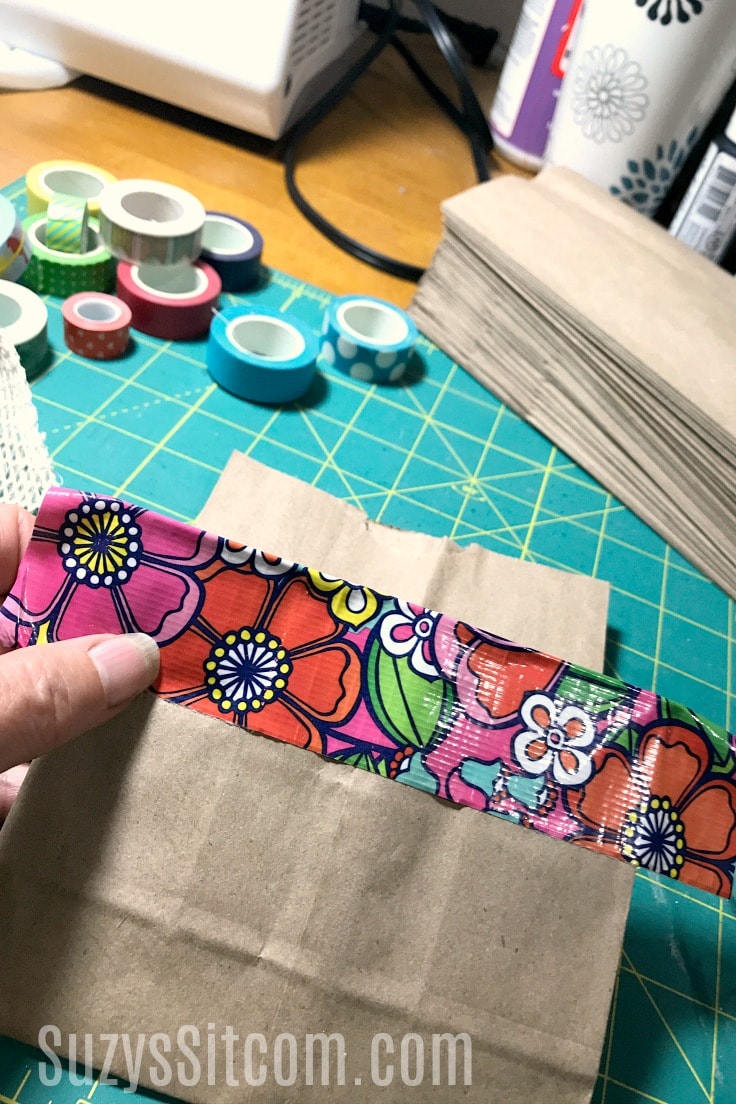
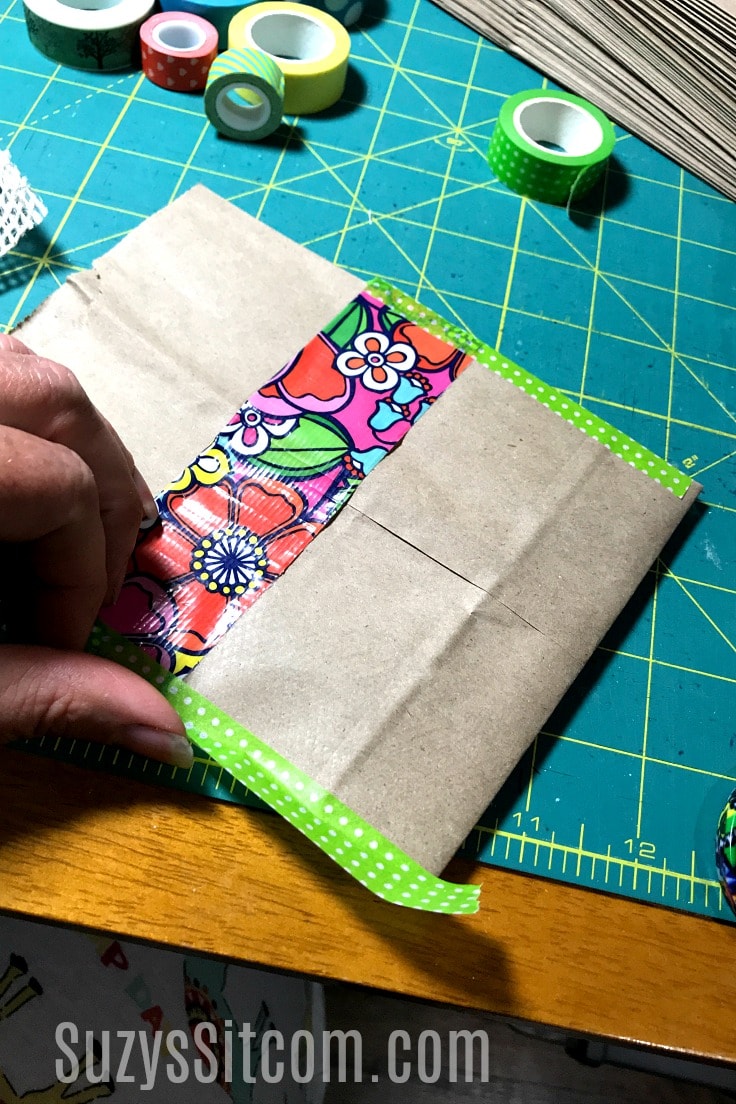
2. add decorative tape
Cut a piece of the wide decorative tape long enough to overlap both sides of the bag. Fold the edge of the tape over the top of the flap, and then fold the edges over the sides of the flap.
3. tape the sides to create a pocket
Cut a piece of the narrower tape long enough to overlap the top and bottom of the flap on the side. Place along the side of the flap. Fold the top and bottom of the tape over the top and bottom of the flap, then fold the side over the back of the bag, creating a pocket.
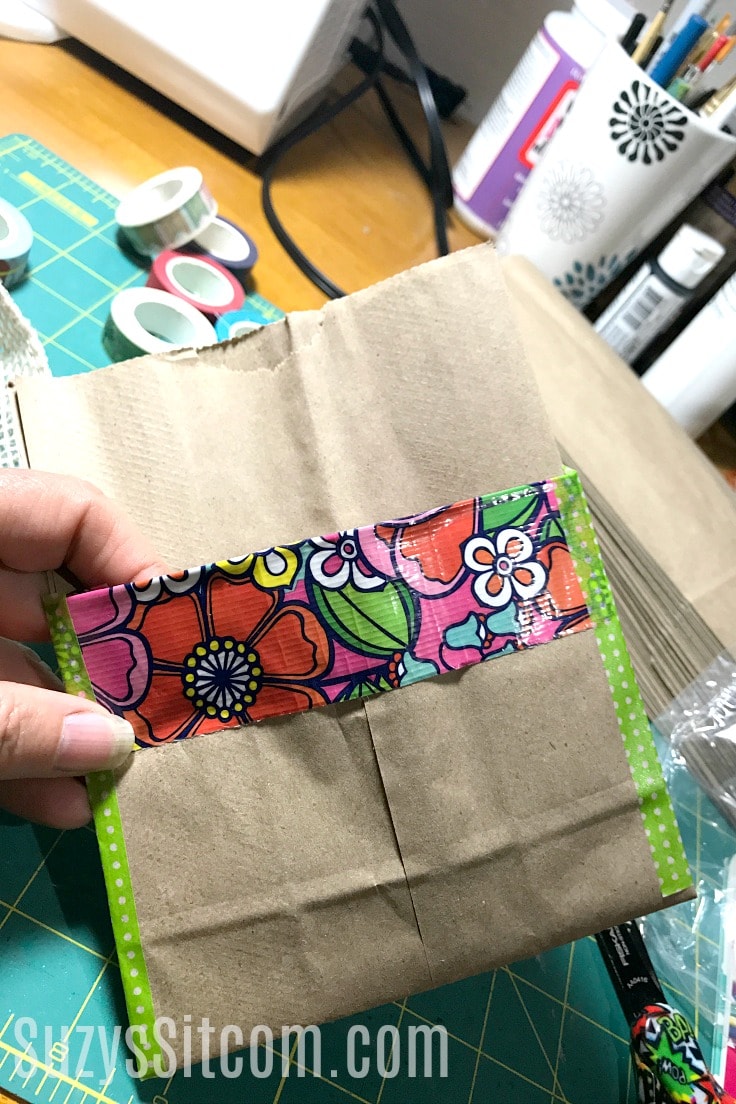
Repeat with the other side. You now have a pretty pocket!
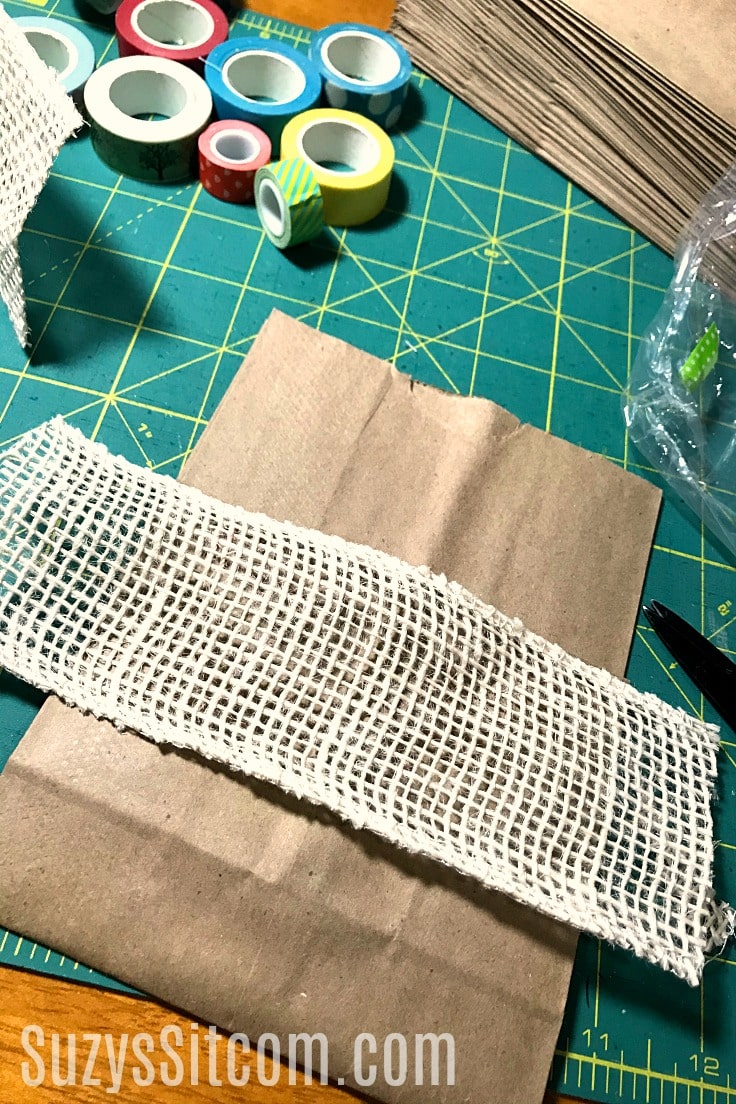
4. Using burlap ribbon
To create a place setting using the burlap ribbon, follow the steps above. In place of the wide decorative tape, use the burlap ribbon. Use hot-glue to attach it to the front of the pouch.
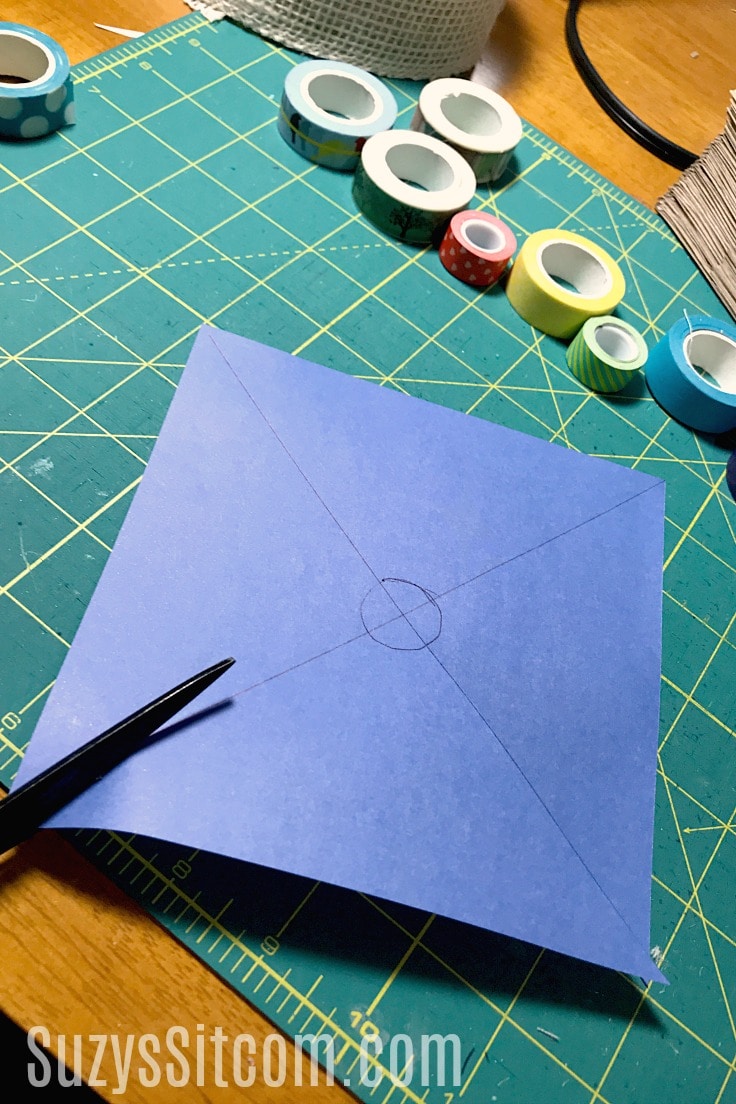
5. how to create paper pinwheels
Now let’s make the pinwheels! Cut a 4″ square of colored cardstock. Draw a line from each corner, creating an X. Draw a circle in the center. Then cut along the pencil lines, stopping at the circle.
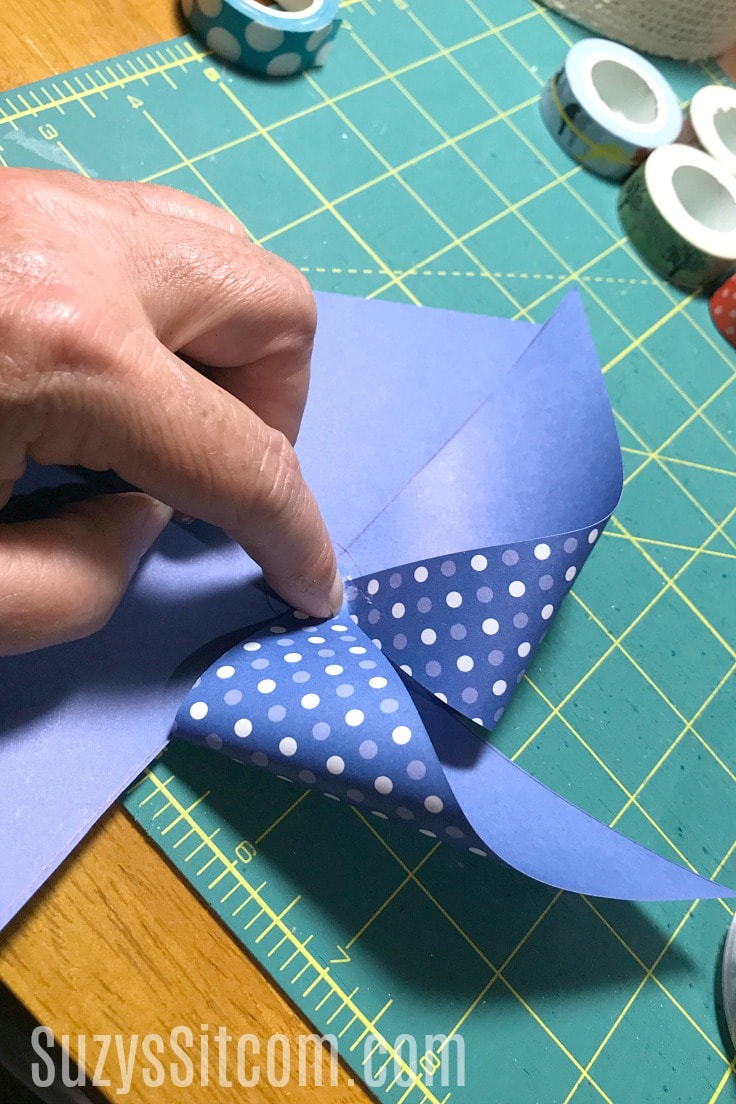
Add a drop of glue to the center, and then pull one of the corners to it. Allow to dry, then move to the next one. Once you have each corner glued in place, a pinwheel forms!
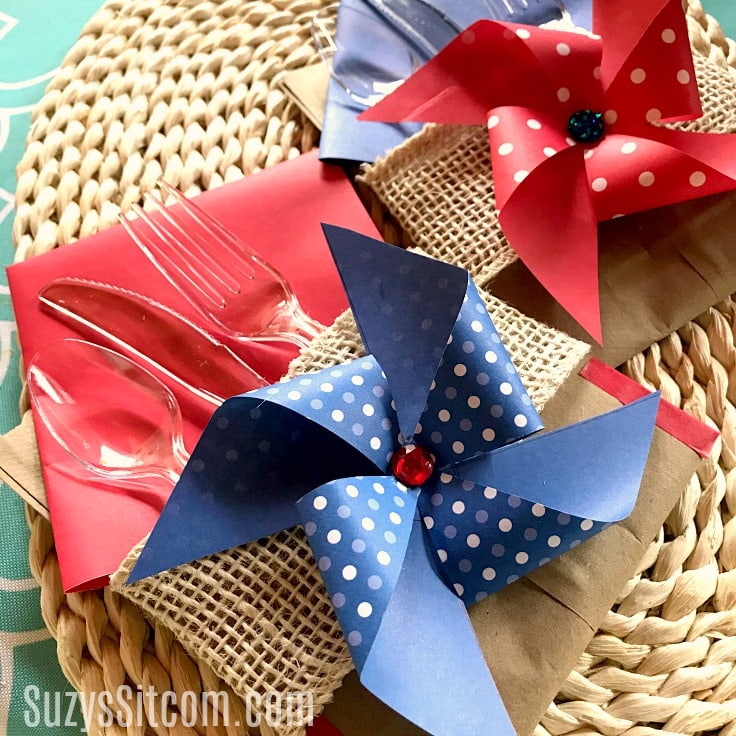
Glue the pinwheel on to the bag, and add a pretty gemstone to the center with hot glue.

Just add pretty matching napkins and plasticware and you have some cool party table settings! What I love about them is you can make them in most any design or color pattern. (You don’t know how close I came to making them zebra print!)
Perfect for a fun summer picnic! Take some time and enjoy your summer. You deserve it!
love paper crafts?
Creating with paper is a lot of fun, and you will be surprised at how versatile it can be! Here are just a few of my projects that are most popular with my readers.
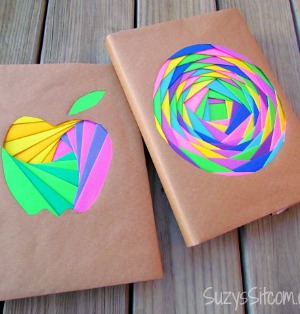
Create Art with Recycled Magazines

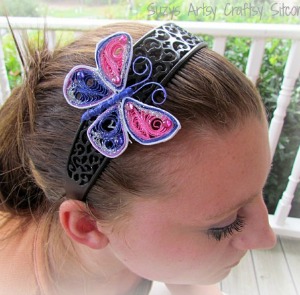
Make a Paper Quilled Butterfly Headband!
Love the ideas you see here on Ideas for the Home by Kenarry®? Subscribe today to get our FREE DIY & Craft Planning Calendar, plus our weekly Ideas in Your Inbox newsletter filled with creative tips and exclusive offers!
You may also enjoy these paper crafts on Ideas for the Home by Kenarry® –
Thank you for the FUN!!! Love your STUFF! God bless you!!!
Thank you so much, Julia! We’re so glad to hear it.
Best wishes,
Carrie
Ideas for the Home by Kenarry