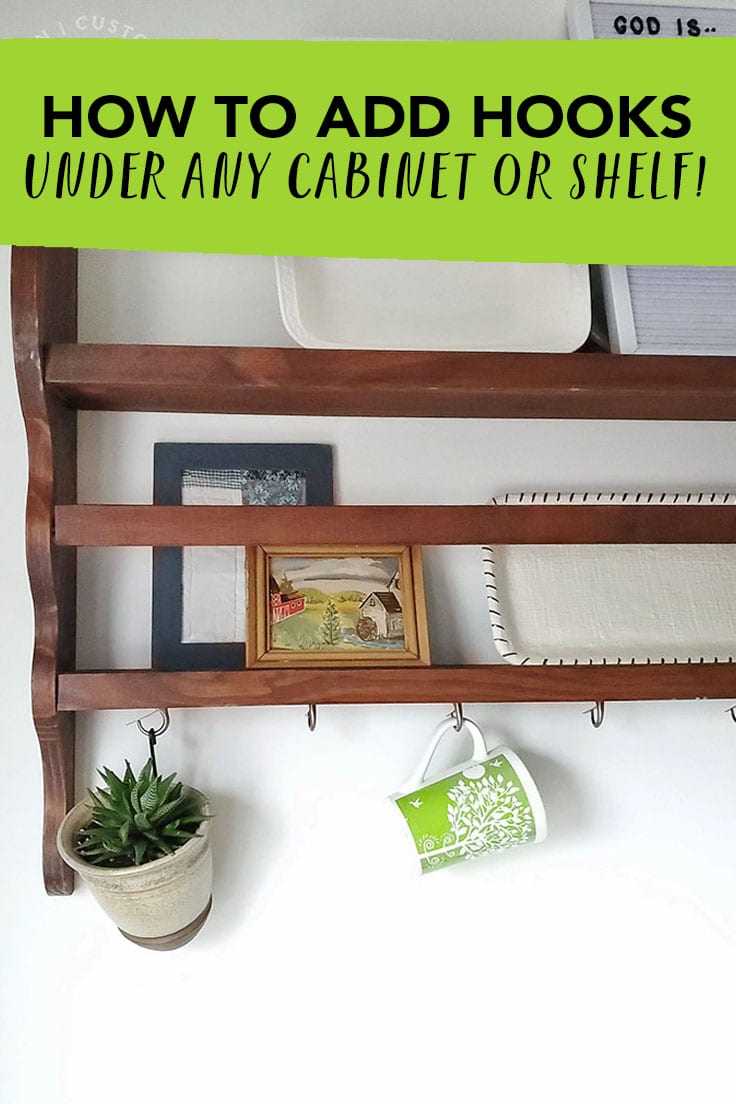
How to Hang Mugs Under Cabinets or Shelves
THIS POST MAY CONTAIN AFFILIATE LINKS. PLEASE SEE OUR FULL DISCLOSURE POLICY FOR DETAILS.
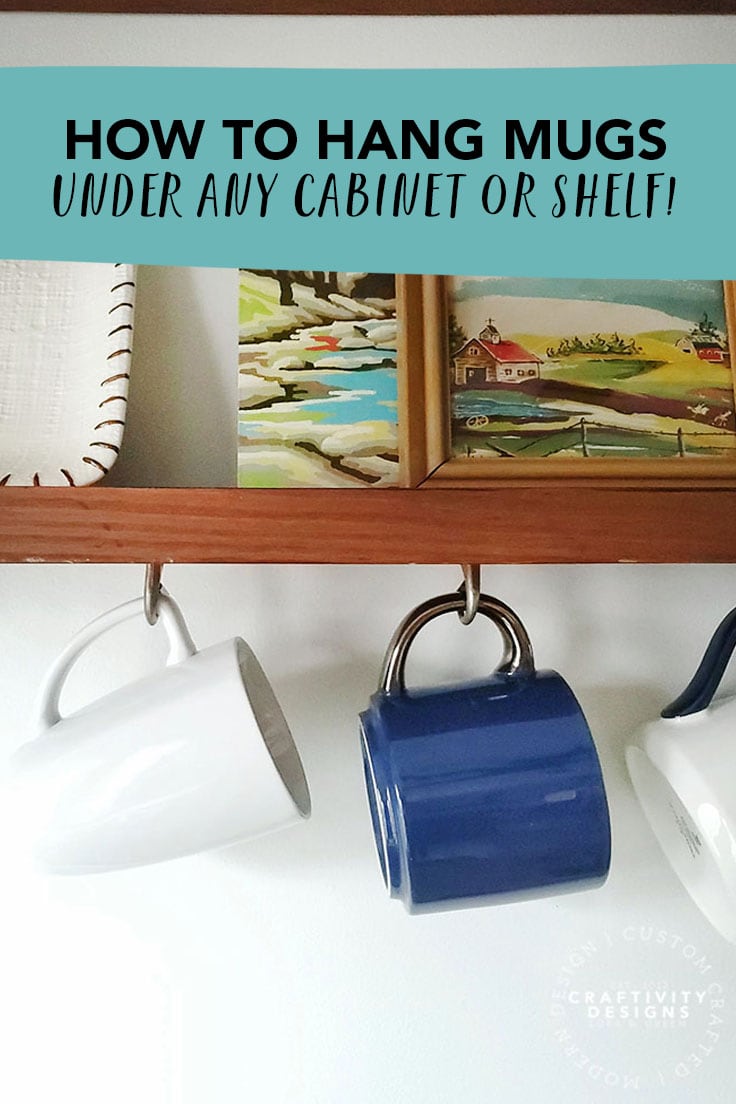
Hang mugs under cabinets or shelves in minutes! This quick and easy DIY project will open up space in cabinets, and display favorite mugs stylishly.
Is your mug collection busting out of the cabinets? Would you like to hang mugs near your coffee maker? Whatever the reason, hanging mugs under a shelf or cabinet is a quick storage solution for the kitchen.
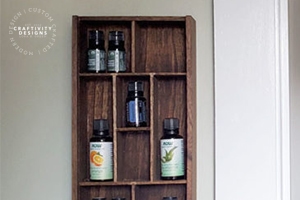
I’m Lora, of Craftivity Designs, and I’m on a mission to make the home both beautiful and functional. Projects such as a DIY essential oil shelf, family command center, and under shelf mug hooks make our home easier to use – without sacrificing style.
How to Hang Mugs Under Cabinets (or Shelves!)
Whether cabinetry or open shelving is in your kitchen, you can hang mugs. In fact, in my kitchen, a shallow shelf (which we use as a plate rack) holds my favorite mugs. So, if you want to hang mugs in the kitchen, don’t limit yourself to cabinetry.
What you need:
Want more ideas like this? Subscribe today to get our weekly Ideas in Your Inbox newsletter plus other exclusive gifts and offers — all for FREE!
DIY Tools Needed:
Supplies Needed:
- Cup Hooks
- Wood Cabinetry or Shelf
Instructions
Here’s how to hang up mugs under your cabinets. You don’t even have to be a “handy” person to do it.
1. Mark the Center Point of the Shelf
First, measure the underside of the shelf in order to find the center point. Mark the center point with a pencil.
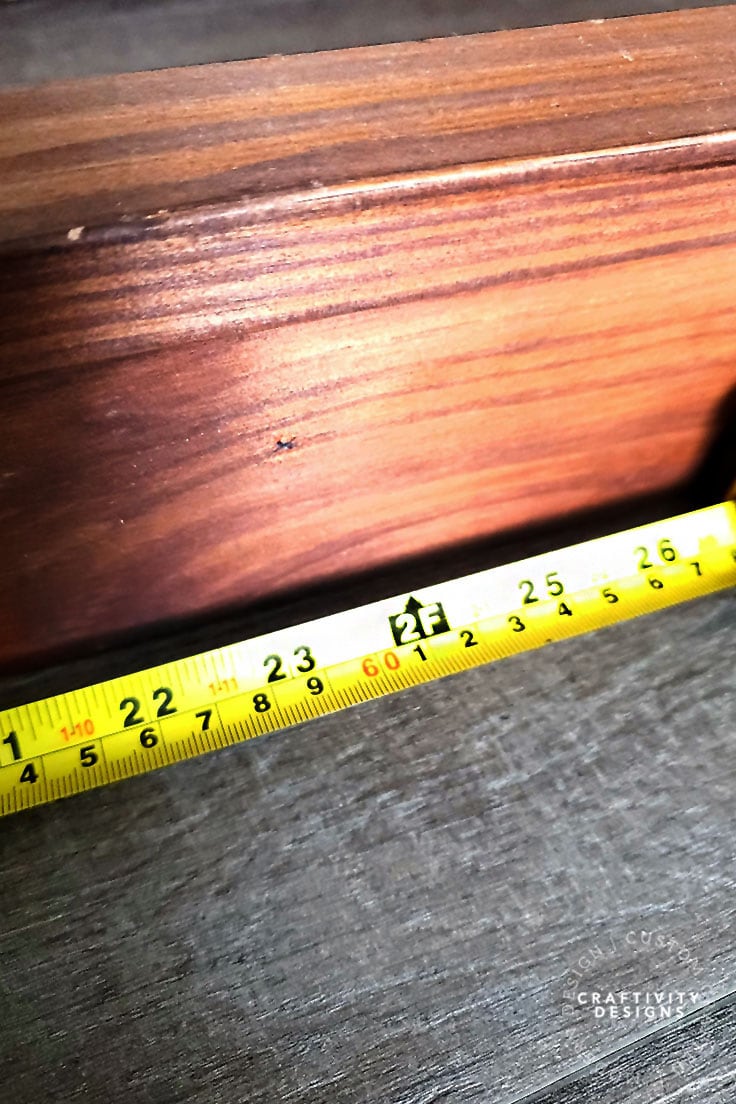
2. Determine Distance from Front Edge
Next, determine how far to offset the cup hooks from the front edge of the cabinet or shelf.
For my shelf, I inset the cup hooks 1.5 inches from the front edge of the shelf.
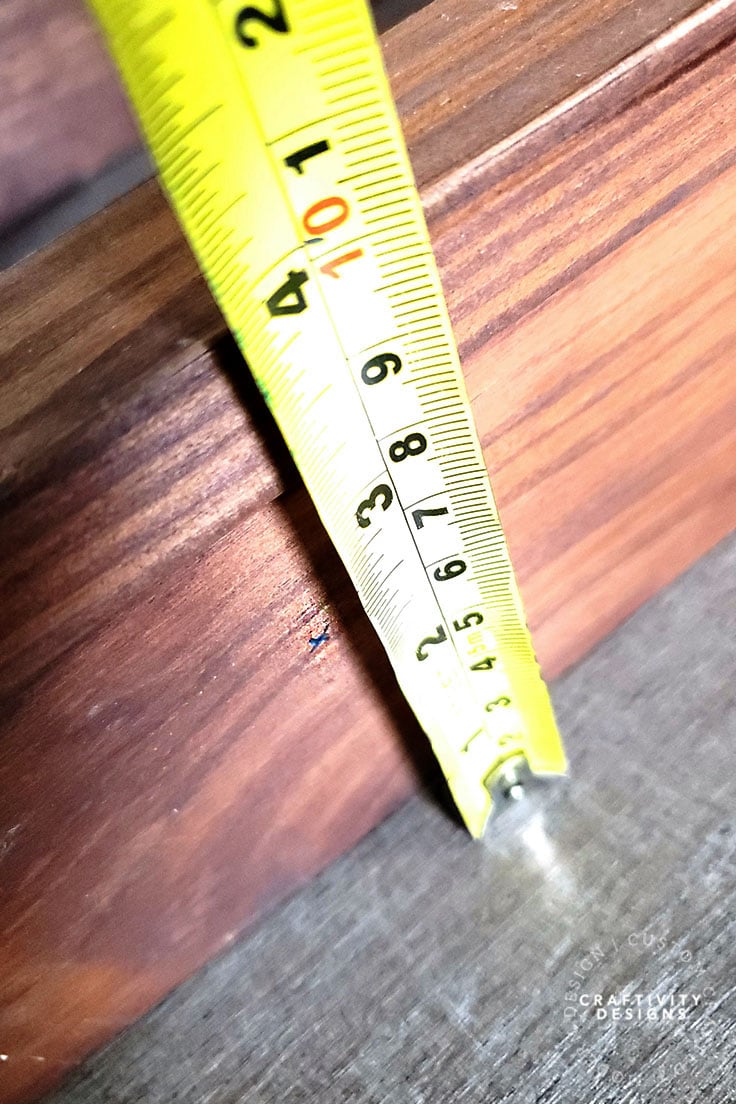
Note: The cup hook should be a minimum of 2 inches from the wall to ensure that the mugs have enough room to hang without hitting the wall.
3. Mark Equal Increments from the Center
Once the center point is marked, and the offset is defined, mark additional points along the shelf. Set the mugs apart in equal increments.
For my shelf, I marked 5-inch increments. I wouldn’t recommend any distance less than 5 inches unless you have small coffee mugs, or are hanging teacups.
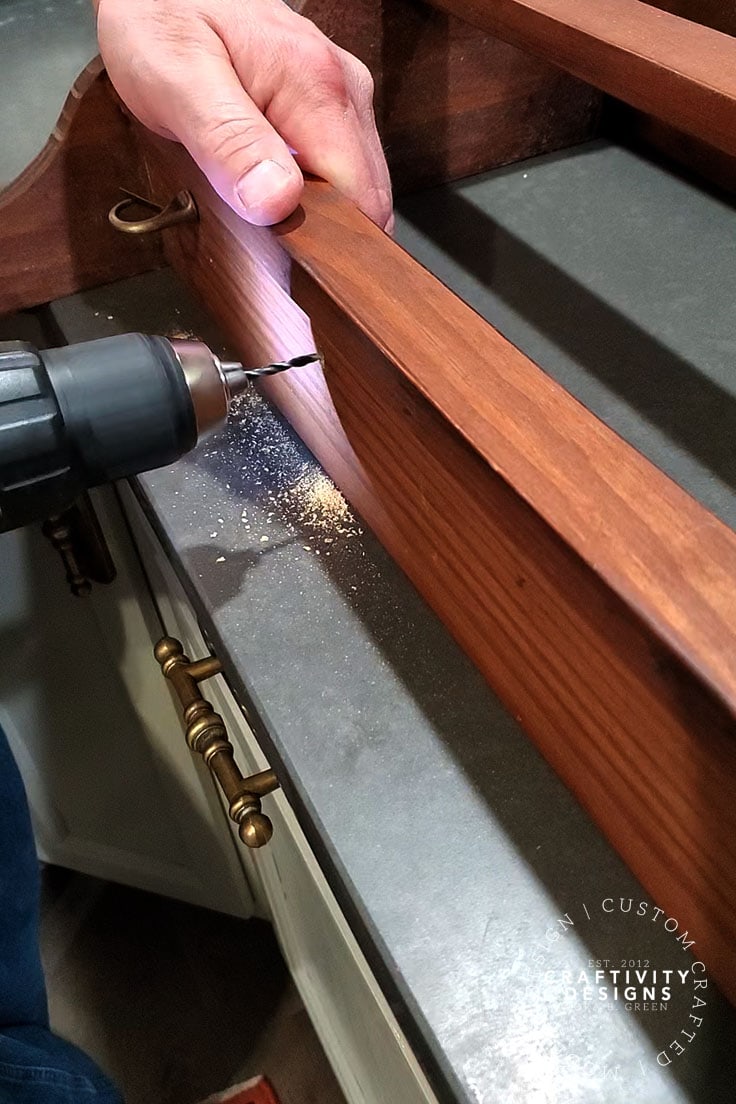
4. Drill Pilot Holes in The Wood
Once all of the points are marked in pencil, drill pilot holes. Make sure to use a drill bit that is smaller than the diameter of the cup hook’s screw.
5. Screw Cup Hooks into the Cabinet
After drilling the pilot holes, screw in the cup hooks. Turn the cup hooks to face the same direction, so that the mugs will hang in the same orientation.
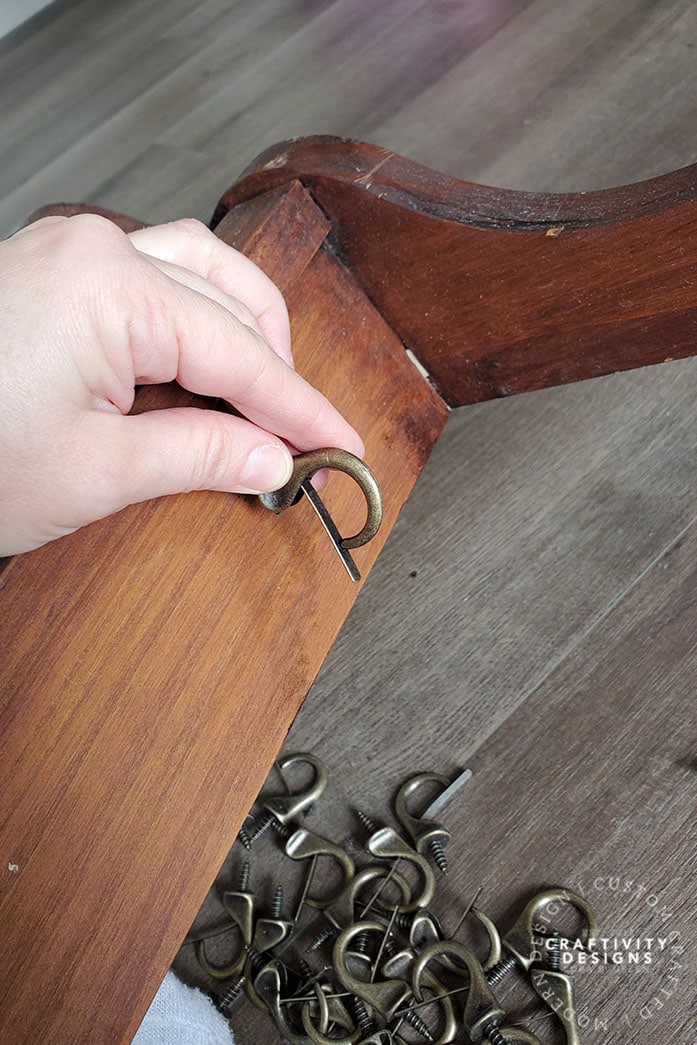
Note: Before screwing in the cup hooks, make sure to compare the depth of the thread to the thickness of the wood cabinet or shelf. If the screw depth is greater than the wood thickness, it will poke through the wood.
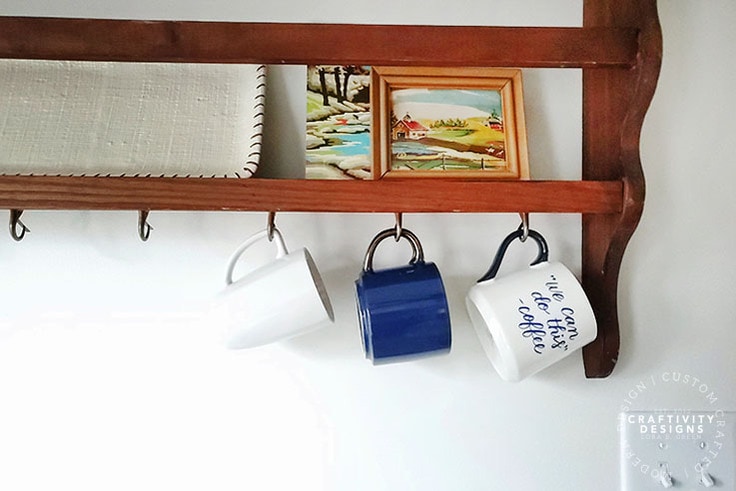
6. Hang Mugs
Once the hooks are installed, start hanging mugs! I chose several that fit the color scheme of our kitchen (and freed up space in our cabinets in the process #winwin).
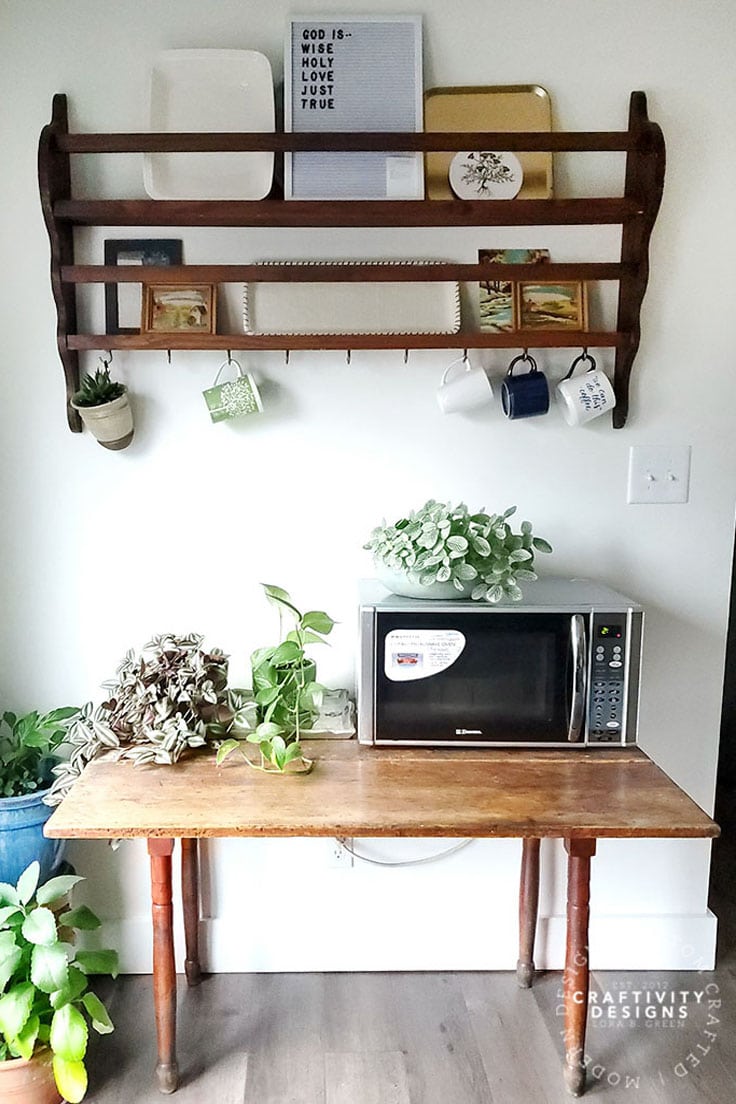
Next on my list? Find homes for my plant babies and set up a coffee bar over in this corner of the kitchen. It will clear counter space when the Keurig is moved to this drop leaf table. Hanging mugs near the coffeemaker will make brewing a cup of joe more efficient.
Don’t drink coffee? Hang teacups under the cabinet, instead!
What’s Next?
If you enjoyed this organization project then you’ll enjoy these storage solutions, too.
How to Make a DIY Essential Oil Shelf
7 Tiny Laundry Room Storage Ideas
How to Make a Family Command Center
You may also enjoy these coffee ideas on Ideas for the Home by Kenarry® –
one of my top priority when we’re renovating our kitchen is the building of cabinets. We also had these kinds of hooks but not for the mugs though. I think that this is a beautiful idea that I would want to do with my cabinets.