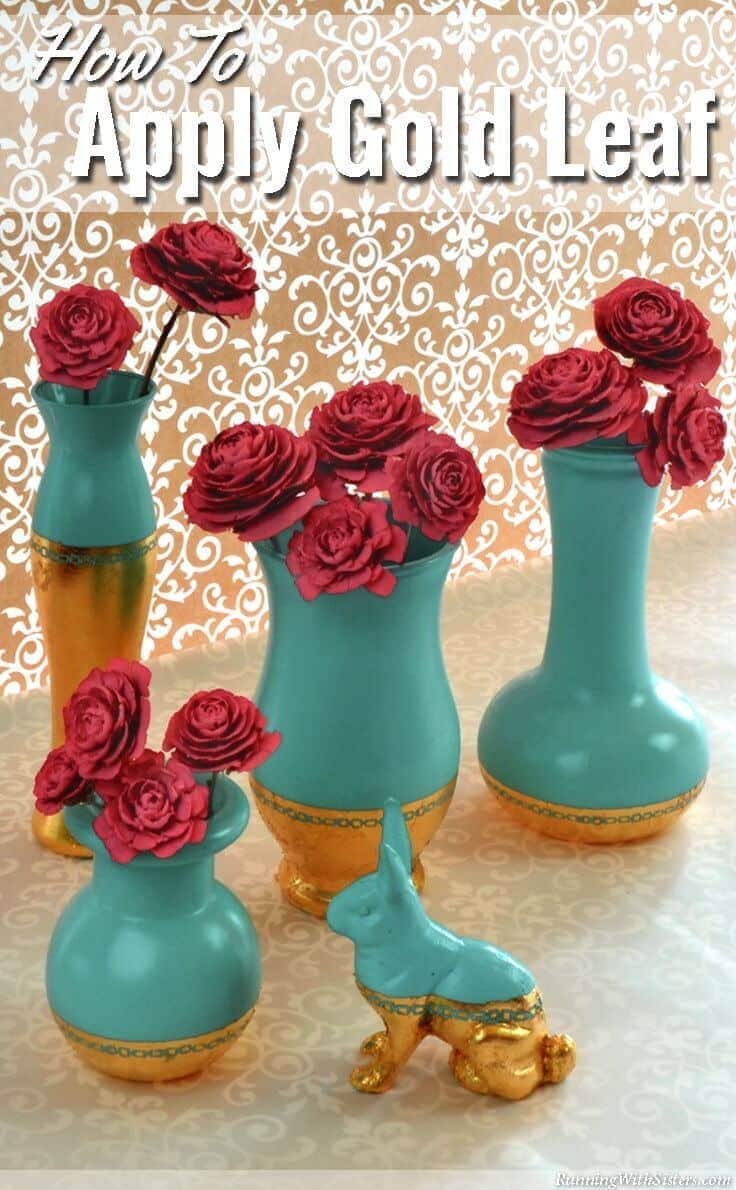
Tiffany Blue Gilded Vases: How To Apply Gold Leaf
THIS POST MAY CONTAIN AFFILIATE LINKS. PLEASE SEE OUR FULL DISCLOSURE POLICY FOR DETAILS.
Crafting with gold leaf is gorgeous and easy! We’ll show you how to apply gold leaf adhesive, put on sheets of real gold leaf, and seal your project.
Hi Kenarry readers! We’re Jennifer and Kitty from RunningWithSisters, and we are so happy to share one of our favorite crafting techniques. Gold leaf! We love the metallic trend–the look is rich and trés chic! We are seeing gold accents galore, from 24-karat gold spray paint to fancy foil appliqués. Those are definitely fun, but why not step it up a notch with real gold? We’ll show you how!
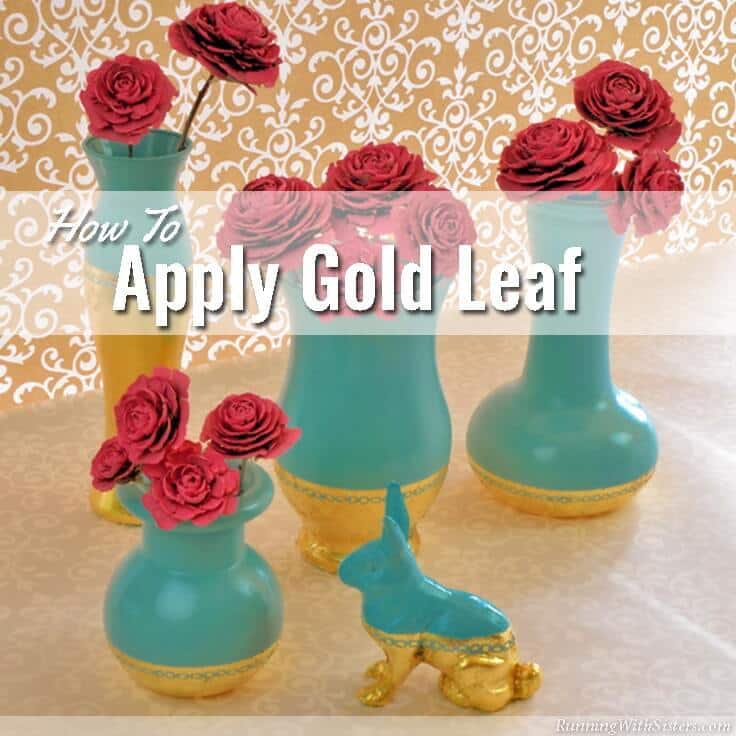
We’ve taken one of our favorite DIY projects, gold-dipped vases, and added real gold leaf. Gold leaf is easy to apply and looks like a million bucks!
How To Turn Thrift Store Finds Into Tiffany Blue Gilded Vases
Materials
- Thrift store vases, ours range from 5″ high to 9″ high
- Spray paint primer, white
- Spray paint, Tiffany Blue
- Masking tape
- Peel-Off Stickers, Square Chain, 4″ x 9″ sheet
- Gold leaf adhesive sizing
- Gold leaf sheets
- Gold leaf sealer
- Small craft brush
Here’s What to Do
1. Select the vases you want to upcycle. We started with a trip to our local thrift store. (This is fun already!) They had dozens of glass vases to choose from with prices from $ .99 to $2.48. Bargain!
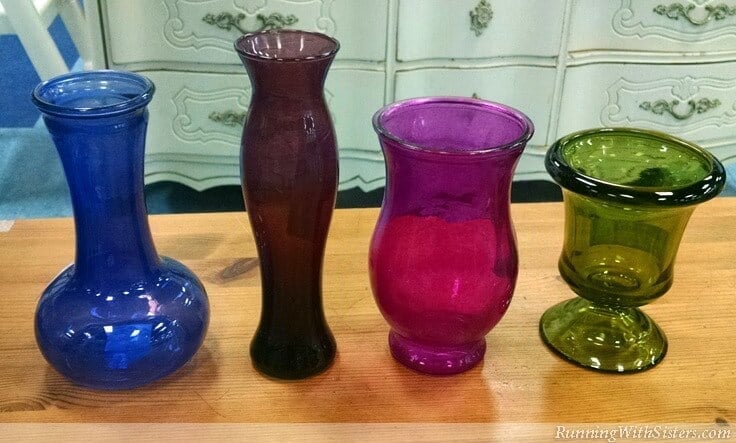
We chose vases that looked good together, all in the same scale and size range. We also focused on ones that had an hourglass shape to them. That is, each vase starts smaller, gets bigger, then gets smaller, each with their widest curve at a different height.
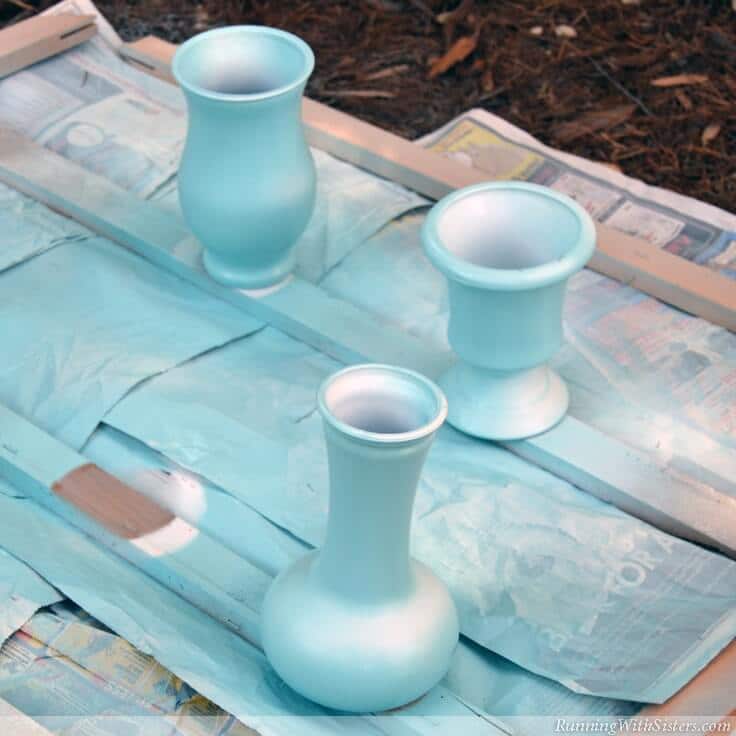
2. Wash and dry the vases. Prime them with white primer spray paint.
3. Once the primer is dry, paint the vases with the blue spray paint.
We spray paint a lot so we’ve honed our spray painting skills. Here are a few of our best tips:
- Use a sweeping motion starting away from the item, sweeping over it and finishing off the item.
- To prevent sags and drips, use more light coats rather than one heavy coat. Let the coats dry in between.
- Turn the can upside down and spray to clear the nozzle. This helps if the paint starts spitting.
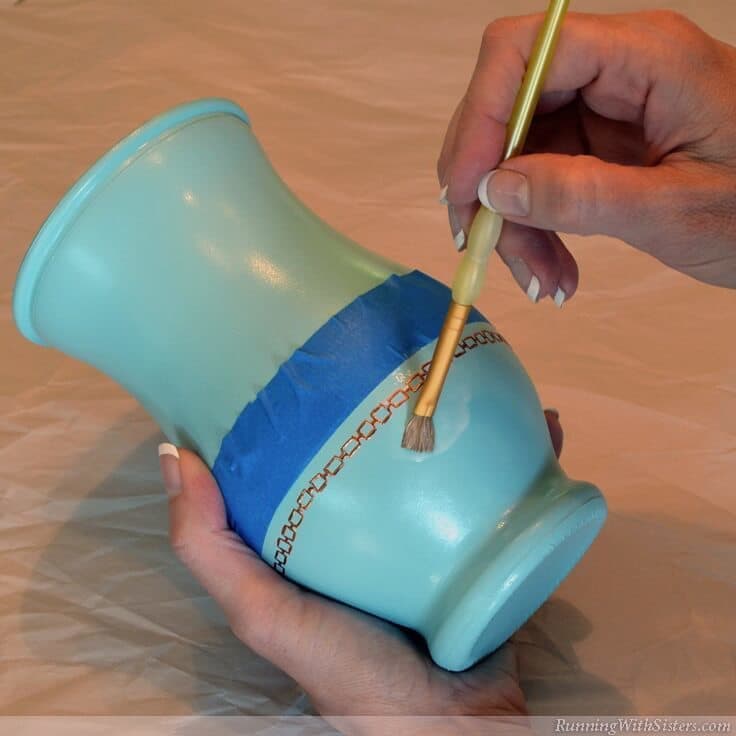
4. Mask the vases with decorative stickers and masking tape.
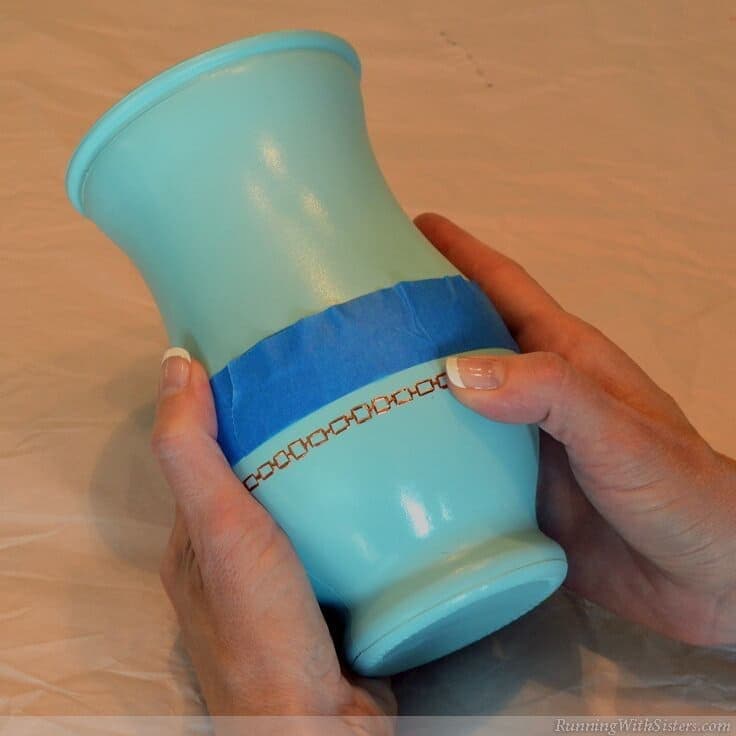
In addition to masking off the top blue area from the area we wanted to gold leaf, we added a strip of decorative sticker border. We found that “Peel-Off” stickers work really well for this. They are vinyl, die-cut stickers so they are robust enough to be painted over, gold-leafed, and rubbed. They also leave a crisp line.
5. Apply the Gold Leaf Adhesive Sizing (this is like runny glue) with a paintbrush. Apply a thin coat with no pooling. Let the glue dry for 15 minutes. It will get very tacky!
6. Apply gold leaf sheets, press down with fingers, then brush with a dry paintbrush.
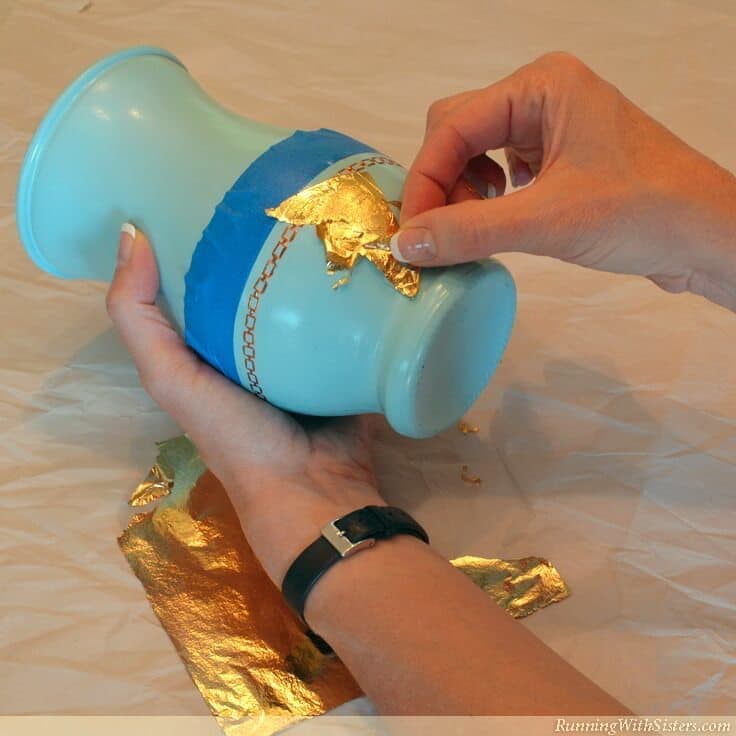
The gold leaf sheets are very thin and wispy. (Don’t use in a breezy room!) Pick up a sheet and lay it on the tacky area of the vase. Don’t worry if the sheet rips. It will! The pieces don’t need to go down in one smooth application. Somehow, magically, gold leaf kind of heals itself and leaves no seams between pieces. Keep applying pieces of gold leaf, recycling pieces that brush off. Rub into the vase with your finger, then brush off any excess gold leaf that hasn’t found any glue to stick to.
Here’s a video we made showing how to gold leaf a picture frame. We thought it might help to see how the gold leaf works. It will act the same on the vases.
7. If you see parts of the vase where no gold leaf attached, and they are no longer sticky, just paint a little adhesive sizing on the spot (or spots).

Let dry for 15 minutes, then reapply the gold leaf. Smooth the surface with your fingers and the dry paintbrush to remove any loose pieces of gold leaf. You can save all these loose pieces and use them on your next vase!
8. Apply a thin coat of sealer to the gold leaf areas and let dry.
9. Remove the peel-off stickers and the masking tape.
If you’d like to share this idea, you can pin this photo:
We hope you find gold leafing as magical as we do. If you do, let us know below! We’d love to hear what you gold leafed and how it turned out. Whatever you end up gold leafing, have fun!
Happy Crafting,
Jennifer & Kitty
Want to see more of our projects? Here are a few fun tutorials from our blog:
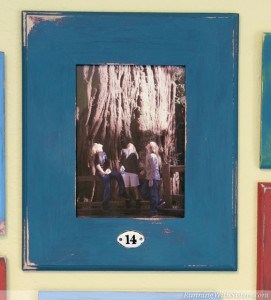
How To Distress Wood: DIY Aged Picture Frames
Turn A Cigar Box Into A Keepsake Box
Love the ideas you see here on Ideas for the Home by Kenarry®? Subscribe today to get our FREE DIY & Craft Planning Calendar, plus our weekly Ideas in Your Inbox newsletter filled with creative tips and exclusive offers!
What’s Next?
While you’re here, be sure to check out other craft projects on Ideas for the Home by Kenarry® –