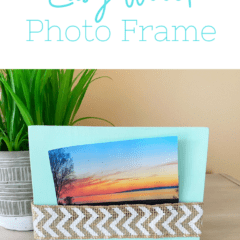
Easy Wood Photo Frame
THIS POST MAY CONTAIN AFFILIATE LINKS. PLEASE SEE OUR FULL DISCLOSURE POLICY FOR DETAILS.
If you have lots of pictures laying around that you’ve been meaning to buy frames for, you’ll love these Easy Wood Photo Frames. These frames are made out of only a few materials which makes them super easy and you’ll be able to customize them however you would like.
Hi everyone! It’s Erica bringing you a fun craft you can make any time of the year. I have had scrap wood in my garage forever now and I can’t seem to get rid of it with the wood prices being crazy and all. So I took a couple of small pieces and made them into photo frames. It’s a great way to use what you have and have a fun time crafting with a friend.

How to Make Easy Wood Photo Frames:
I love these wood photo frames because you can customize them for each room in your house. Any color you paint them, they will all look amazing. This is even easier to make than the DIY mosaic frame – and it has a lovely beach theme.
What you need:
Want more ideas like this? Subscribe today to get our weekly Ideas in Your Inbox newsletter plus other exclusive gifts and offers — all for FREE!
DIY Tools Needed:
Supplies Needed:
These are the ingredients you’ll need. All the exact amounts are in the printable card at the bottom of this post.

Easy Wood Photo Frame Tips:
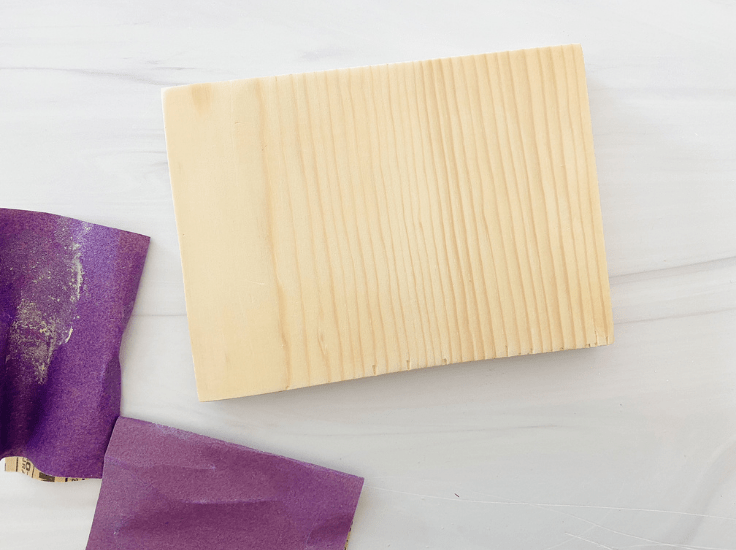
cut your wood
Carefully use a table saw to cut a piece of wood 5″x7″ or stop by your local hardware store and ask them to cut it for you (this is the best way to go).
Sand your wood block
Use a 150 grit piece of sandpaper to sand all sides of your woodblock, then switch to a 220 grit piece of sandpaper and sand again. Use a piece of tack cloth to remove any dust from sanding.
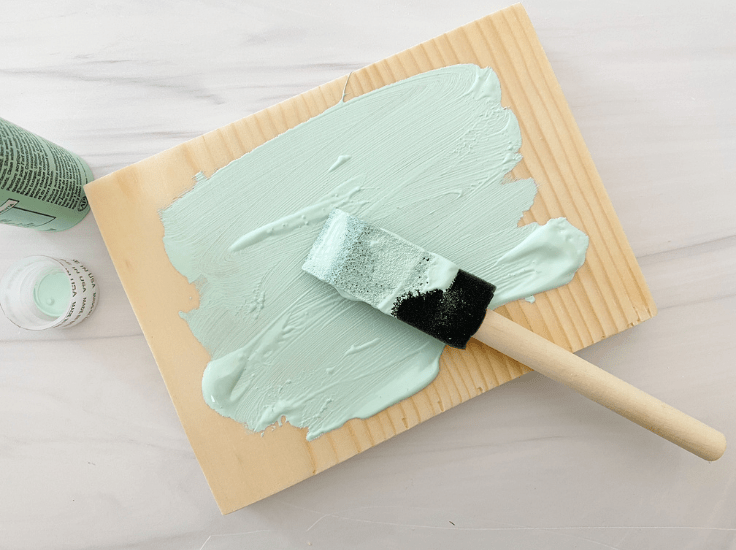
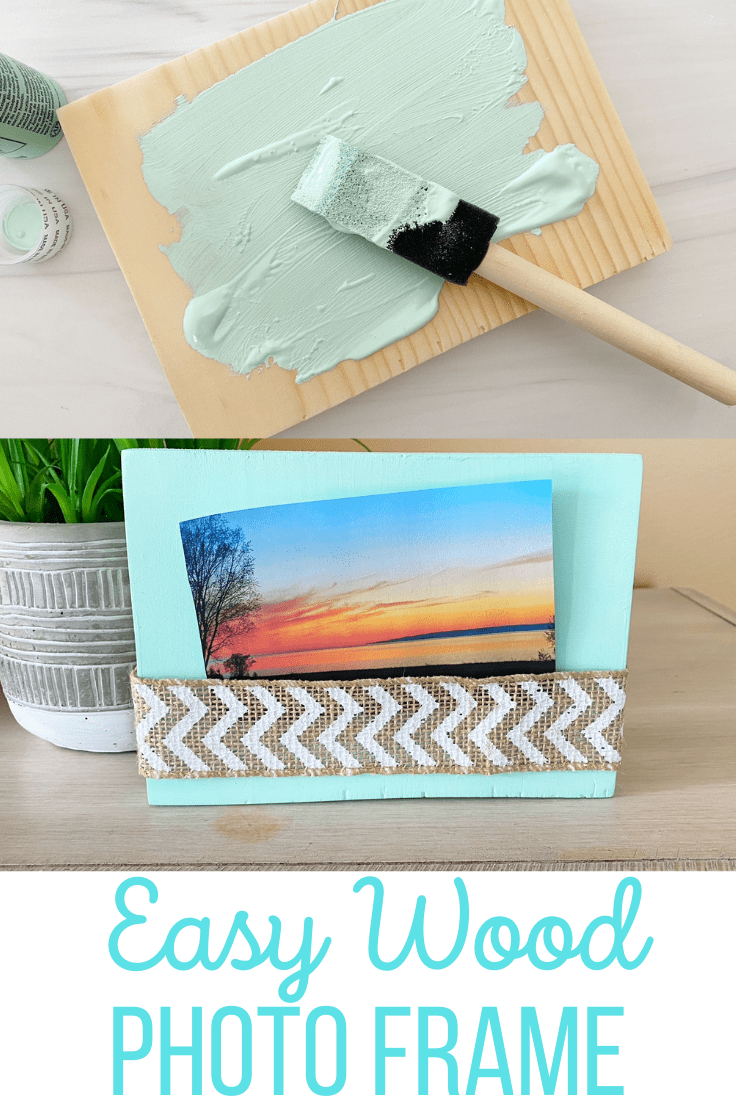
paint your wood block
Choose a color best that best suits your room style and paint the wood block with 2 coats of paint and let dry.
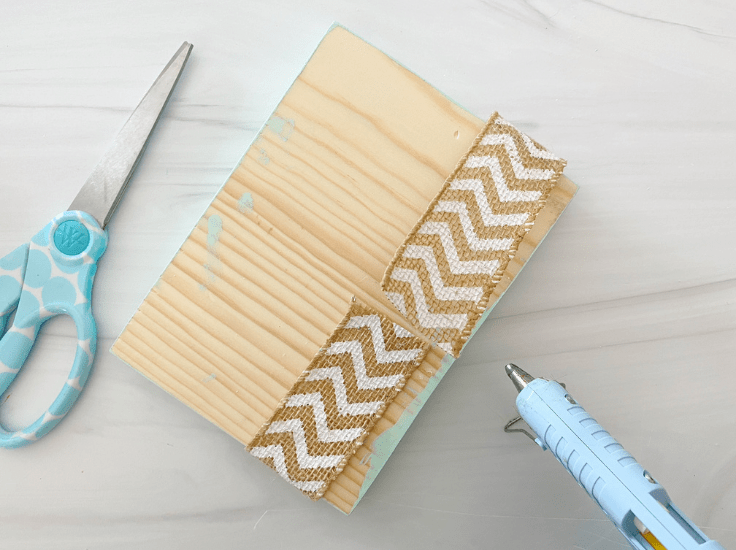
Cut and attach your ribbon
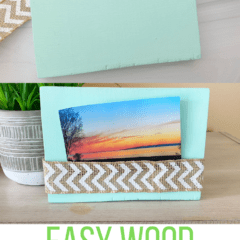
Cut a 15.5″ piece of ribbon and wrap it around the bottom of your painted woodblock, leaving about 1/2″ of empty space at the bottom. Carefully hammer in an upholstery tack on each side of the front to hold the ribbon in place. Hot glue the ribbon ends together in the back.
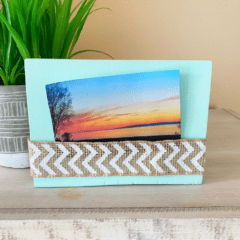
Slide a picture in
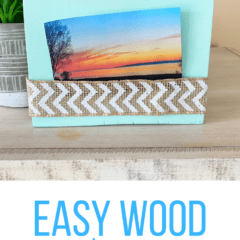
Slide a 4×6″ picture into the ribbon at the bottom of the painted woodblock and set it anywhere in your home.
Easy Wood Photo Frame
Equipment
- scissors
- Hammer
- Paint Brush
- Hot Glue Gun
Supplies
- 1 1x5x7 wood board
- 1 oz acrylic paint any color
- 2 upholstery tacks
- 15.5" ribbon any color
- 1 piece sandpaper 150, 220
- 1 piece tack cloth
Instructions
- Carefully use a table saw to cut a piece of wood 5×7" or stop by your local hardware store and ask them to cut it for you (this is the best way to go).
- Use a 150 grit piece of sandpaper to sand all sides of your wood block, then switch to a 220 grit piece of sand paper and sand again. Use a piece of tack cloth to remove any dust from sanding.
- Choose a color best that best suites your room style and paint the wood block with 2 coats of paint and let dry.
- Cut a 15.5" piece of ribbon and wrap it around the bottom of your painted wood block, leaving about 1/2" of empty space at the bottom. Carefully hammer in an upholstery tack on each side of the front to hold the ribbon in place. Hot glue the ribbon ends together in the back.
- Slide a 4×6" picture into the ribbon at the bottom of the painted wood block and set anywhere in your home.
Love the ideas you see here on Ideas for the Home by Kenarry®? Subscribe today to get our FREE DIY & Craft Planning Calendar, plus our weekly Ideas in Your Inbox newsletter filled with creative tips and exclusive offers!
What’s Next?
If you enjoyed this Easy Wood Photo Frame then you’ll enjoy these summertime ideas too.
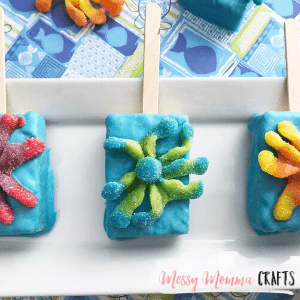
Under the Sea Rice Krispies Treats
You may also enjoy these other wood craft ideas on Ideas for the Home by Kenarry® –
- How to Make a Marbled Spring Wood Bead Garland
- Monogrammed Wooden Stovetop Cover and Tray
- Painted Wood Crate Storage Idea
Such an informative article! All the information provided by you is really very helpful for all. I would like to say that before painting we should use tack cloth for removing small dust particles from the surface because it gives you the best paint finishing. Keep posting! Keep sharing!