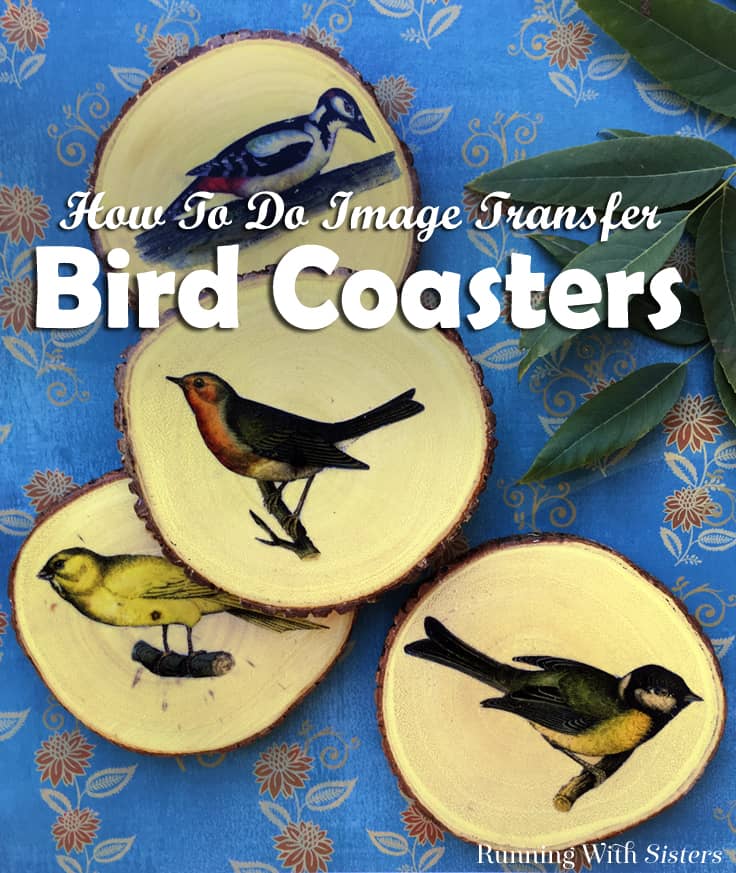
Easy Image Transfer: Bird Coasters
THIS POST MAY CONTAIN AFFILIATE LINKS. PLEASE SEE OUR FULL DISCLOSURE POLICY FOR DETAILS.
Learn how to do image transfer using Mod Podge. See how to make image transfer bird coasters from start to finish. This craft is a great gift!
Hi Kenarry readers! It’s Jennifer and Kitty (the O’Neil Sisters, from RunningWithSisters.com), and we are so happy to share a new DIY project with you: Easy Image Transfer Bird Coasters! We chose to do the image transfer onto rustic wood slice coasters. And boy do they do a lot of the work! We love the bark around the edges and the natural wood grain that shows through the images. So cool!
Disclosure: This blog post contains affiliate links for products or services we think you’ll like. This means if you make a purchase from one of these links, Ideas for the Home by Kenarry® will make a small commission at no additional cost to you so we can keep the great ideas for the home coming your way. All opinions expressed are derived from personal experience.
We have a video showing everything you’ll need to make these image transfer bird coasters. And we’ll take you through the image transfer process step by step. We chose bird clip art for our imagery, but you can use any clip art you like! You could choose a seasonal theme, like botanicals for spring, seashells for summer, and woodland friends for winter. The sky’s the limit! If you’d like to personalize your coasters, you can use pics of friends and family –– or even your pets. Whatever you choose, just be sure to have them printed on a laser printer. And have fun!
How To Make The Image Transfer Bird Coasters
Materials & Tools
- 4 Wooden coasters
- 4 Bird images, printed with a laser printer
- Mod Podge Gloss
- Craft paintbrush
- Foam paintbrush
- Scissors
- Self-adhesive rubber feet
- Clear gloss spray paint sealer
Steps
1. Before you get started with the crafting, pick out some artwork. We went to Graphics Fairy online to find our birds. But Dover Clip Art Books are great sources for imagery, too, and they have lots of themes and amazing images! Resize the pictures you choose to fit your coasters. We made our birds 3.5″ across and put all four on one page in the computer. Then we took the file to our local copy place to have it printed on a good Laser printer. It only cost $1.50 for two printouts. (We got two copies in case we messed one up!) If you have any words or photos of people, reverse the images since they will go on the coasters face down.
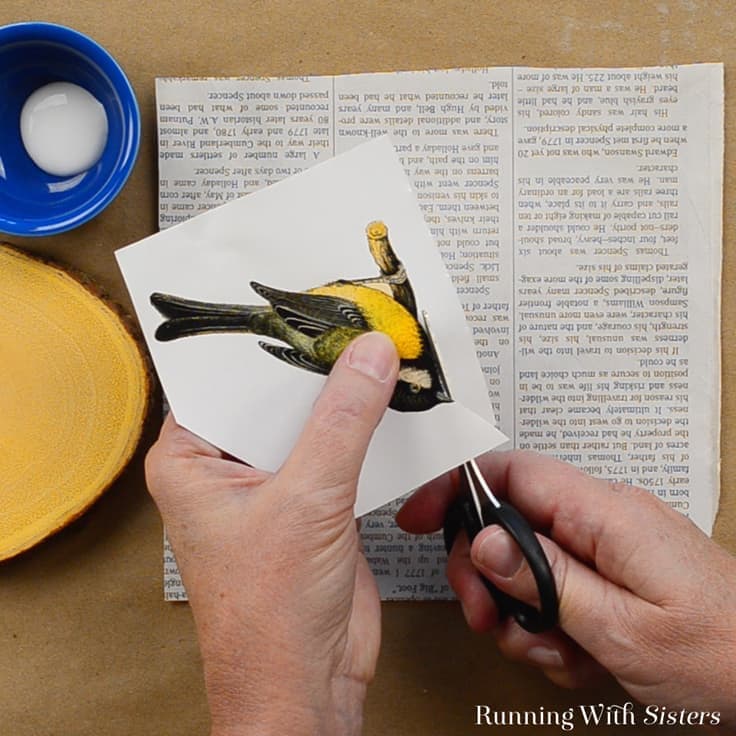
2. Now you’re ready to craft! Cut out each bird (or whatever your pictures are.) We like to use small scissors for detailed cutting like this. We tend to hold the scissors in place and move the art into the scissors for curves and things. Don’t forget to cut out areas like the space between the birds’ legs.
3. Next figure out how you want to place each bird on each coaster. Remember that the bird art will go on face down.
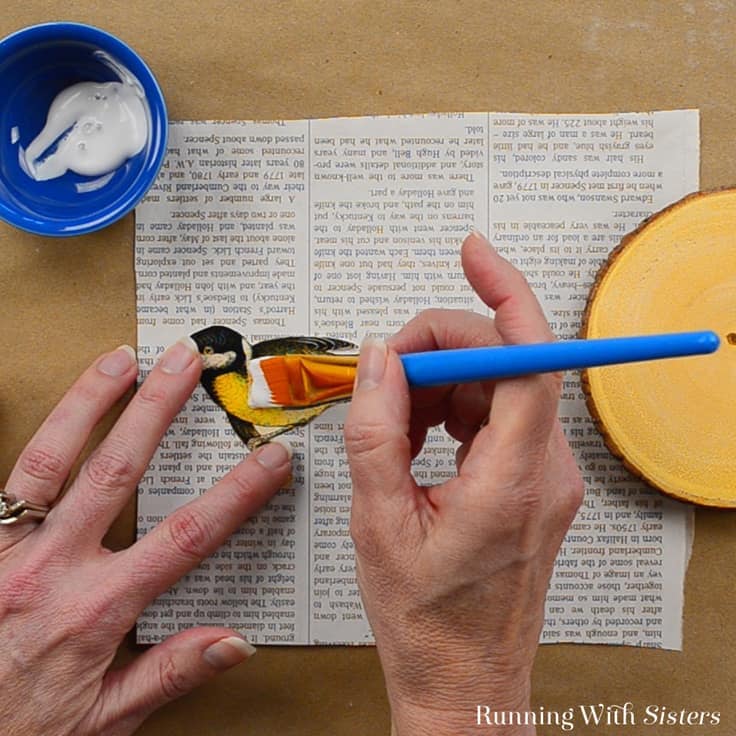
4. To make the first coaster, use the craft paintbrush to paint a layer of Mod Podge on the front of the bird picture. The layer doesn’t need to be too thick, but the entire front of the image needs to be coated in Mod Podge.
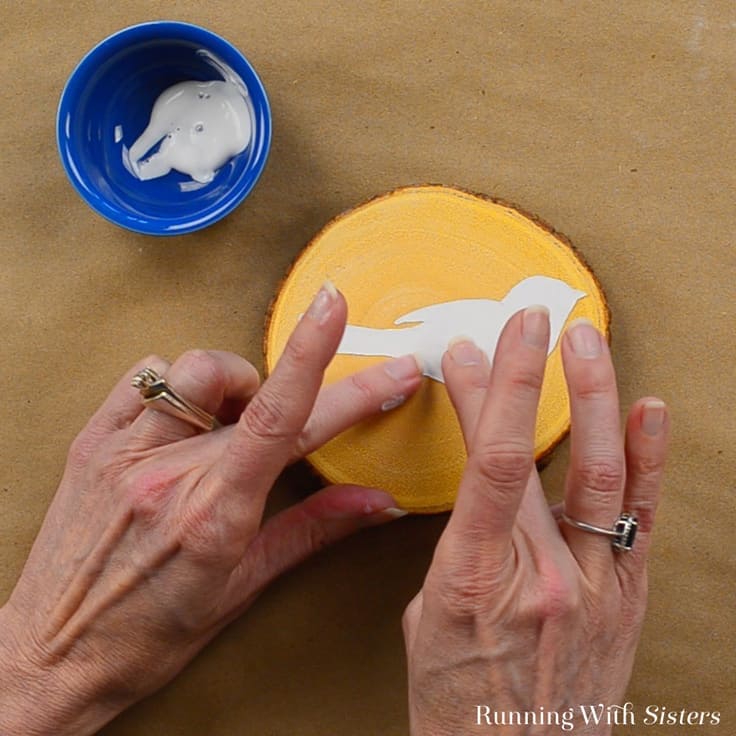
5. Place the bird picture on the coaster face down. Gently rub the bird picture down, squeezing any excess Mod Podge out. Make sure the whole picture has contact with the coaster. Repeat for all four coasters. Let dry completely. We recommend letting them dry overnight to get the best results.
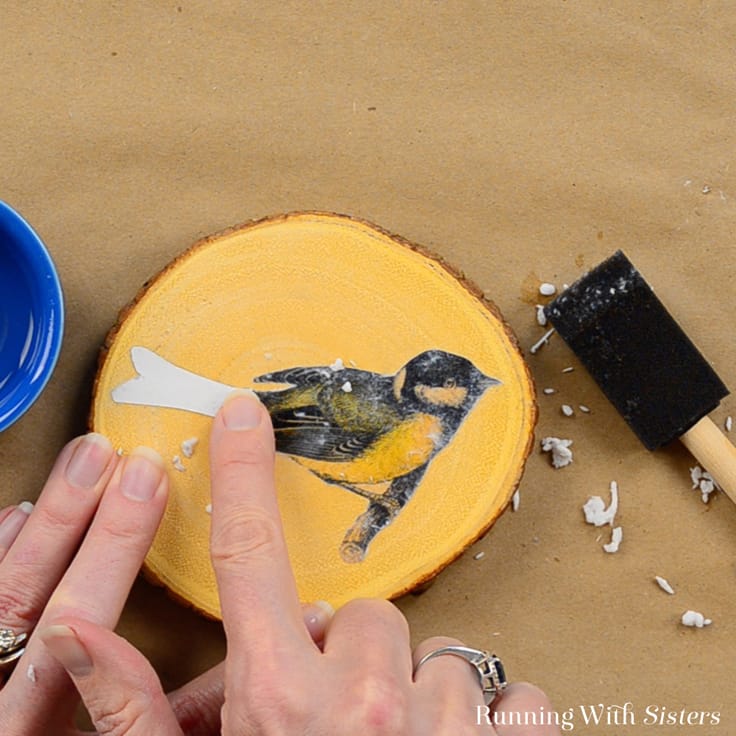
6. When the coasters are dry, you are ready to remove the backing. To do this, dampen the sponge foam paintbrush. Use it to moisten a small area of the image. As the paper backing gets wet, it will start to look clear. When you can see the image through the paper, it’s time to start removing the paper. Gently rub the paper with a damp finger in a circular motion. The paper will start to pill up and pieces will roll off. Take your time with this step so you can be careful not to remove any of the image –– just the paper backing. And don’t worry if you don’t remove all the paper backing in one take. Just do a first pass and let it dry.
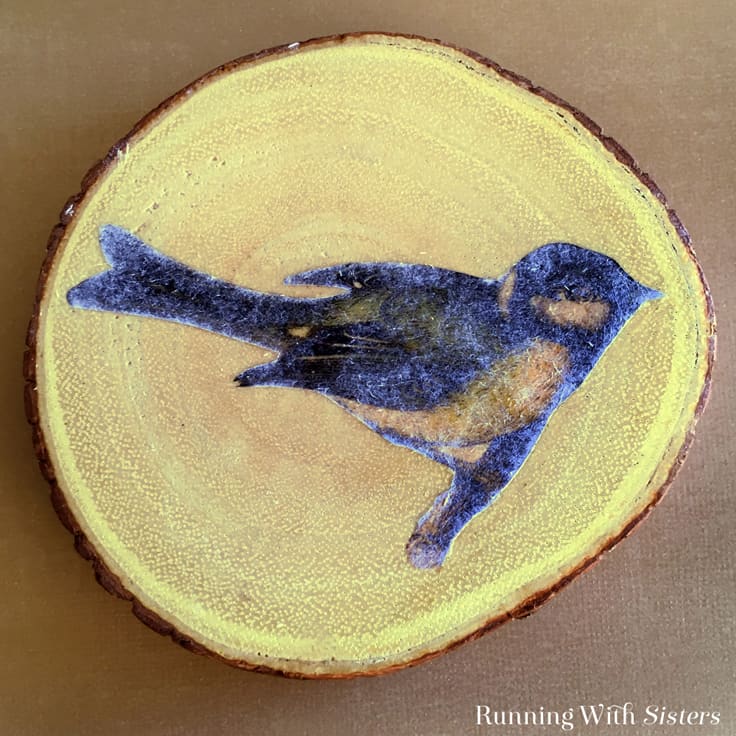
7. As the coaster dries, you will see a white film still on the image. This is what’s left of the paper backing. It is much easier to see this when the coaster is dry, so it’s worth the wait! Repeat the process to remove the paper backing. Dampen a small area with the foam paintbrush and gently rub the paper backing off with a damp finger. Repeat for all four coasters.
8. Let the coasters dry again. When there is almost no white haze left, you are ready to seal the coasters. It’s okay if they look a teeny bit hazy. The sealer will make the images bright again like when they were wet. Spray them with a coat of clear spray paint sealer to make them waterproof and protect the images. Optional: Add little rubber or felt feet to the backs of the coasters.
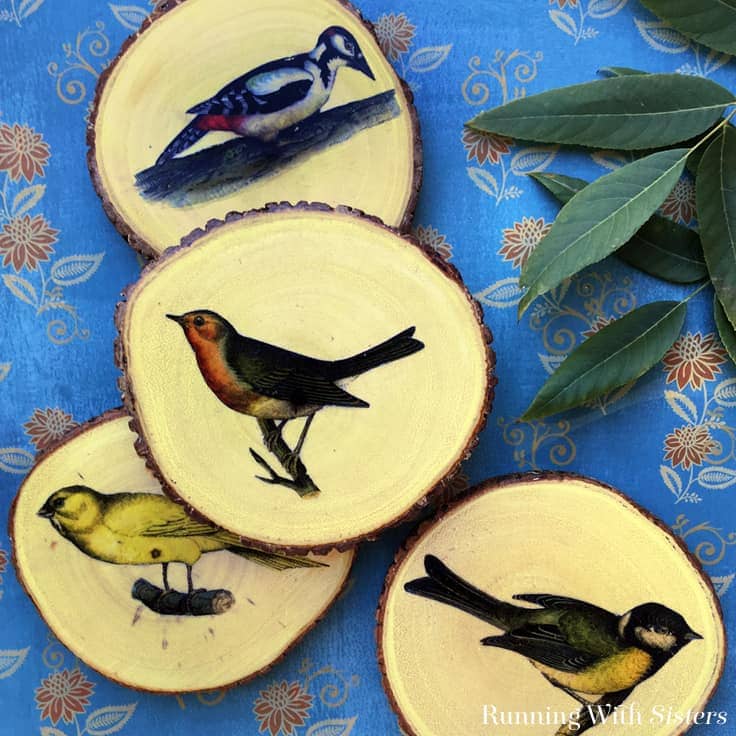
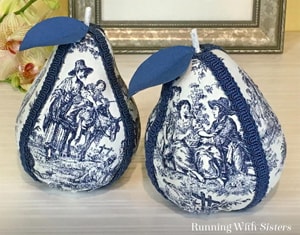
How cute did these turn out?! We’re hooked on this process and just went out and bought more wood slice coasters. Everyone is getting these as gifts this year! There is also a great post on how to transfer images onto candles right here on Kenarry. Remember if you have any questions while you are doing your image transfer, just leave us a comment and we’ll reply. We are here to help!
Happy Crafting,
Jennifer & Kitty
Like this project? You might also like these crafts from the O’Neil Sisters:
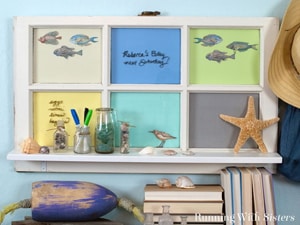 Upcycled Window Shelf
What’s Next?
While you’re here, be sure to check out other DIY coasters on Ideas for the Home by Kenarry®. You might enjoy some of these projects: