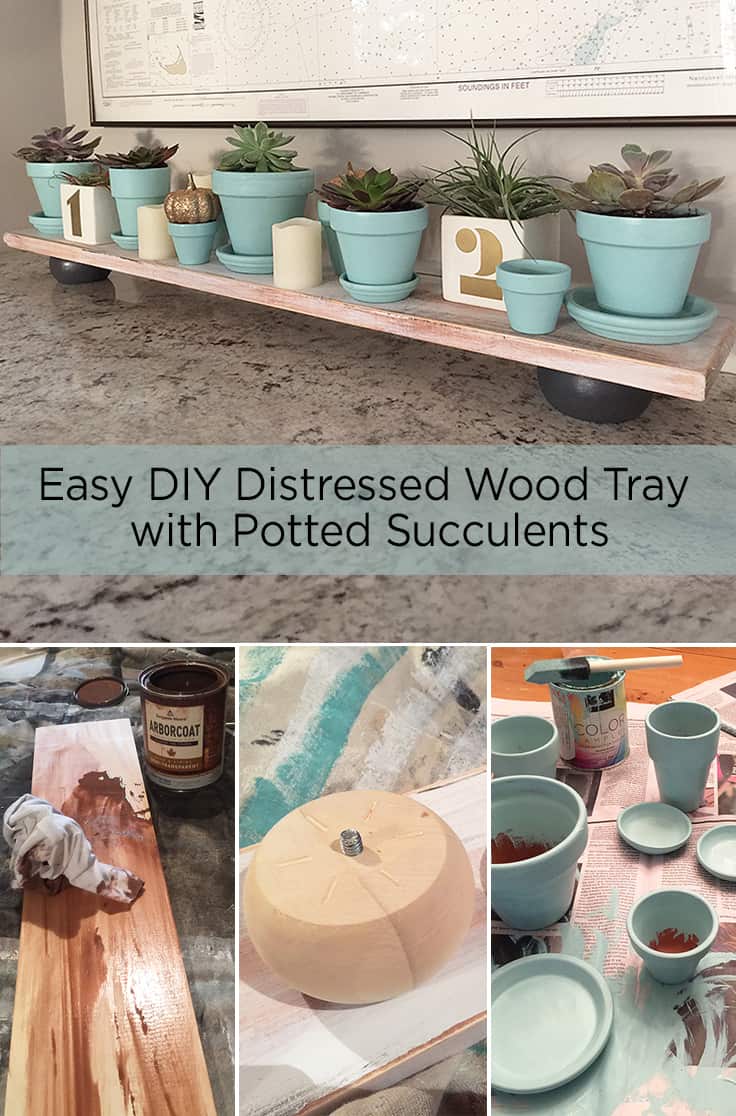
Easy DIY Distressed Wood Tray With Potted Succulents
THIS POST MAY CONTAIN AFFILIATE LINKS. PLEASE SEE OUR FULL DISCLOSURE POLICY FOR DETAILS.
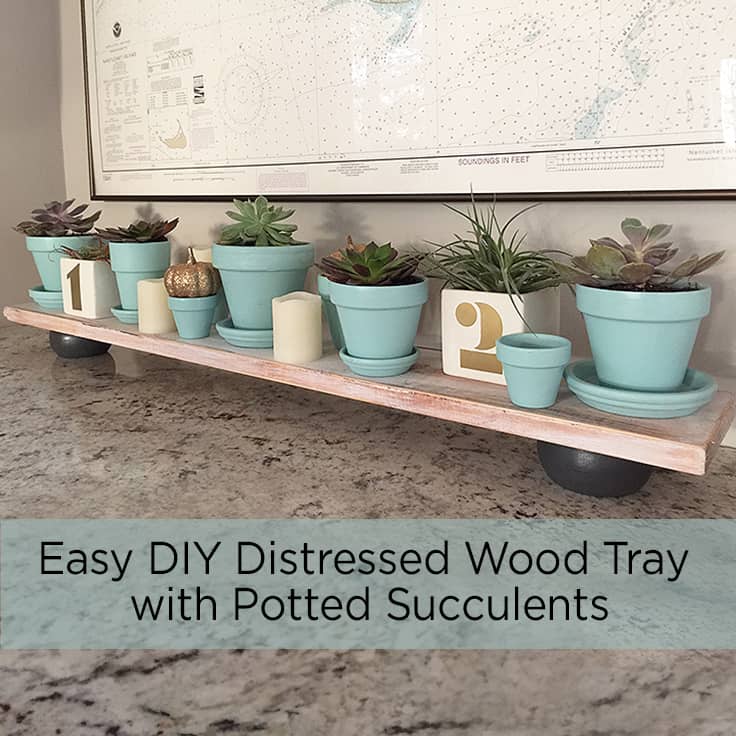
This easy DIY distressed wood tray uses recycled items and can be used as a centerpiece for Thanksgiving or the holidays – or even everyday.
This easy DIY distressed wood tray with potted succulents can be used for your Thanksgiving or holiday table – but it’s so versatile that it can be an everyday decoration on a mantel, a shelf or along a windowsill.
Hi Kenarry readers, it’s Lori from Greco Design Company. This distressed wood tray really is super easy to make and it’s something you’ll use again and again.
I love that this tray can turn everyday items into a really beautiful display piece.
Disclosure: This blog post contains affiliate links for products or services we think you’ll like. This means if you make a purchase from one of these links, Ideas for the Home by Kenarry® will make a small commission at no additional cost to you so we can keep the great ideas for the home coming your way. All opinions expressed are derived from personal experience.
I make these wood signs and I had some scrap wood left over that was perfect for this project. If you don’t have scrap wood, check out the remnant section at any home supply center. They usually have lots of scrap pieces to choose from and they often have small imperfections which is perfect for the distressed look of this piece. You can also buy a piece of common board at any home supply store. It’s inexpensive wood that usually has a lot of knots and looks great for this project. I would suggest using the board that is 6″ wide – which, due to wood shrinking/expanding, is really 5.5″ wide. It’s great for a long table centerpiece or mantel display.
Instructions
First, cut your wood piece to the length you’d like. I cut mine to 36″ long which is a good length to extend down my kitchen table.
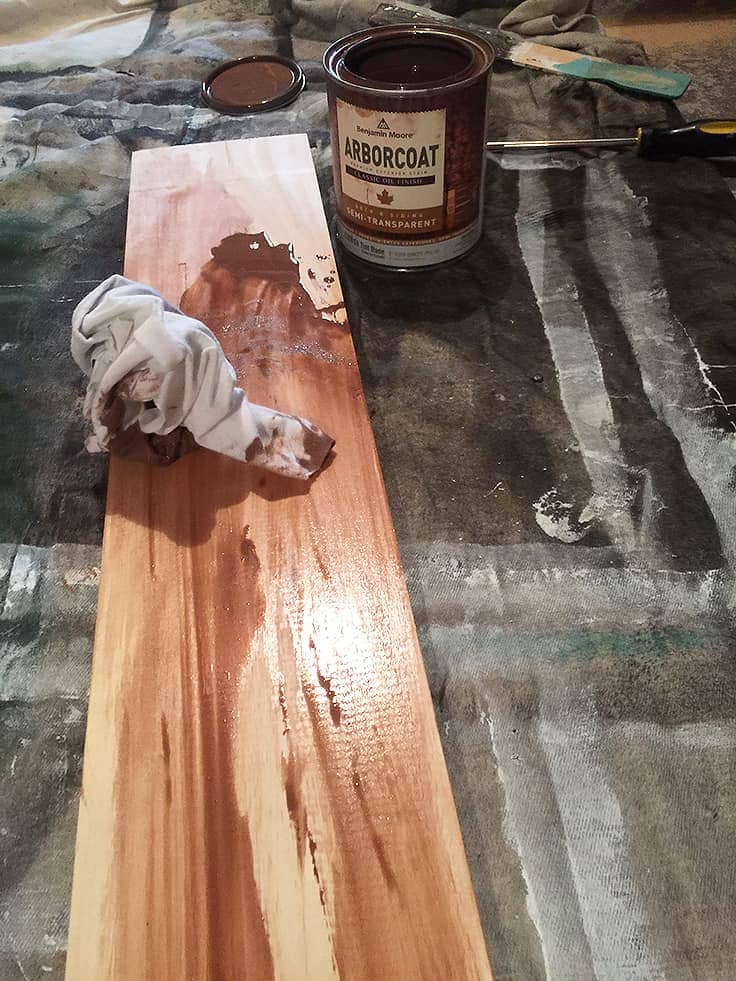
I lightly sanded the wood and then added a coat of Benjamin Moore Arborcoat Exterior Stain. You certainly don’t need to use this exact stain but I had it left over from my wood signs (and when we stained our deck) and I just love the color – which is called Rabbit Brown.
I find it’s best to apply the oil-based stain with a cotton rag. Since it’s oil based, it takes a little longer to dry but I just throw the rag away afterwards so clean up is easy.
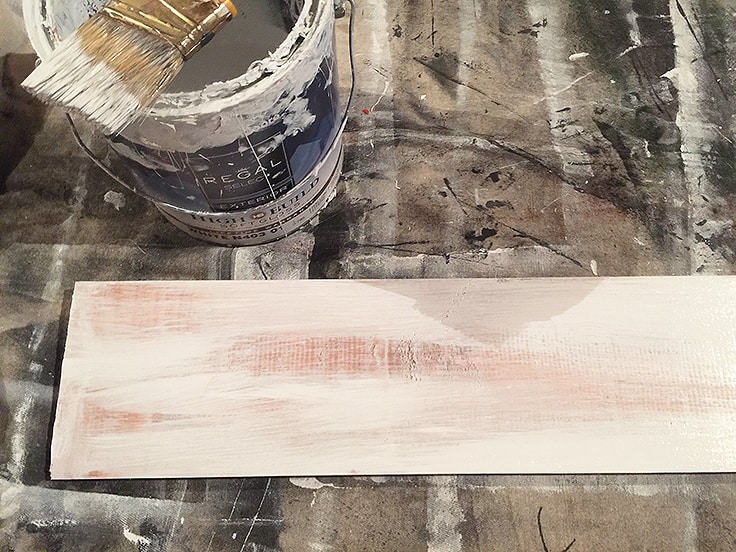
After the stain dries, I add a coat of white semigloss acrylic. Again, I used a white acrylic paint I had left over from home projects. I didn’t paint a full coat, I wanted some of the stained wood to show through.
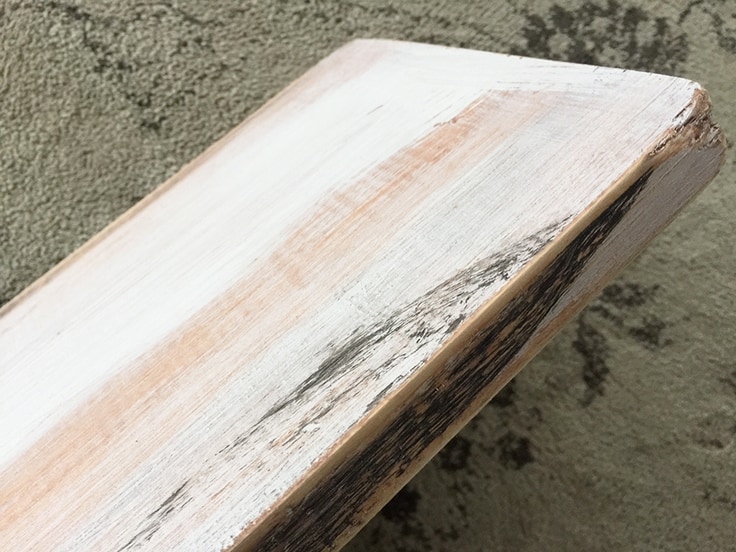
After the white paint dries, I added some scratches and grooves to the wood. I also added some streaks of dark gray paint for a more worn look. Then I use some 100 grit sandpaper to sand the edges and to remove some the paint.
Add more paint if you want more color or until you like the way it looks. Sand any of it off as you like too.
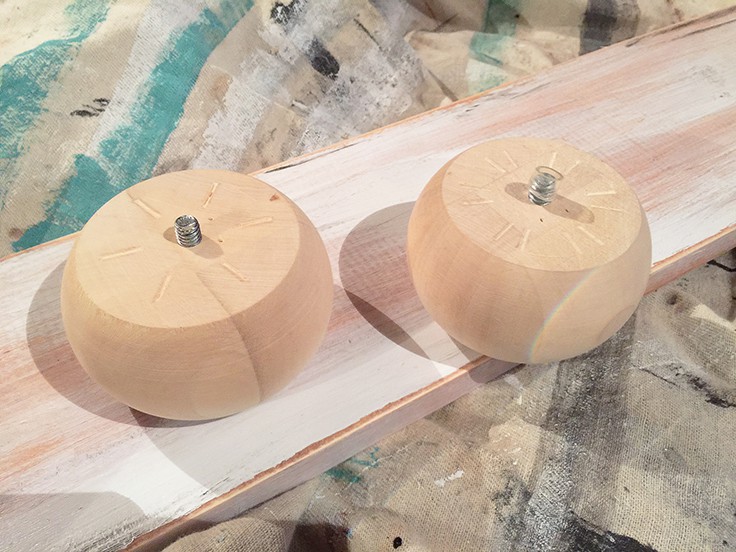
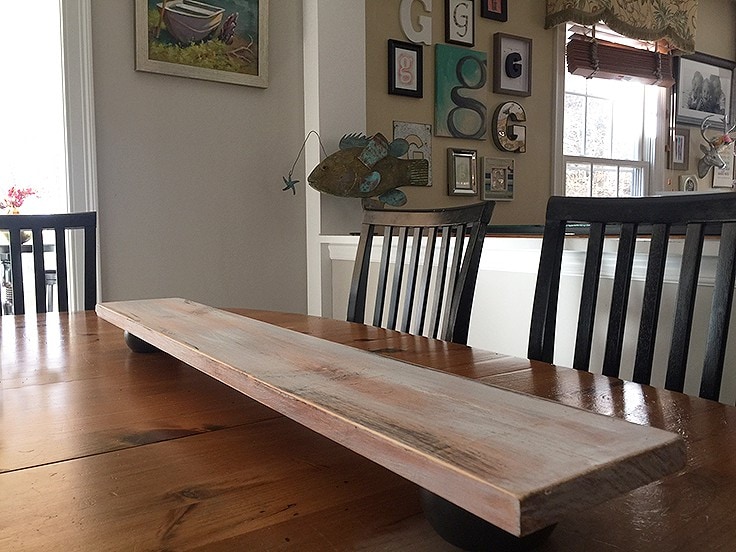
When you’re finished distressing the wood, you need to add the base. I found these 3.5″ wood circle bun feet. I like that they give the tray a little height and dimension. I painted them a dark gray (Benjamin Moore Wrought Iron). They have screws on one side so I just drilled a hole in each end of the tray and screwed them in.
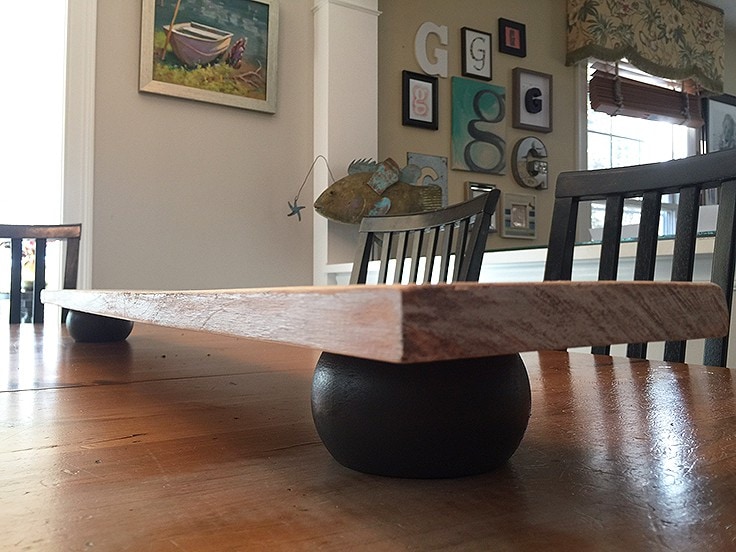
Now you have a nice distressed wood tray that can be used as a centerpiece, to line a shelf, a mantel or along a windowsill.
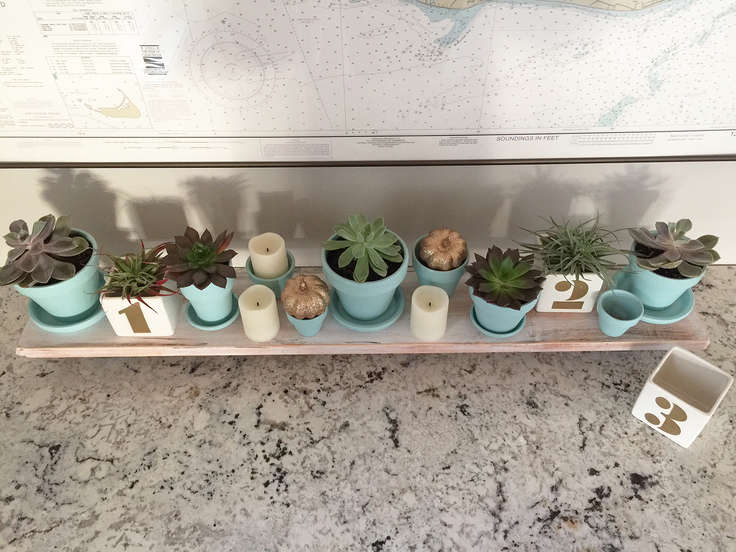
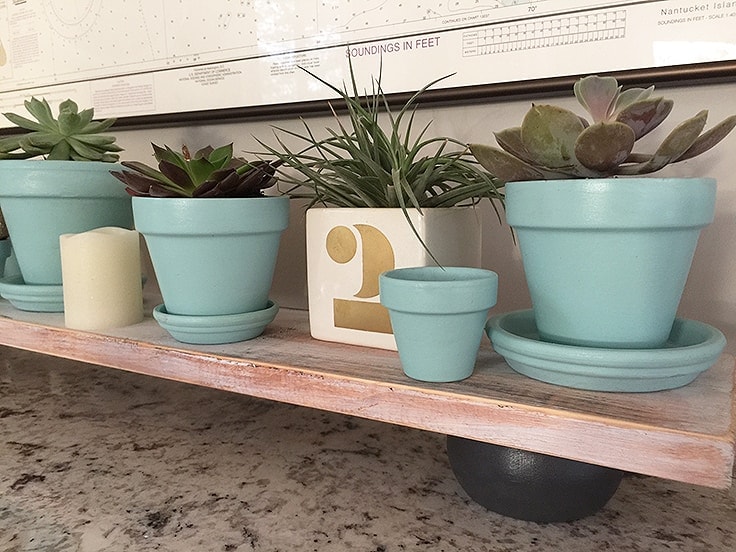
The possibilities are endless to decorate this tray. It could hold candles, vases, a holiday collection, and even desserts (preferably in wrappers). I wanted something that I could leave out anytime and embellish for the different holidays. I decided to use succulents and a few air plants I already had. And they’re both having a moment right now. I love how easy both succulents and air plants are to care for and also how unique their colors and shapes are.

For an unexpected color twist, I painted a bunch of my terra cotta pots a beautiful sea foam blue. It’s called Thunderbird by Benjamin Moore. I painted our kitchen island that color last year so this was a great way to tie in my new arrangement and make it work in my kitchen. I added a coat of Minwax Polycrylic spray for a protective finish.
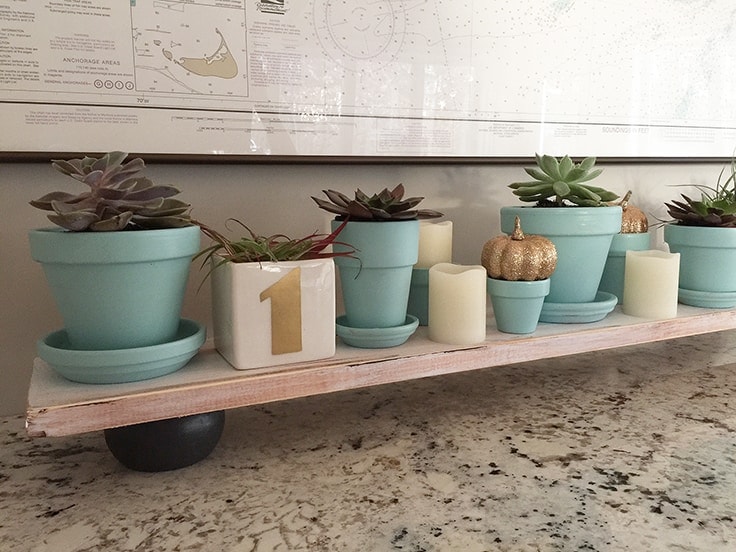
A few gold touches with some numbered pots, mini faux pumpkins, battery candles and it’s done!
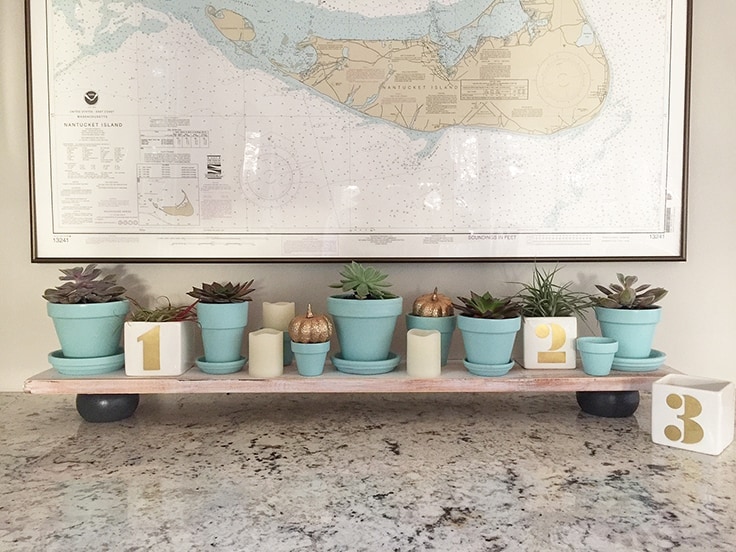
We’re loving our simple and versatile distressed wood tray and I know I’ll have fun decorating it for the changing seasons and holidays. I also love the unexpected colors!
If you like this post, here are for more related posts:
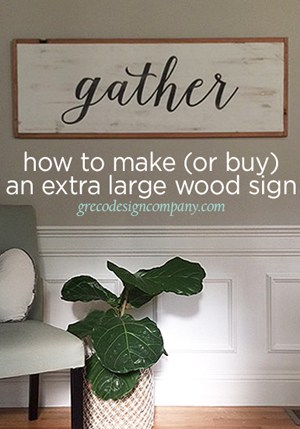
How to Make (or Buy) an Extra Large Wood Sign
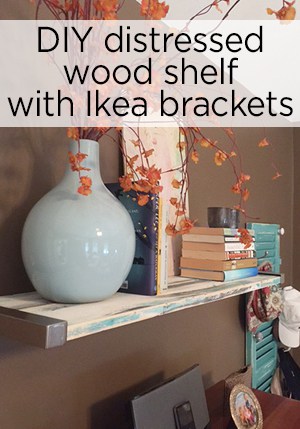
DIY Distressed Wood Shelf with Ikea Brackets
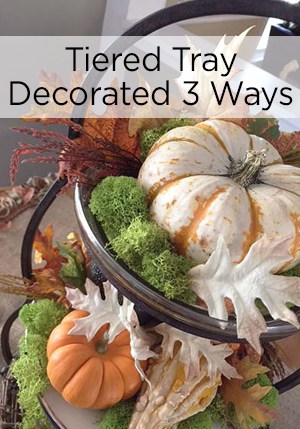
Tiered Centerpiece – Three Ways
Love the ideas you see here on Ideas for the Home by Kenarry®? Subscribe today to get our FREE DIY & Craft Planning Calendar, plus our weekly Ideas in Your Inbox newsletter filled with creative tips and exclusive offers!
What’s Next?
While you’re here, be sure to check out other home decor ideas on Ideas for the Home by Kenarry® –