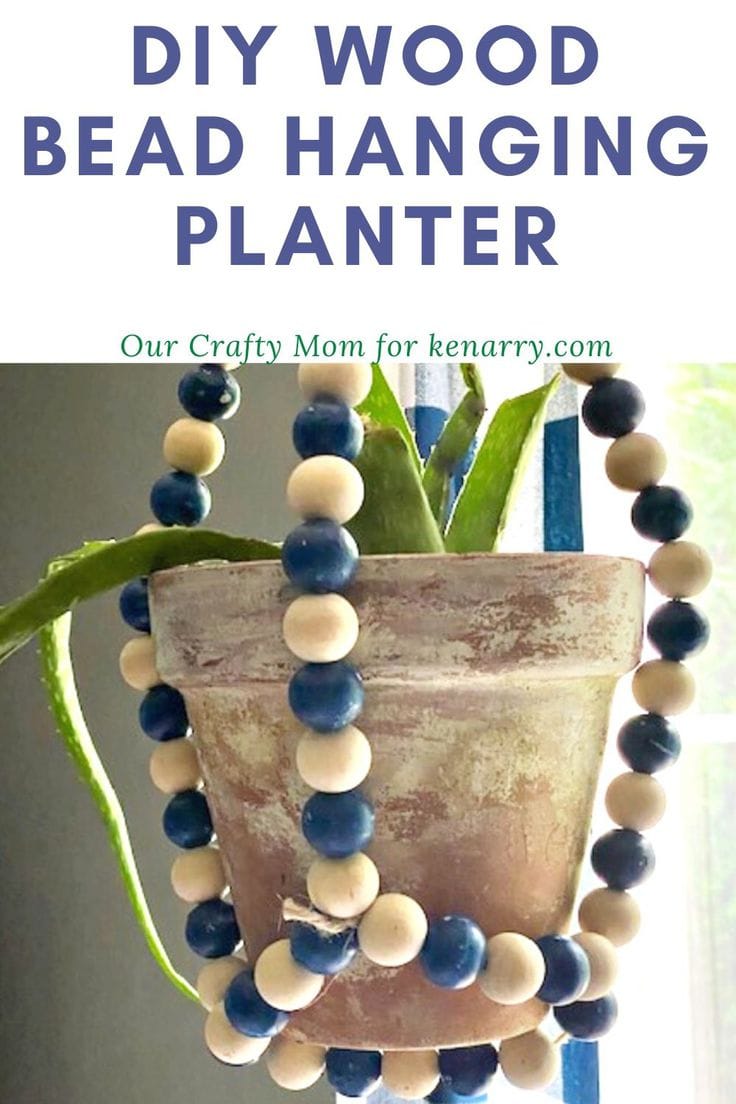
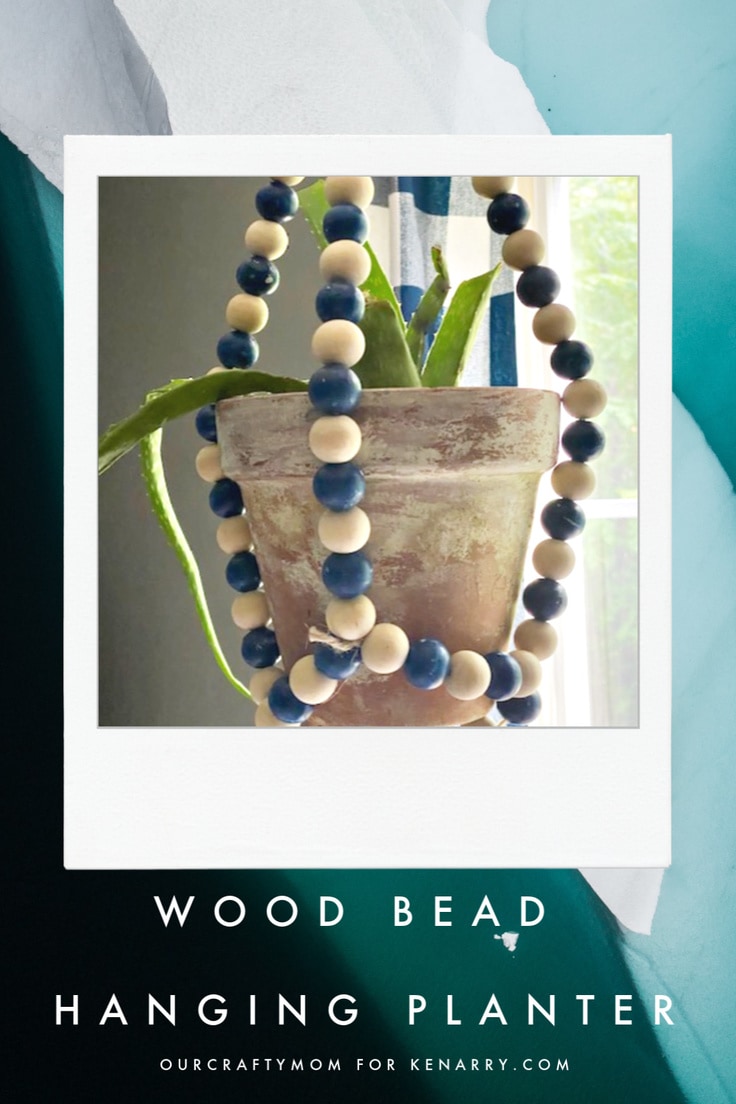
How To Make A DIY Wood Bead Plant Hanger
THIS POST MAY CONTAIN AFFILIATE LINKS. PLEASE SEE OUR FULL DISCLOSURE POLICY FOR DETAILS.
Make a fun and unique DIY wood bead plant hanger with just a few simple steps. You can make the holder different sizes to fit the size of the planter.
Hello! Michelle from Our Crafty Mom back today sharing an easy craft project using wooden beads. Last month I shared how to dye the beads. Today I wanted to show you how to make a really cool plant holder that will look great indoors, or on a covered porch, or screen house.
Want more ideas like this? Subscribe today to get our weekly Ideas in Your Inbox newsletter plus other exclusive gifts and offers — all for FREE!
I’ve been loving all the macrame plant hangers that are all over the web, and in home stores. I would love to attempt to make one at some point, but I found an easier version that gives you the same retro look using wood beads!
How to Make A DIY WOOD BEAD PLANT HANGER
Dye the beads whatever color you like, or use natural beads. I used a clay pot that I aged with paint and added an aloe plant. I don’t have much of a green thumb, so I’m really hoping it survives! Worst case scenario I can add a fake plant.
What you need:
Craft/DIY Tools Needed:
- Wood Beads
- Jute
- Ceiling Cup Hook
Supplies Needed:
- Scissors
Instructions:
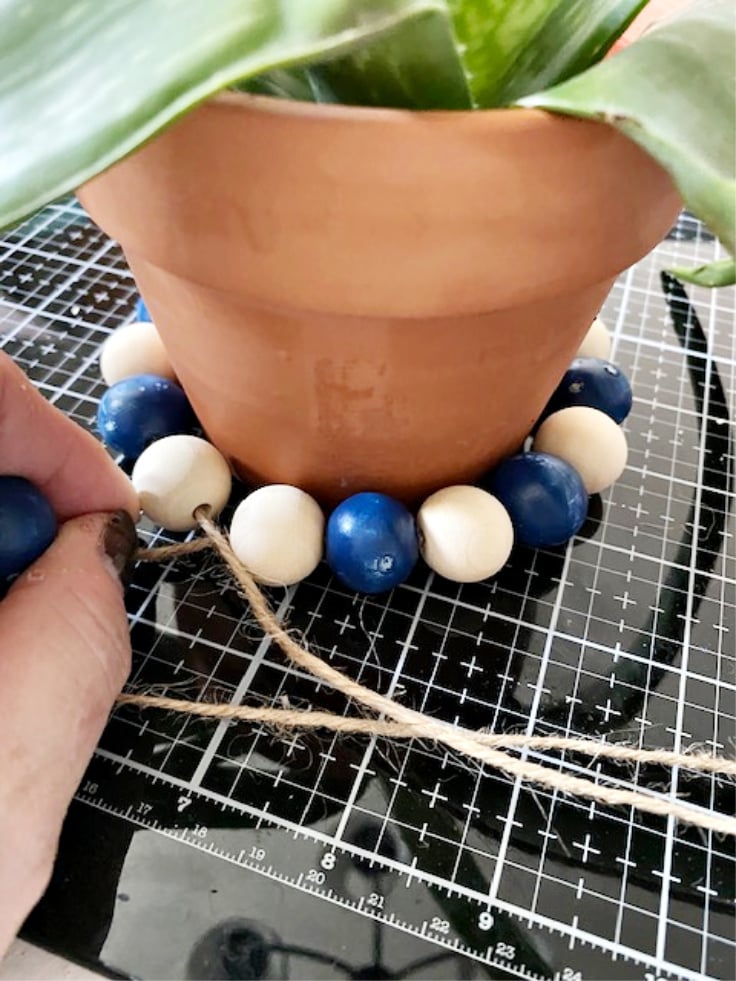
1. Measure the size of the planter
Wrap the jute around the base of the planter and cut the jute to size.
2. Measure the length of the jute
Measure the length of the jute in the spot where you are hanging the planter. You will need 3 pieces of jute the same length. If you are hanging it in front of a window, like I will show below, the recommended length is 12”-15” from the ceiling. This should put it right in the top center of the window, allowing for good light. Also, a south facing window is best.
3. Tie a knot on each piece of Jute
You will have 4 pieces of jute, 3 to secure to the clay pot for the length to hang, and 1 to secure around the base. Begin by tying a knot at the end of each of the 4 pieces, so the beads can be strung.
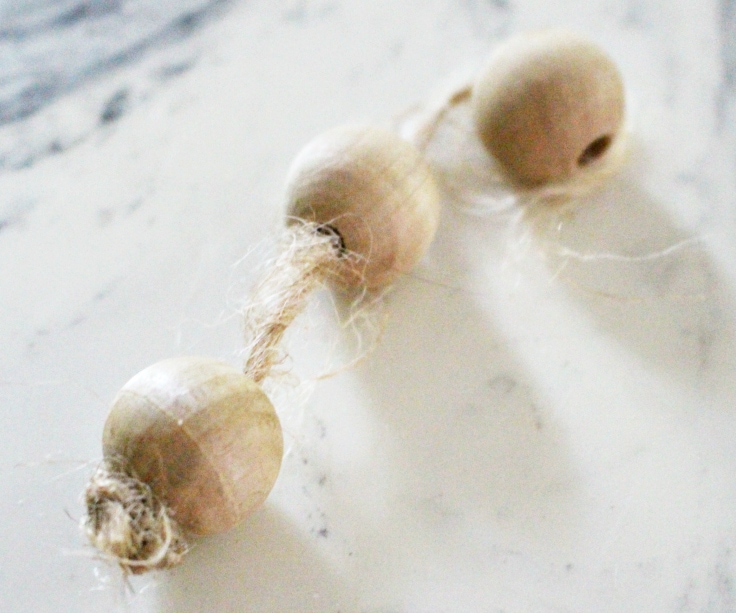
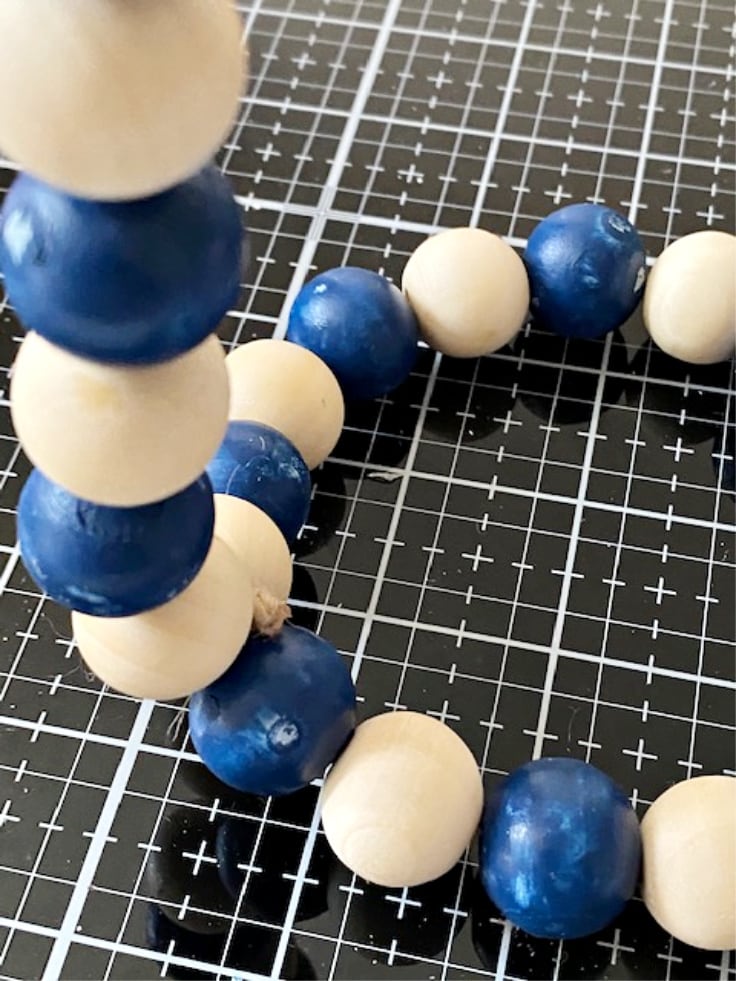
Step 4. String the beads
Add the wood beads to all 4 jute pieces. You can alternate colors, go all natural, or add a mix. I chose to use natural beads to the top hanging piece, while alternating blue and natural for the rest.
Step 5. Connect the strings of Beads
Once you have all the pieces strung with beads, it’s time to connect them. Start by laying the base piece down, and tying the end of each bead strand in a knot to the base in a triangle pattern.
6. secure the three strands into one hanger
Bring the three strands into one and tie a knot so they are connected. Add a few more wood beads, leaving enough jute to tie a loop to secure to the hanger. There was already a plant cup hook in the ceiling that I simply hung this from. If you don’t have one, you can find them at most home stores.

7. add the planter to the wood bead hanger
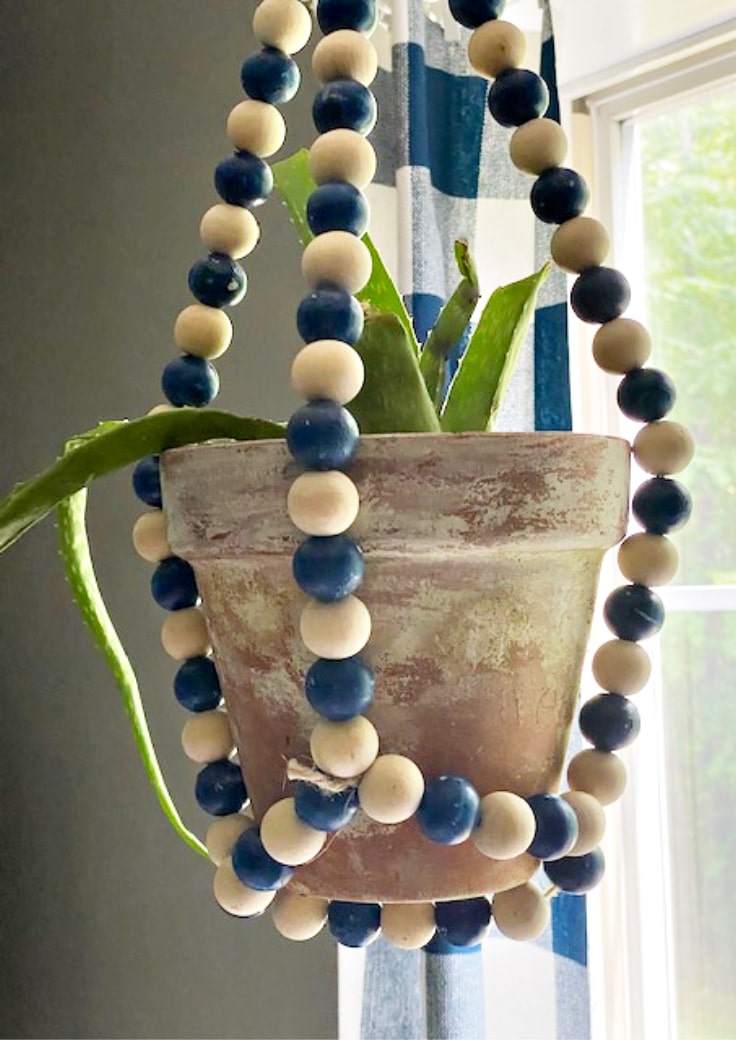
Secure the planter pot to the wood bead hanger, by placing it in the base. The wood beads are nice and snug around the pot.
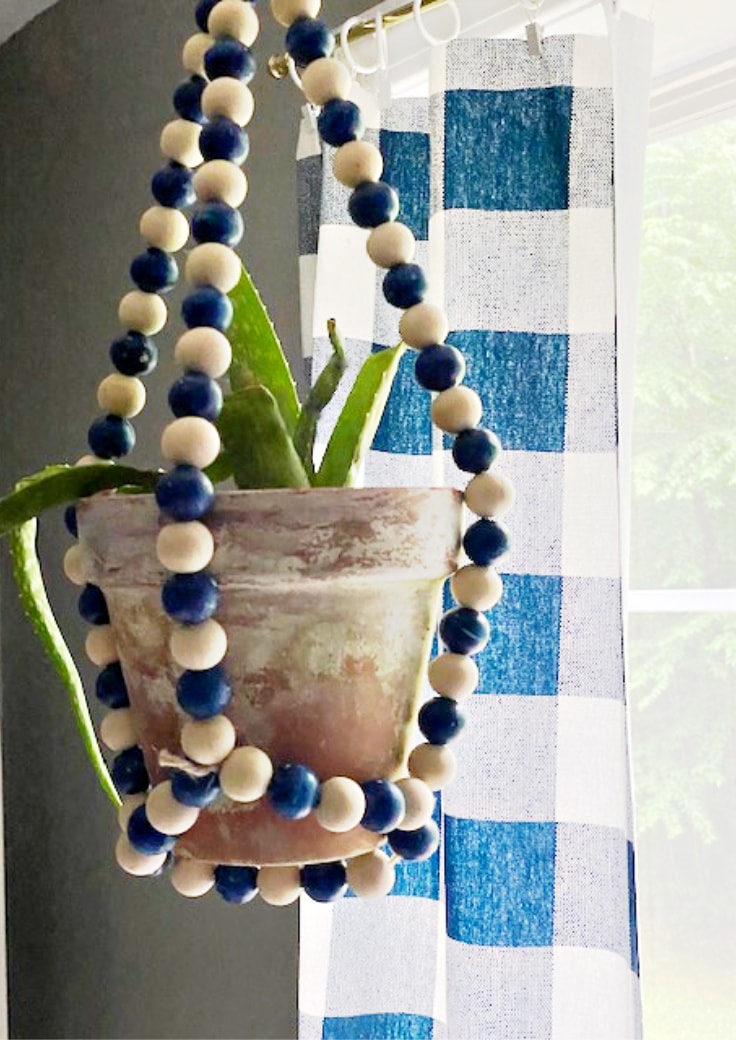
I’m so happy with how this hanging planter turned out! It adds a nice touch of color to this area of the kitchen.
Fingers crossed I can keep the plant alive! If you have any tips for me, please let me know. I tend to overwater in my effort to keep them alive, so this time I am sticking to a schedule.
Love the ideas you see here on Ideas for the Home by Kenarry®? Subscribe today to get our FREE DIY & Craft Planning Calendar, plus our weekly Ideas in Your Inbox newsletter filled with creative tips and exclusive offers!
What’s Next?
If you enjoyed this wood bead planter, then you’ll enjoy these wood bead crafts too.
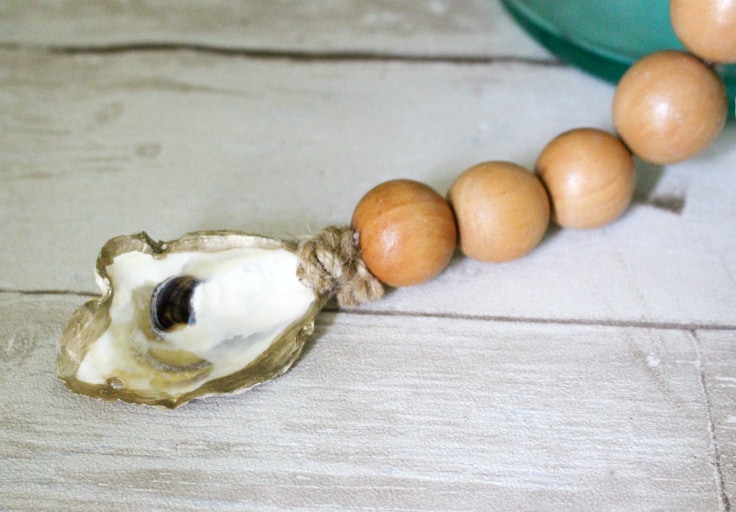
Oyster Shell Wood Blessing Beads

You may also enjoy these wood bead ideas on Ideas for the Home by Kenarry® –