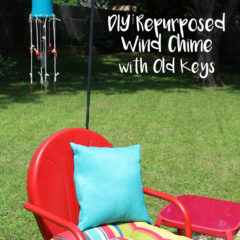
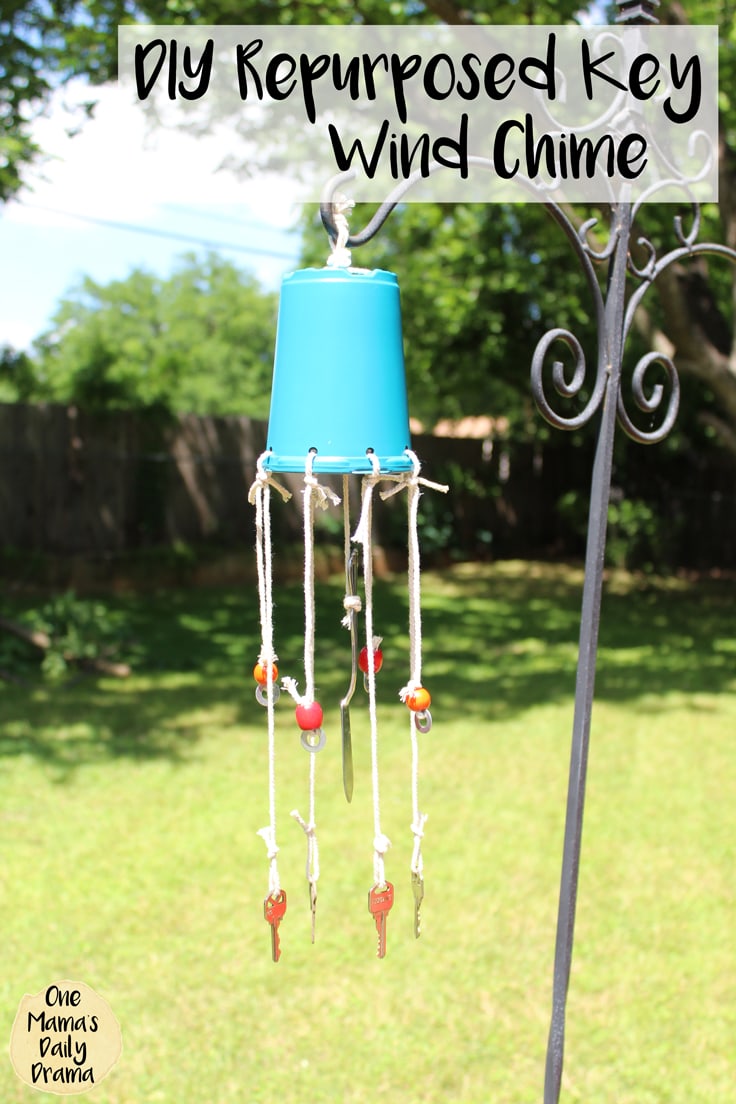
DIY Repurposed Wind Chime With Old Keys
THIS POST MAY CONTAIN AFFILIATE LINKS. PLEASE SEE OUR FULL DISCLOSURE POLICY FOR DETAILS.
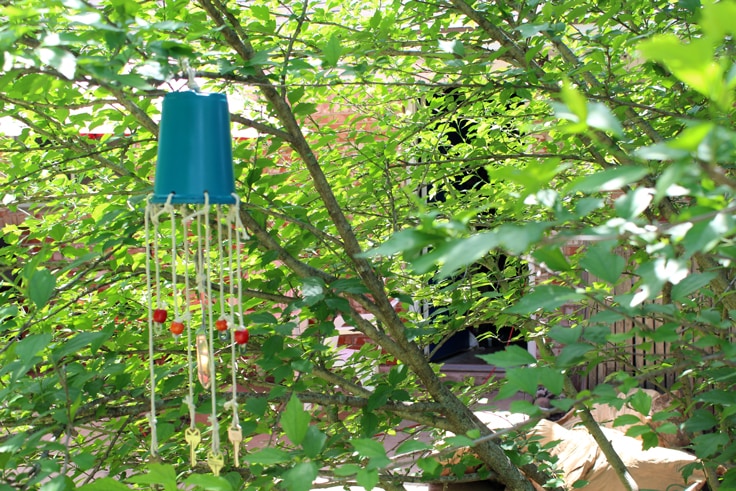
Add a fun pop of color to your outdoor decor by making a DIY repurposed wind chime with old keys. It will be music to your ears all summer long.
I’m Keri from One Mama’s Daily Drama. Summer is one of the best times of the year. Things start to slow down – at least a bit – and we spend a lot more time outside. I’ve been working on updating our patio and created this wind chime for simple, fun DIY outdoor decor.
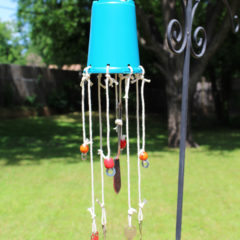
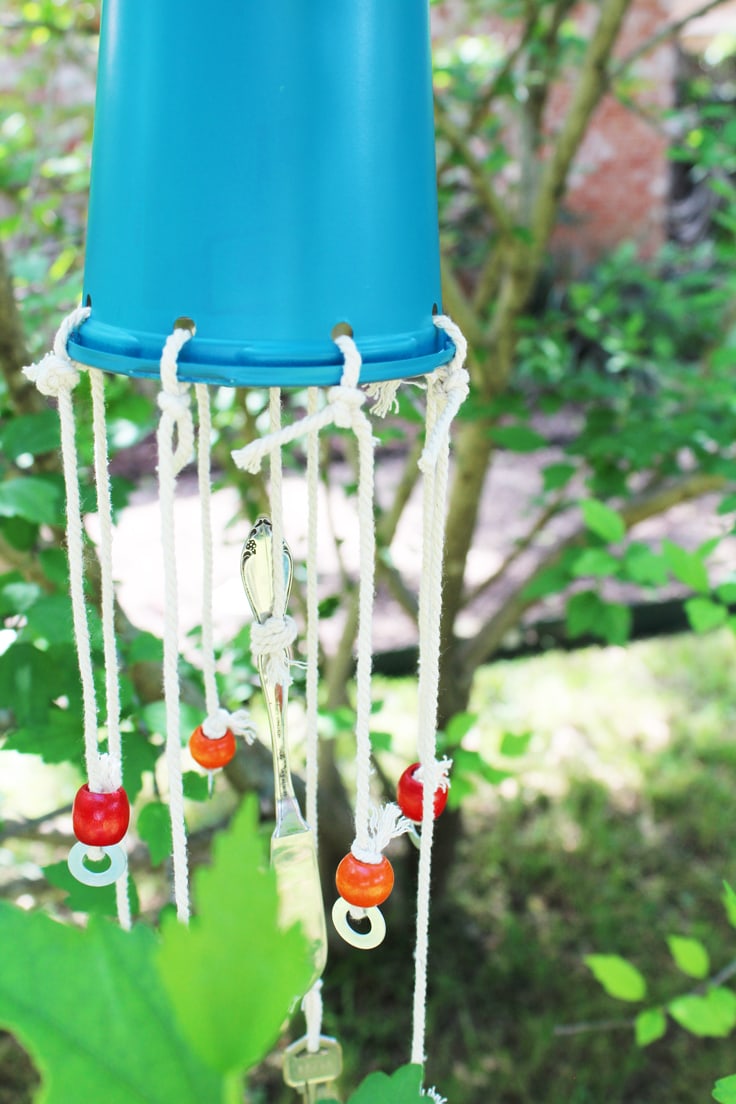
To make this outdoor decoration, I decided to use items I already had out in my garage. The top is an empty plant container. The keys and washers have just been tucked away in a drawer until I could think of something to do with them. Oddly, the cheese knife was found in my backyard. Every time I do a gardening project or we get a good heavy rain, new items turn up. I’ve found Hotwheels cars, plastic toys, coins, marbles… and this cheese knife.
How to Make A Repurposed Wind Chime with old keys
The fun thing about using repurposed materials for a DIY project is that you can use whatever you have available. Test out different items to see how they sound when tapped together.
What you need:
Want more ideas like this? Subscribe today to get our weekly Ideas in Your Inbox newsletter plus other exclusive gifts and offers — all for FREE!
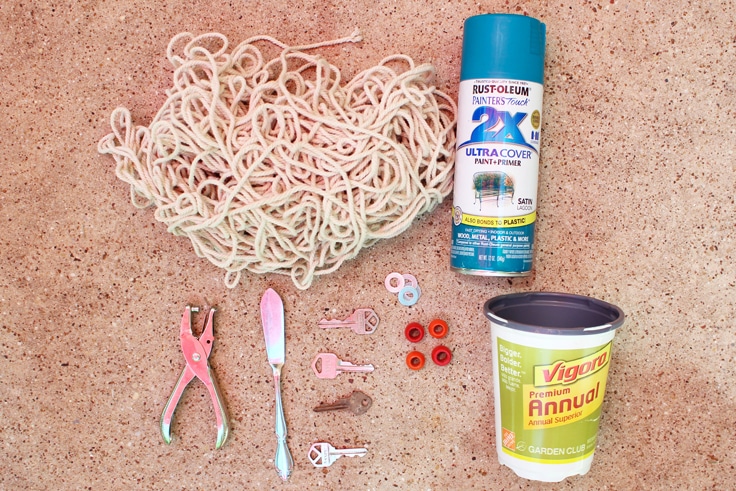
Craft/DIY Tools Needed:
Supplies Needed:
- Empty plastic plant container
- Spray paint (I used Rustoleum Ultra Cover Satin in Lagoon blue)
- Cotton cord
- Assorted hanging items: keys, washers, beads, and a cheese knife
Instructions:
1. Prepare The Top of the wind chime
Start by washing the plant container thoroughly and then using a hole punch make holes around the open end. I used the existing holes in the bottom as a guide and spaced 8 holes evenly around.
Spray paint the outside of the container. I just stuck a stick in the ground and dropped the container over it. I should’ve put something over the grass, but didn’t think it would be so blue! It took 3 coats to fully cover the text.

2. Make The Hanging Pieces
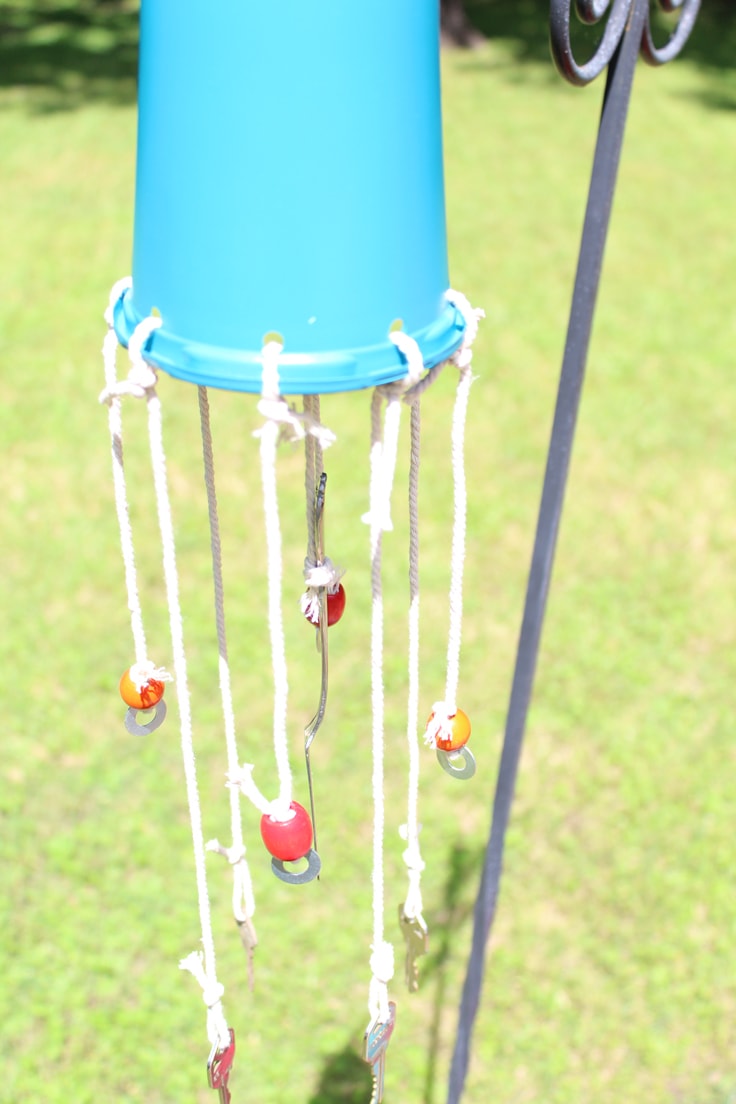
Cut longer and shorter sections of cotton cord to hang the objects from. I tied 4 longer ones with keys and 4 shorter ones with washers.
For the ones with washers, I also strung a large, wooden bead on top.
3. Attach The Hanging Pieces To The Top of the wind chime
Tie the end of each cord to the container through the holes. I alternated between keys and washers.
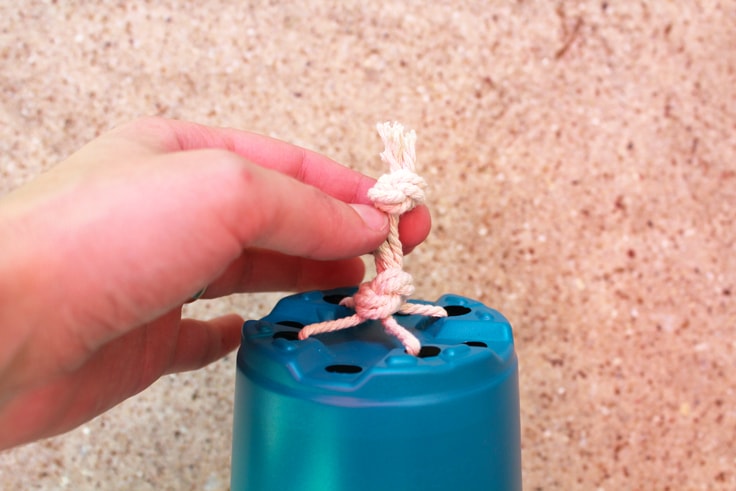
4. Create A Hanging Knot
So the wind chime can hang, tie a large knot at the top. Loop two cords through opposite holes and bring them together in the center.
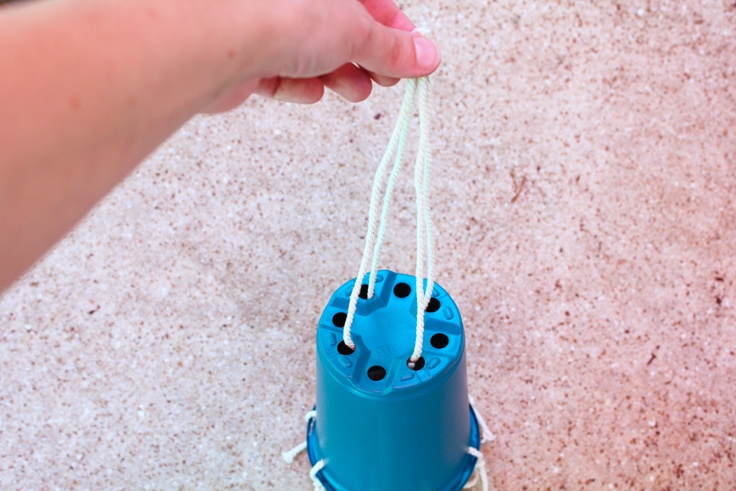
Tie a knot snug against the container and another one at the ends.
5. Attach The Center Hanging Piece
I hung the cord with the cheese knife in the center. To attach it, loop the end of that cord under the crossed pieces inside the top and tie a knot.

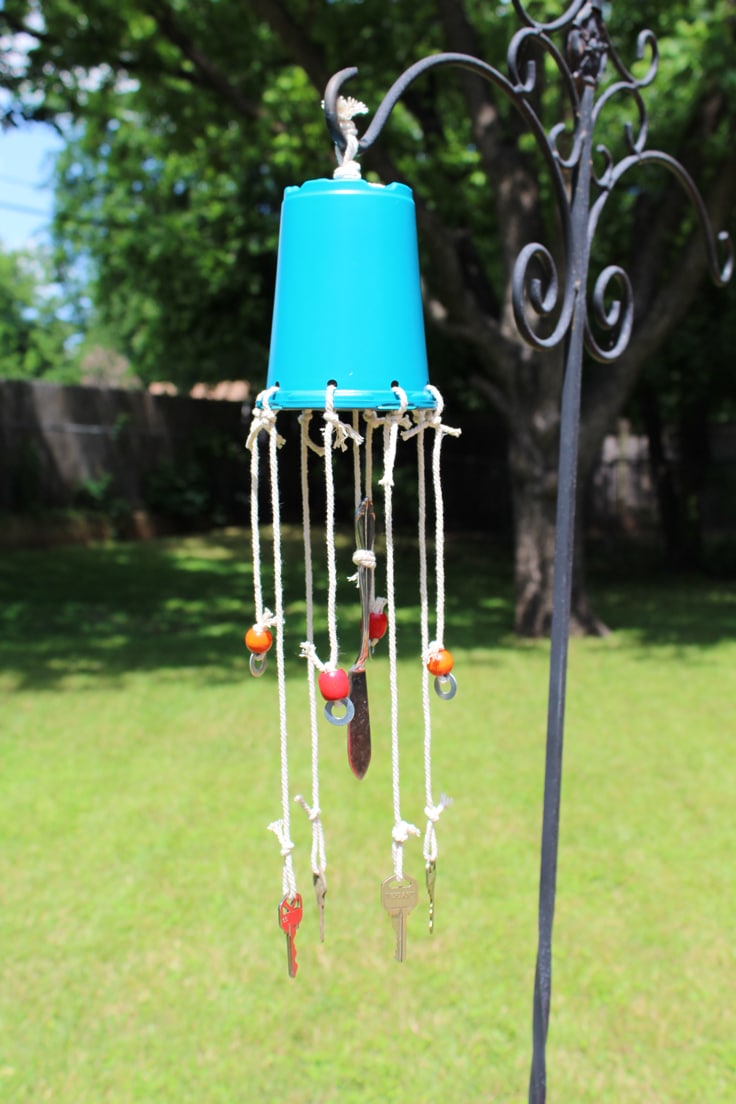
This wind chime is a fun project to welcome summer and would make a simple kids activity later on when they are bored. Challenge them to be creative and see what found items they can use.
Love the ideas you see here on Ideas for the Home by Kenarry®? Subscribe today to get our FREE DIY & Craft Planning Calendar, plus our weekly Ideas in Your Inbox newsletter filled with creative tips and exclusive offers!
What’s Next?
If you enjoyed this repurposed key wind chime then you’ll enjoy these DIY outdoor decor projects.
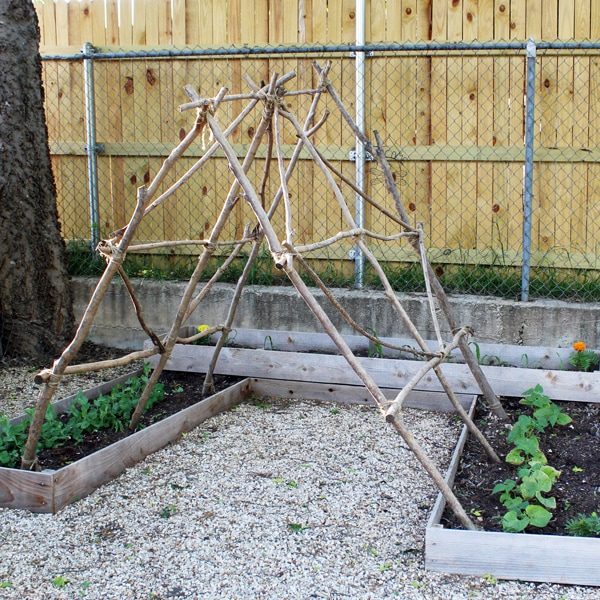
12 Backyard Garden Tips to Try This Summer
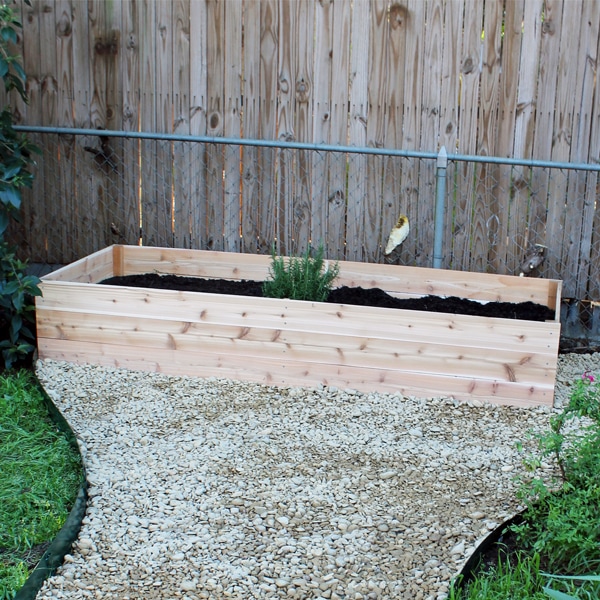
Herb Garden and Patio Project Tour

You may also enjoy these DIY outdoor decor ideas on Ideas for the Home by Kenarry® –