DIY Reading Pillow – Kid’s Book Handmade Gift Tutorial
THIS POST MAY CONTAIN AFFILIATE LINKS. PLEASE SEE OUR FULL DISCLOSURE POLICY FOR DETAILS.
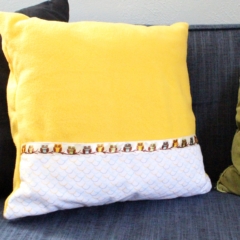
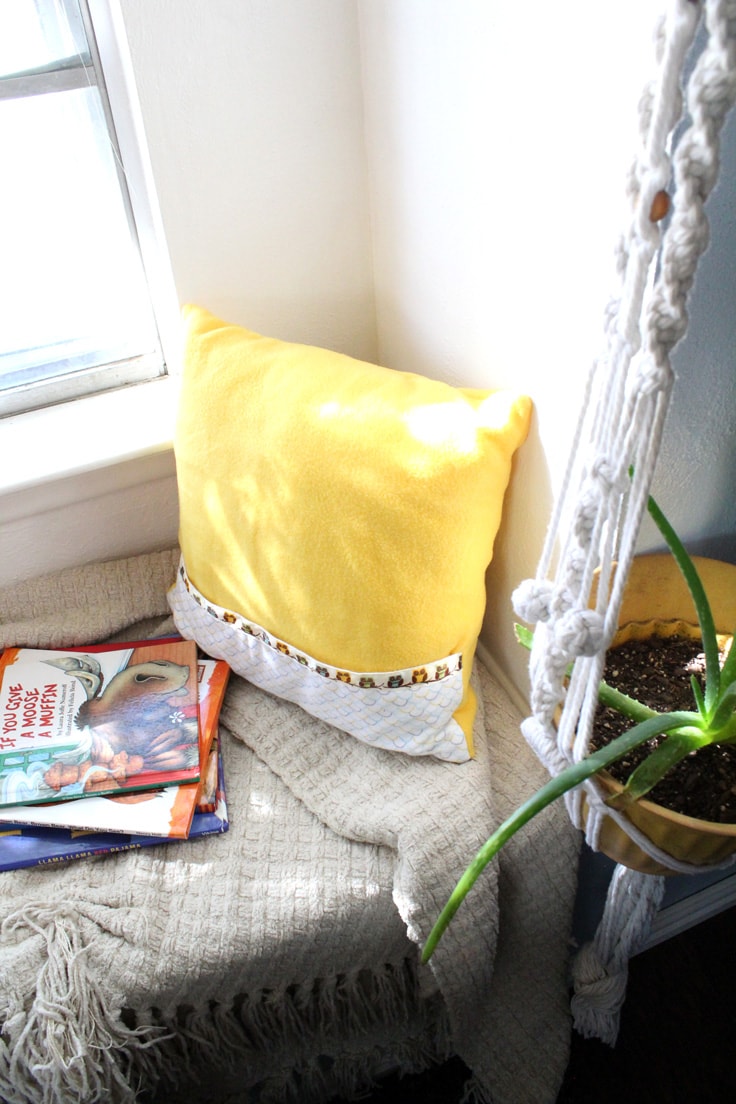
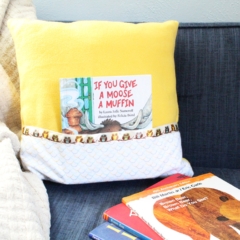
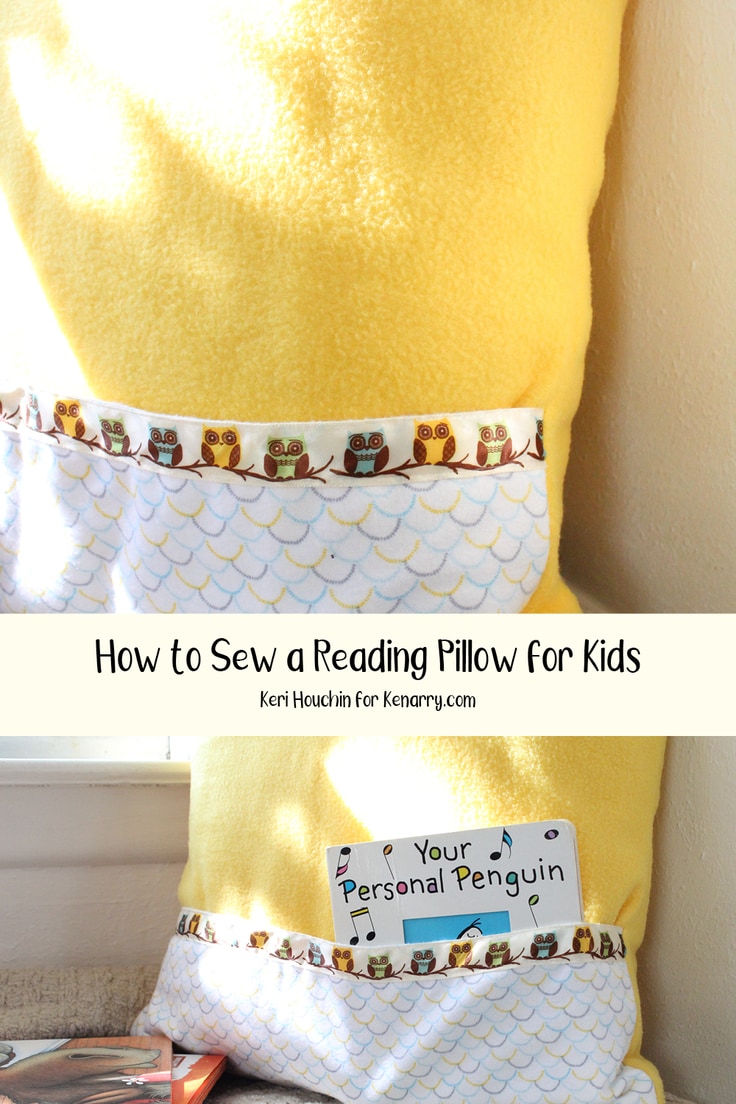
Sew a cozy reading pillow for a cute handmade gift idea for kids. The pocket holds a book or two and is fun for all ages.
This handmade gift tutorial is a fun sewing project to make for kids. I’m Keri from One Mama’s Daily Drama and even as an adult, I kind of wish I had a cozy reading nook to while the afternoon away. This reading pillow helps turn any corner into a comfortable place to curl up with a book.
If you have fleece leftover after making this pillow, make a no-sew fleece scarf. It’s so easy!

Books are always one of my favorite gifts to give to kids, from babies up to teens. I also think pairing a handmade gift with a small store-bought item is an easy way to be budget-friendly and thoughtful at the same time.
Whether you need a kids’ gift for Christmas, a birthday, or another holiday, this is a cute one. This tutorial is a bit more complicated for beginners, but I’ve included some tips below that will make it a bit easier.
How to Make a reading pillow
This is an easy gift to customize. Change up the fabrics and pair the finished pillow with any book.
What you need:
Want more ideas like this? Subscribe today to get our weekly Ideas in Your Inbox newsletter plus other exclusive gifts and offers — all for FREE!
Craft/DIY Tools Needed:
- Sewing machine or supplies for hand-stitching
- Scissors
- Pins, optional
- Tape measure
Supplies Needed:
These are the ingredients you’ll need. All the exact amounts are in the printable card at the bottom of this post.
- Pillow insert
- Main fabric
- Coordinating pocket fabric
- Ribbon
- Thread
Kids books for gifting a reading pillow:
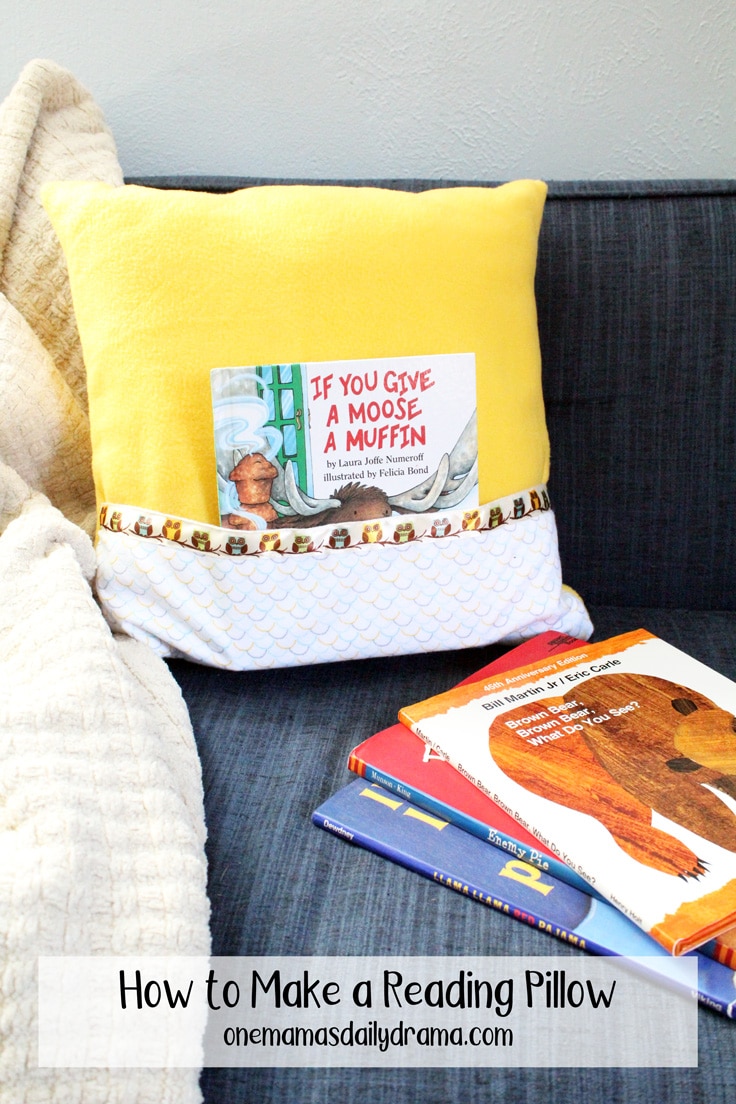
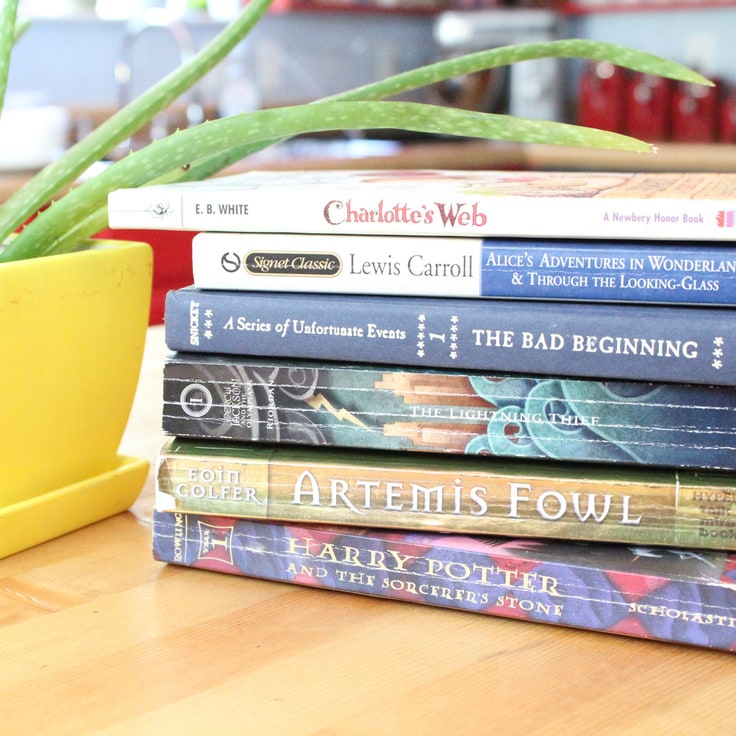
A reading pillow makes a fun gift for kids of all ages. For preschoolers up to tweens, choose books on their reading level. Some of my favorites for young children are pictured with my pillow:
- If You Give a Moose a Muffin by Laura Joffe Numeroff
- Brown Bear, Brown Bear, What Do You See? By Bill Martin Jr.
- Enemy Pie by Derek Munson
- Llama Llama Red Pajama by Anna Dewdney
- Your Personal Penguin by Sandra Boynton
reading pillow sewing Tips:
backstitching
To make your stitches really secure so they won’t unravel, backstitch at the beginning and end of each section. Back stitching just means you sew backward for a few stitches; my machine has a level to switch the direction easily
using pins
Straight pins are really handy for keeping slippery materials, like the ribbon I used here, from moving while you stitch. Just be sure you pull them out of the material as you go so that you don’t break a sewing needle!
fraying hemlines
Most fabric needs to be hemmed so the edges don’t fray. Save a bit of time by using one that doesn’t. I used fleece for this pillow, so I didn’t hem the pocket opening in the back.
fabric types
Fleece is stretchy, so it can be difficult to sew with. If you’re a beginner, I recommend something less stretchy like calico cotton. If you’ve got some experience sewing, you may be comfortable sewing fleece.
hand-sewing
If you don’t have a sewing machine, you can still sew this by hand, but it will take quite a while. For a shortcut, you could start with a pillowcase and just add the pocket.
ready-made pillows
If you’d rather buy than DIY, I found a few pillows with pockets on Amazon.com and Etsy.
DIY Reading Pillow
Equipment
- sewing machine or supplies for hand-stitching
- fabric scissors
- tape measure
- straight pins (optional)
Supplies
- 1 pillow insert
- 1/2 yard main fabric
- 1/2 yard coordinating pocket fabric
- 1/2 yard ribbon
- thread
Instructions
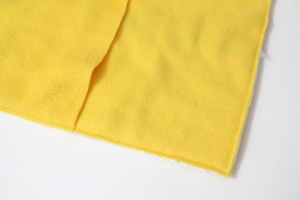
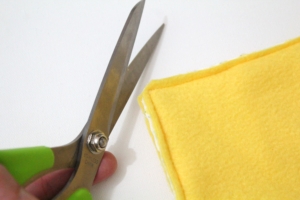
- Cut the fabric.Start by cutting all the fabric pieces. For the front of the pillow, cut one square that’s half an inch bigger than your pillow on all 4 sides. My pillow is 16×16 inches, so my front panel is 17×17 inches.For the back panels, cut 2 pieces that are the same length and half the width plus 3 inches. For my 16×16 inch pillow, my back pieces are both 17×11 inches.For the pocket, cut 1 piece that is the same width as your front panel and twice whatever measurement you want for the pocket to cover the front panel. I decided I wanted my pocket to come up 6 inches, so I cut a piece that is 17×12.
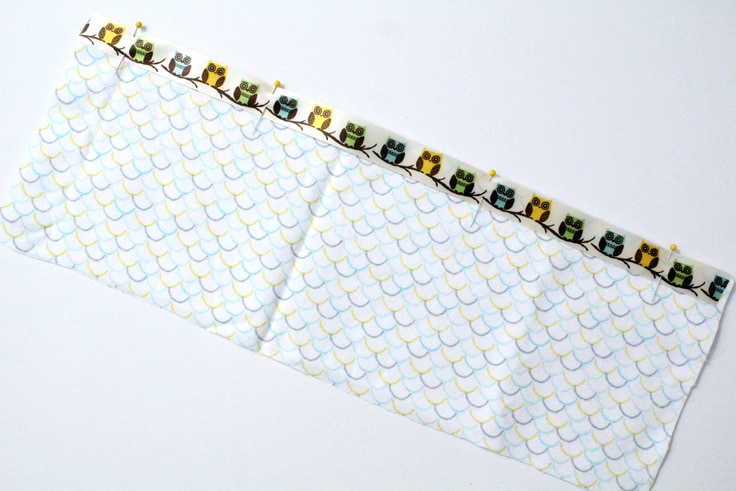
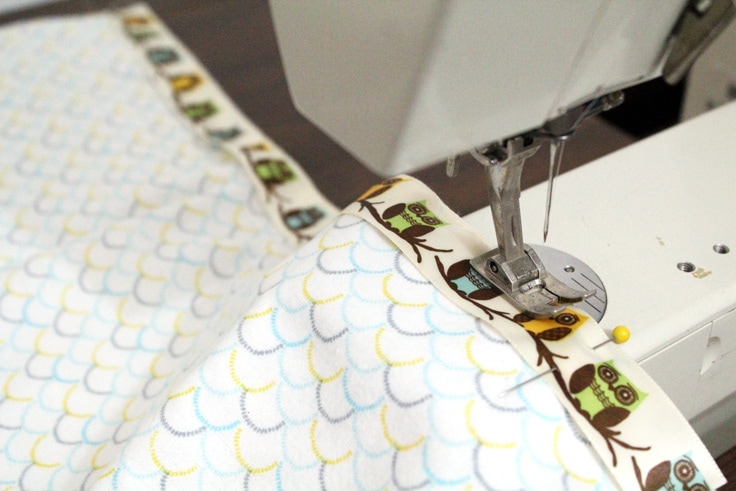
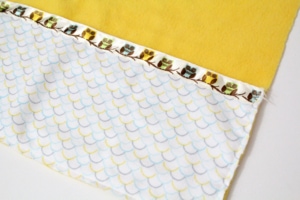
- Attach the ribbon to the pocket.Fold the pocket fabric in half and iron it to remove any wrinkles and crease the top edge.Cut the ribbon to be the width of the pocket (17 inches for mine). Line it up with the top folded edge of the pocket. Use pins to hold it in place if you need to. Sew the ribbon along both edges to attach it to the pocket. Stitch as close to the edge of the ribbon as possible. This creates a nice finished edge and adds a fun decorative element.

- Attach the pocket to the front panel.Line the pocket up on the front panel and pin it in place if necessary. The pieces should both be facing the right way with cut edges showing. Stitch along 3 sides with a 1/4 inch allowance, leaving the top of the pocket open.
- Attach the front and back panels.I did not hem the edges of the pocket opening in the back because fleece won’t fray. However, if you’re using a fabric that does, fold the edge over 1/4 inch and hem where the sections overlay first.Now with right sides facing, line up the back panels on top of the front panel. There should be a 3 inch overlap in the middle. Pin everything you need to.Stitch around all 4 sides with a 1/4 inch allowance.
- Trim and finish the pillow cover.To finish the pillow cover, trim the ends of any threads. Cut the tip off of each corner, being careful not to cut through any stitches. Turn the pillow right side out, smooth out the edges and shape the corners into points.
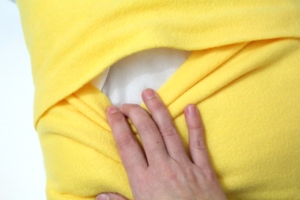
- Add the insert.Finally, stuff the pillow insert into the pillow cover. Adjust the corners of the pillow and fluff it into shape.
Love the ideas you see here on Ideas for the Home by Kenarry®? Subscribe today to get our FREE DIY & Craft Planning Calendar, plus our weekly Ideas in Your Inbox newsletter filled with creative tips and exclusive offers!
What’s Next?
If you enjoyed this DIY reading pillow tutorial then you’ll enjoy these kids’ book ideas too.
Family Favorite LEGO Books for Building Inspiration

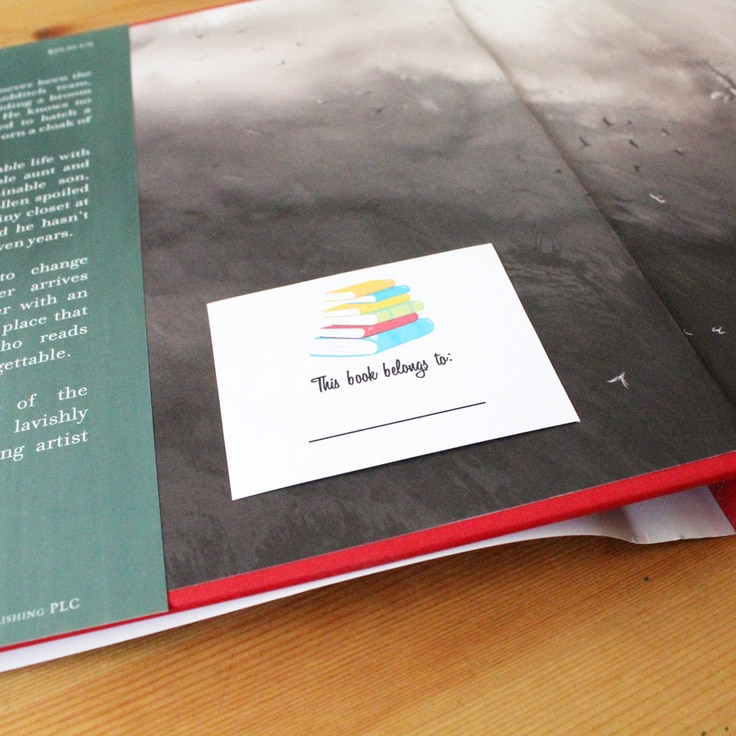
Printable Bookplates to Organize or Gift
40 Middle Grade Books to Encourage Reading
You may also enjoy these gift ideas to sew for kids on Ideas for the Home by Kenarry® –