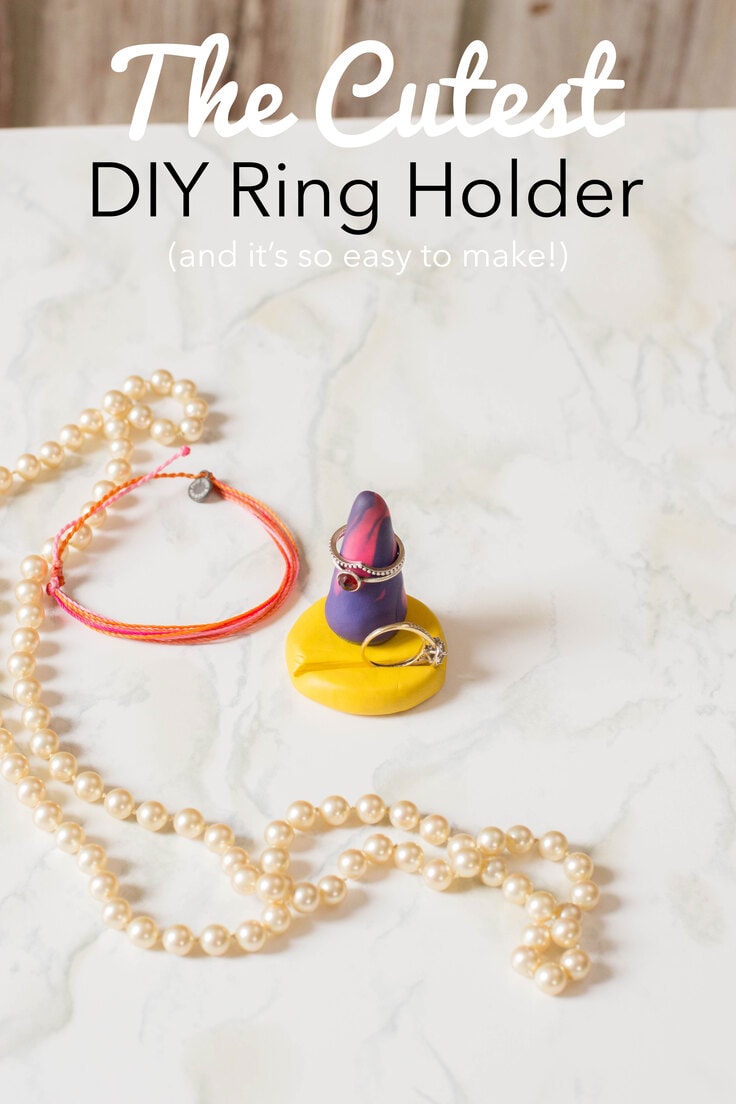
DIY Polymer Clay Ring Holder
THIS POST MAY CONTAIN AFFILIATE LINKS. PLEASE SEE OUR FULL DISCLOSURE POLICY FOR DETAILS.
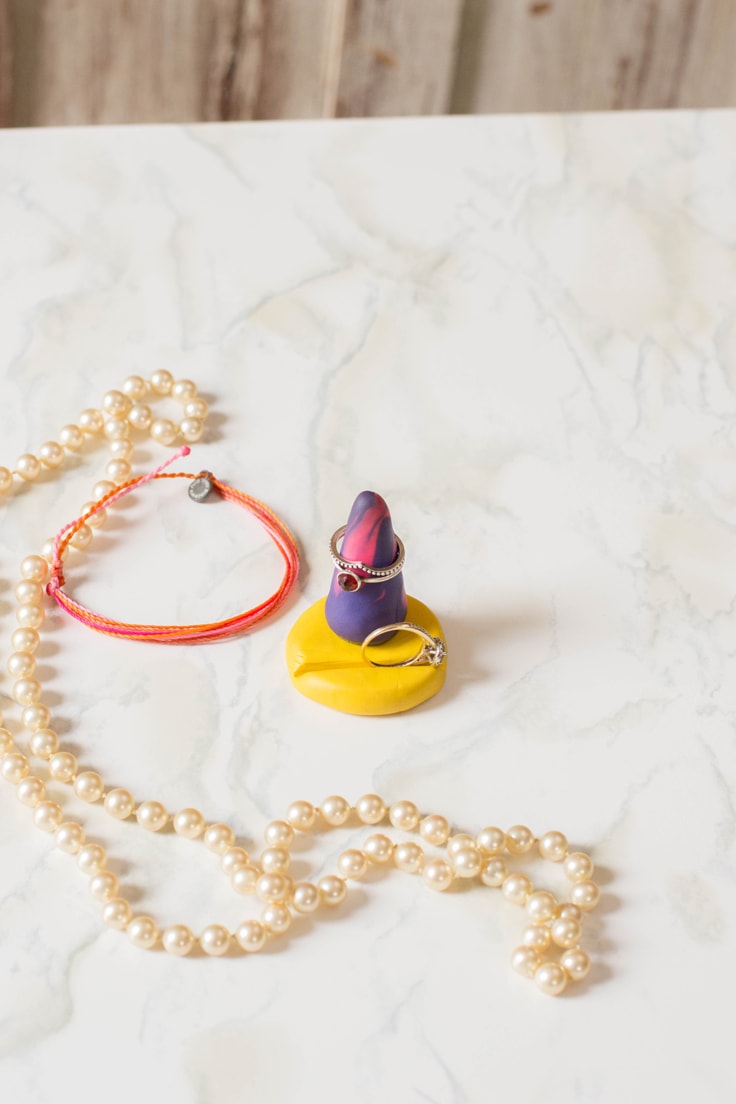
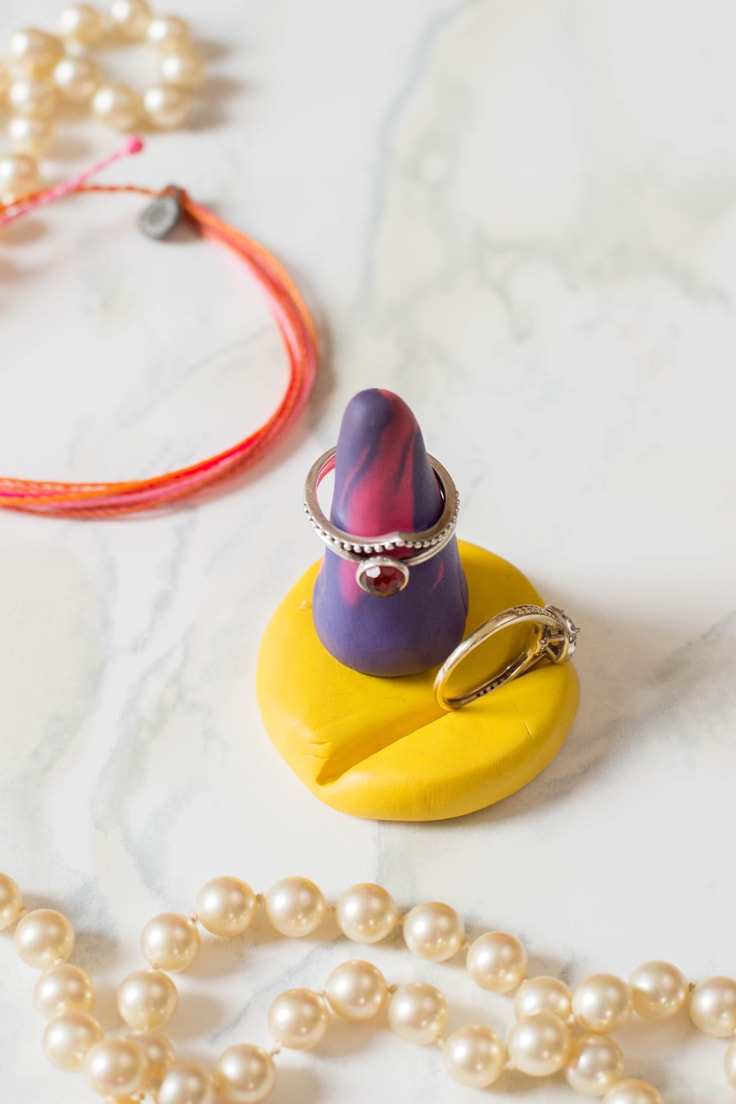
A super easy DIY to showcase your beautiful rings. This Polymer Clay Ring Holder is so pretty that you’ll want it on display in every one of your rooms!
Hi, everyone! Lisa here, reporting for DIY duty! Last time I posted, I had tons of fun making a polymer keychain craft. It was my first time using polymer clay and well, I just can’t get enough of it.
I’m all about costume jewelry – and rings are my all-time favorite! I’m all about stacking them and sporting different metals and stones (think à la Phoebe from FRIENDS).
Storing them isn’t always pretty, though. I usually just shove them in a drawer and call it a day before I decide to wear them again. This is why recently, I decided to make my own ring holder – and what better material to use than polymer clay? It’s so easy!
How to Make Your Own Ring Holder Using Polymer Clay
What I love about this DIY is that it takes very minimal tools to make. Plus, it’s so quick and easy to prepare, that you’ll have your DIY Polymer Clay Ring Holder in no time!
What you need:
Want more ideas like this? Subscribe today to get our weekly Ideas in Your Inbox newsletter plus other exclusive gifts and offers — all for FREE!
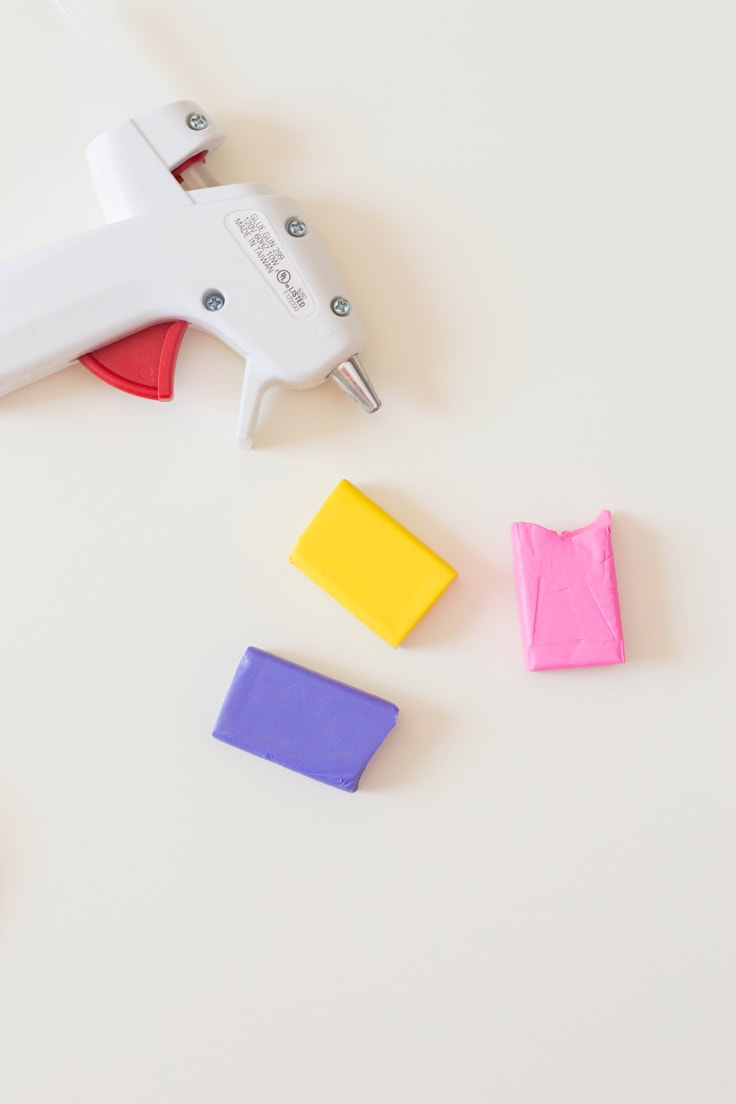
Craft/DIY Tools Needed:
Supplies Needed:
- 3 different colors of polymer clay, about 2 oz. each
Instructions:
This is one of the easiest DIY projects you will ever make. In fact, you can get your kids to make some too.
Here’s how to make your own DIY polymer ring holders.
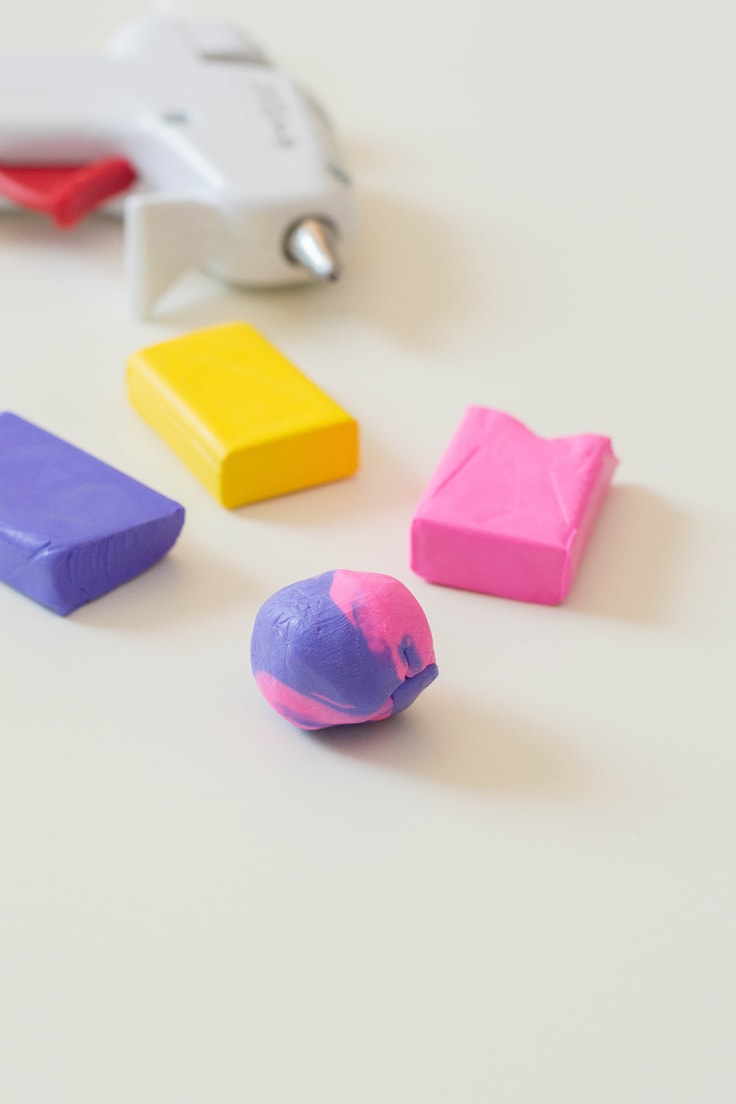
1. marble the first two colors
Choose two colors out of your polymer clay to knead together and create a marbled effect.
The best way to marble polymer clay is to just roll two colors together into a ball.
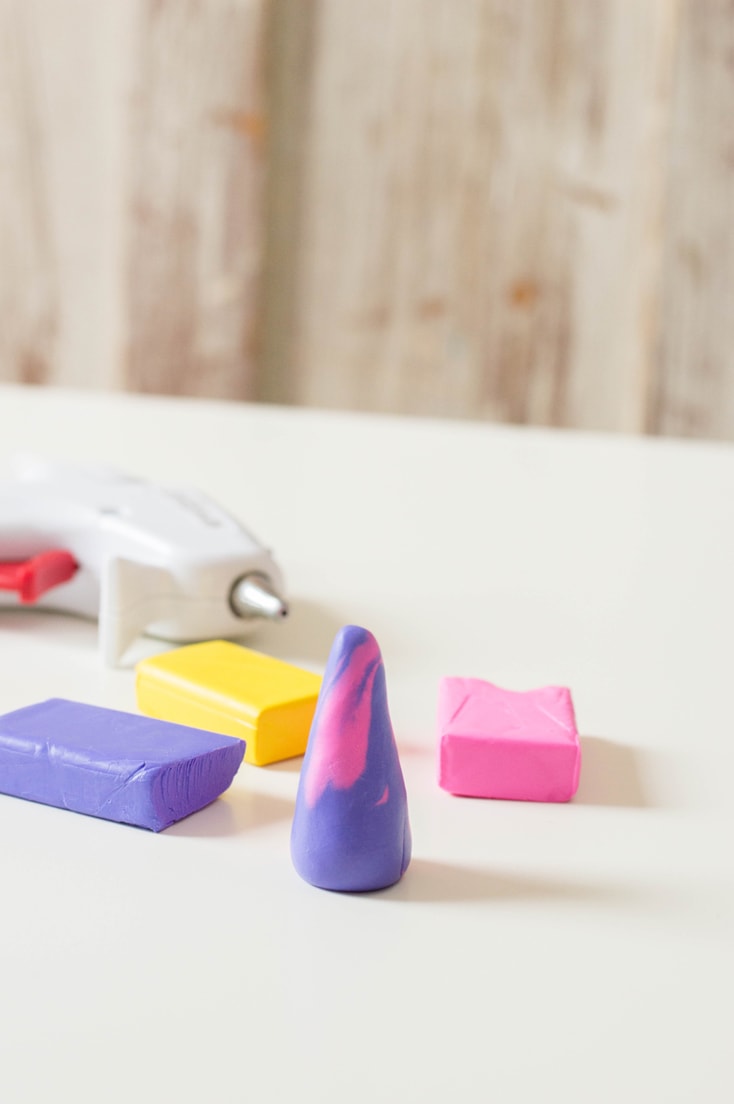
2. shape it into a cone
Next, shape your marbled polymer clay piece into a cone, about two inches tall.
3. Shape a circle
Take your third polymer clay color and flatten it and shape it into a circle: about 1/2 an inch thick and 1 1/2 inches in diameter (hint: you can use a cookie cutter to achieve the shape but we aimed to complete this DIY with as little tools as possible).
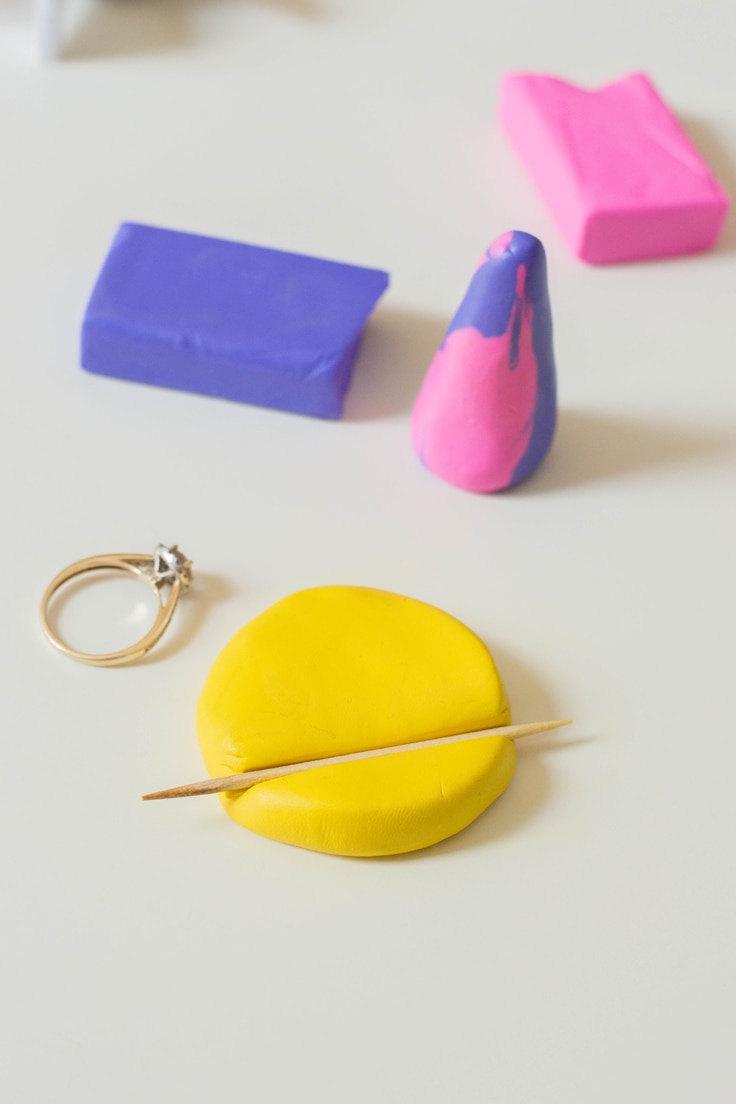
4. give it an indentation
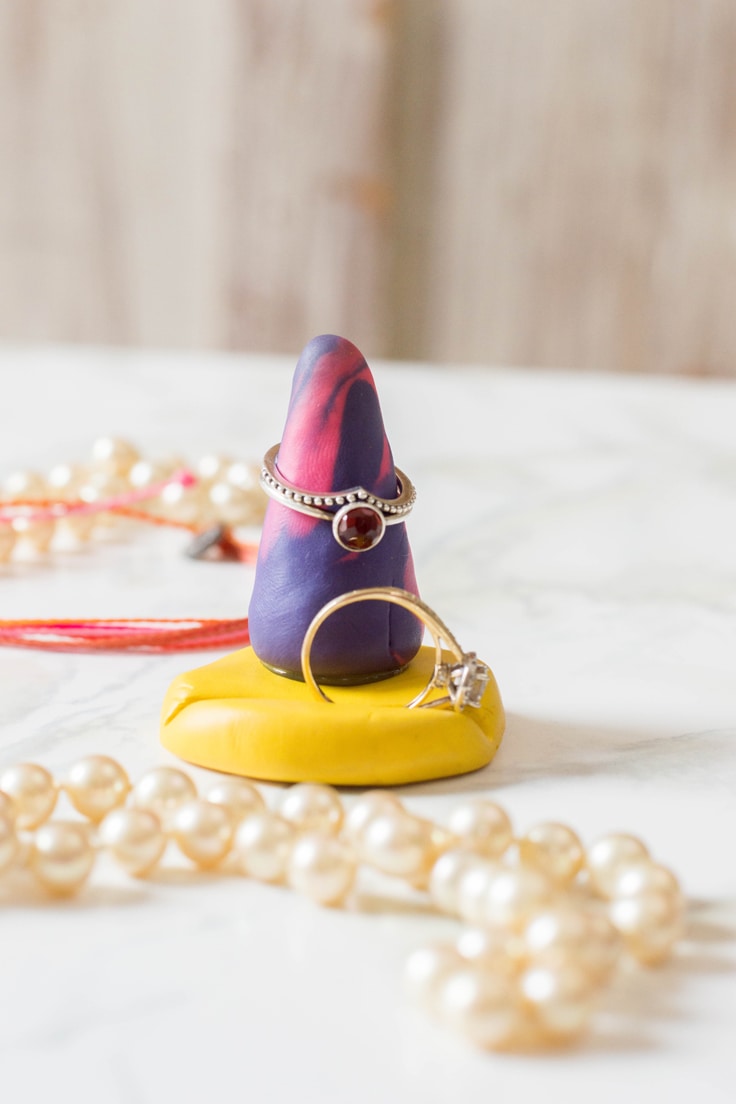
Press a toothpick into the circular base you just shaped. Press it as deep as possible without the toothpick going straight through the piece. This indentation will be an extra spot for you to place rings.
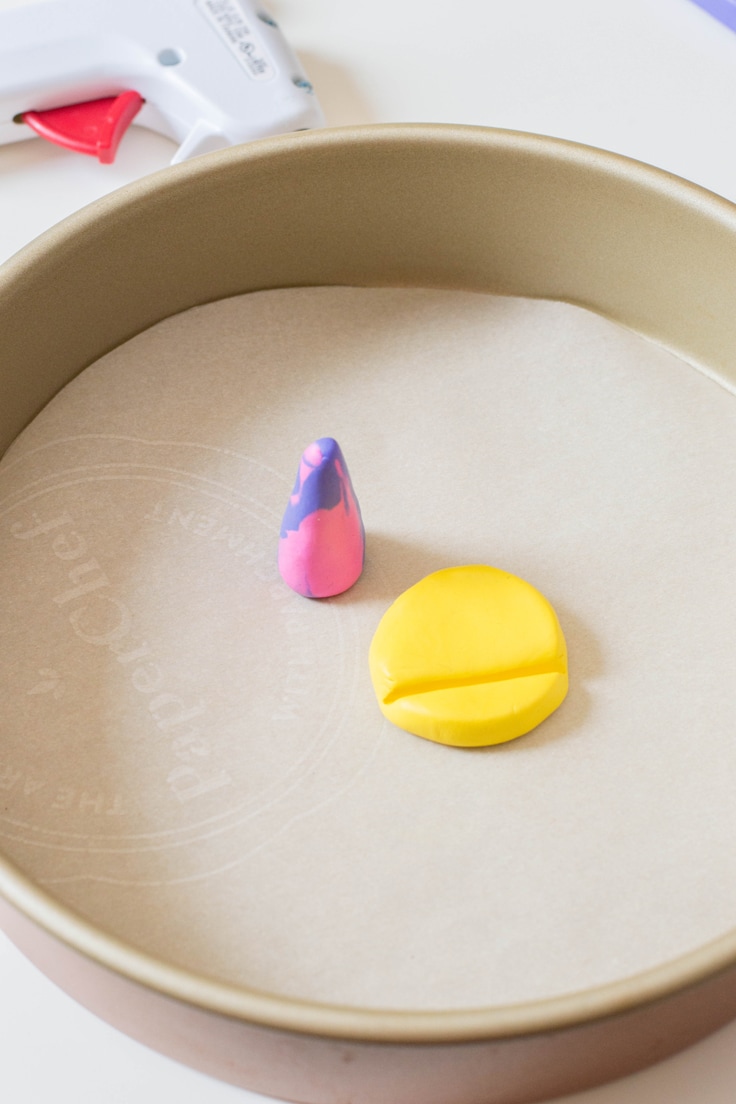
5. bake!
Place the polymer clay pieces on a lined baking pan and bake for 20 minutes in an oven that you preheated to 375 degrees F.
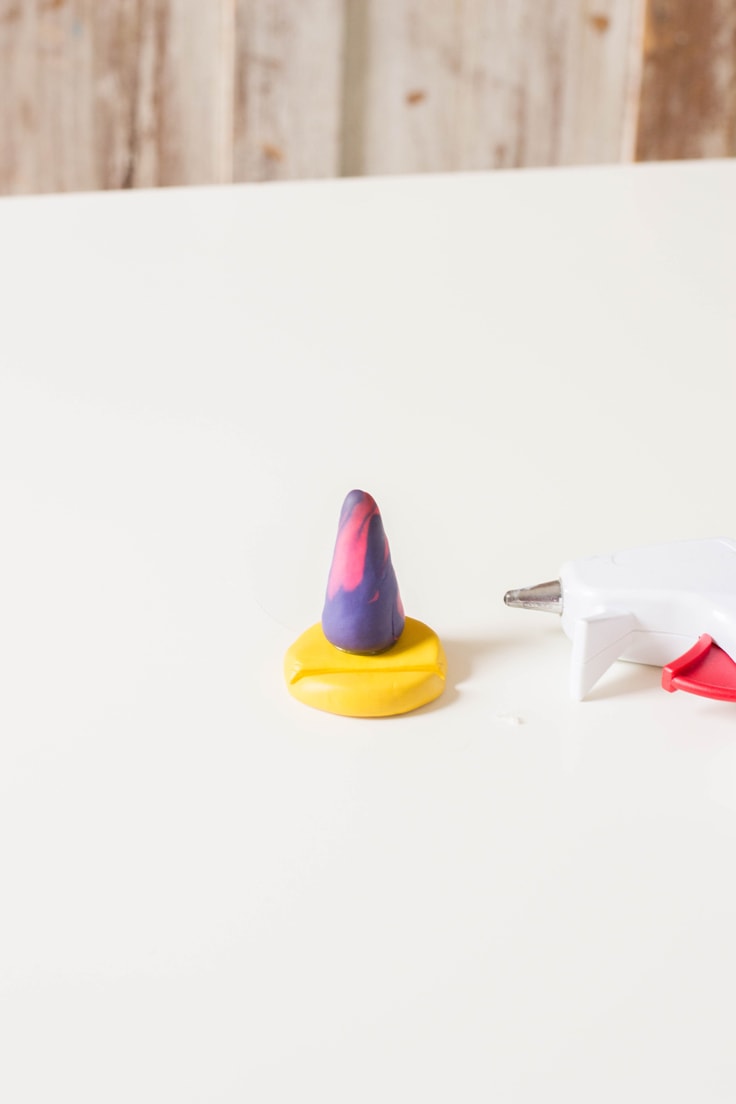
6. glue it together
Once the pieces have come out of the oven and cooled down, use a glue gun to secure the cone on the circular base – just above the indentation that was made.
Love the ideas you see here on Ideas for the Home by Kenarry®? Subscribe today to get our FREE DIY & Craft Planning Calendar, plus our weekly Ideas in Your Inbox newsletter filled with creative tips and exclusive offers!
What’s Next?
If you enjoyed this DIY Ring Holder (perfect for any home!) then you’ll enjoy these decor ideas:
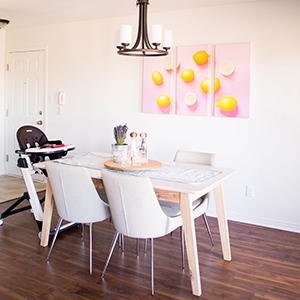
Staying Stylish and Keeping it Kid-Friendly: Our Dining Room Reveal
Master Bedroom Room Reveal
You may also enjoy these jewelry ideas on Ideas for the Home by Kenarry® –