DIY Pinwheel Banner Tutorial
THIS POST MAY CONTAIN AFFILIATE LINKS. PLEASE SEE OUR FULL DISCLOSURE POLICY FOR DETAILS.
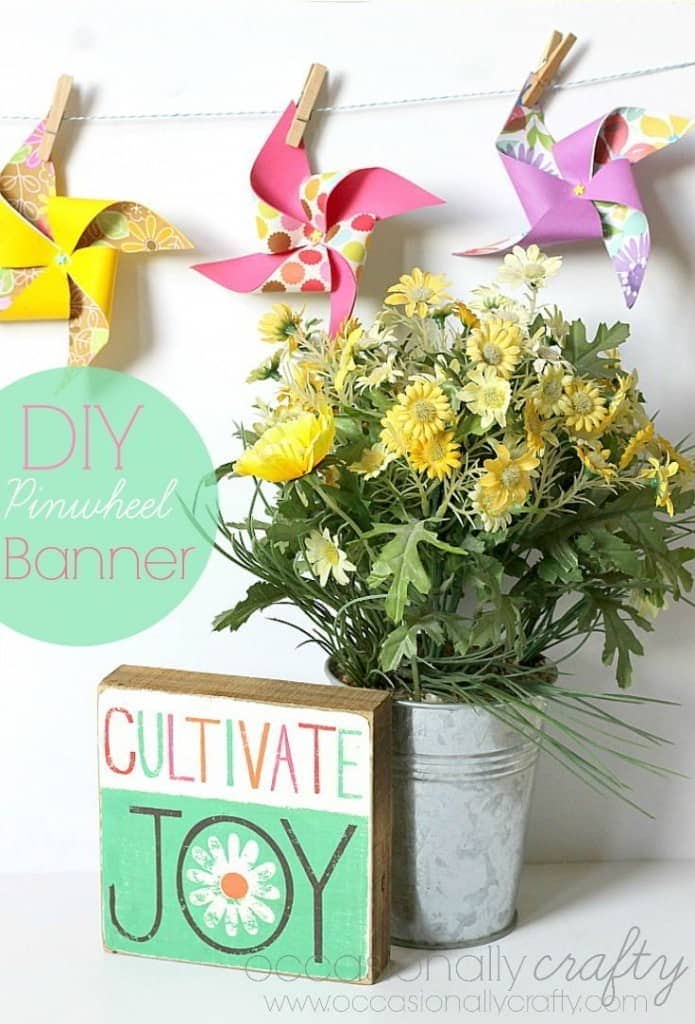
Decorate for summer with this colorful DIY pinwheel banner, following this simple tutorial! All you need is some colorful scrapbook paper!
Hi everyone– I’m Valerie from Occasionally Crafty, and I’m thrilled to be a new member of the Creative Team! Today I made this Pinwheel Banner to display, and I’m going to share the tutorial with you!
The bright colors in all the stores are calling my name for summer! I knew I wanted to put together something for my mantel that would bring those bright colors into my house.
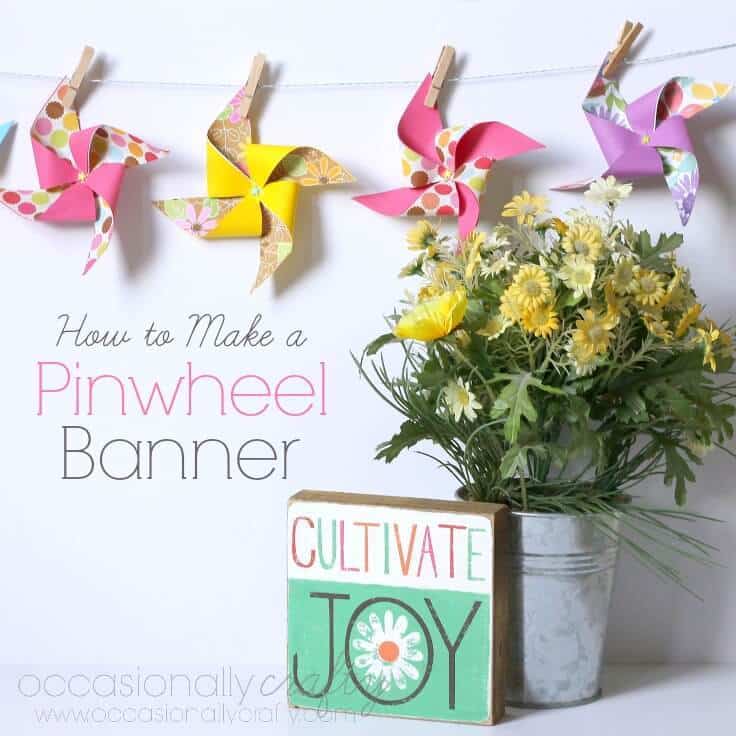
How to make a pinwheel banner
These are the perfect decoration for outdoor summer parties, birthday parties, or just to add some splashes of color to your room. If you love the country chic look then you will adore these!
What You Need:
These are the supplies you need to make the pinwheel banner.
- Scrapbook Paper
- Spray Adhesive or Tape Runner (if your paper isn’t two sided)
- Paper cutter
- Ruler
- Pencil and Scissors
- Decorative Brads for Pinwheel Centers
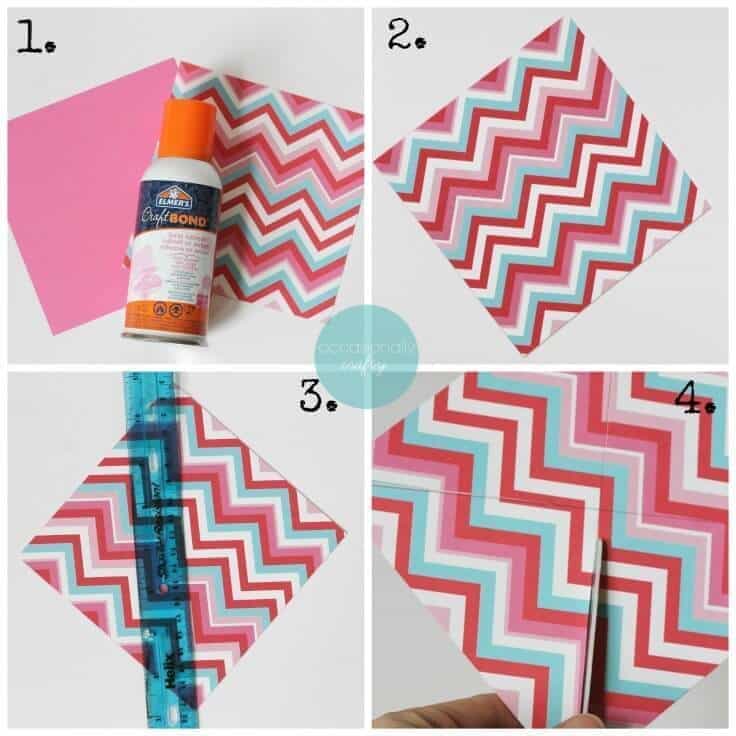
1. Cut your paper into squares
First, you are going to cut your paper into squares. If you bought some paper that is already a square shape, skip this step.
2. Glue coordinating paper together
If paper is two-sided you can skip this step. Tape them decorative sides facing out. Let the adhesive set/dry before cutting.
3. Draw 2 diagonal lines
Next, use a ruler or straight edge. Draw the lines from corner to corner. You should now have 4 sections on the paper.
4. Cut along each line
Follow each line and cut them. Stop about 1/4 inch from the center on each line.
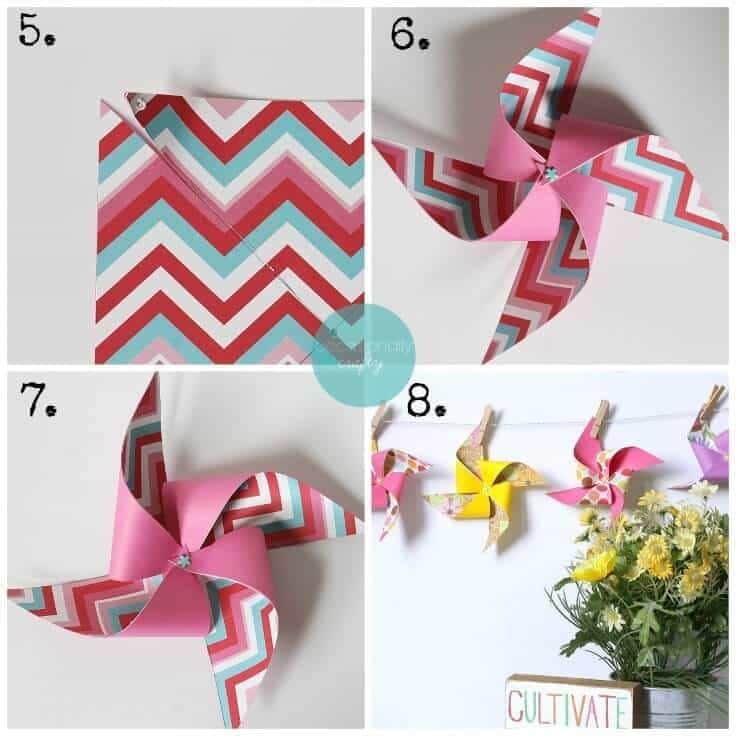
5. Poke Holes
Use scissors or a small punch to poke holes in every other corner of the paper, as well as one in the center.
6. Insert the brads
Gently push your brad through each corner.
7. Push the brad through the center
Carefully push the brad through the center of the paper. Make sure to open the prongs of your brad when finished to hold your pinwheel tight!
Pretty easy, right?
8. Hang your banner
To hang it up, cut a length of twine or ribbon and secure it to your mantel. Use mini clothespins to attach your pinwheels to your twine and you’re done!
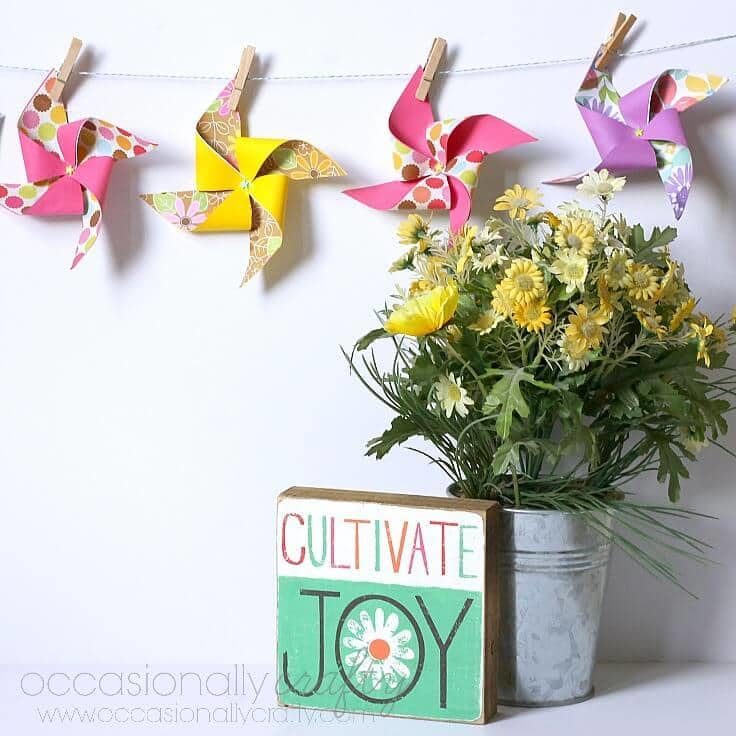
The best thing about this pinwheel banner is that you can make a different one for each holiday or occasion. Use red and green paper for a Christmas banner. Choose some orange and black paper for a Halloween banner.
The options are endless!
Thanks so much for stopping by today! If you’d like to see some of my other home decor projects, you might like:
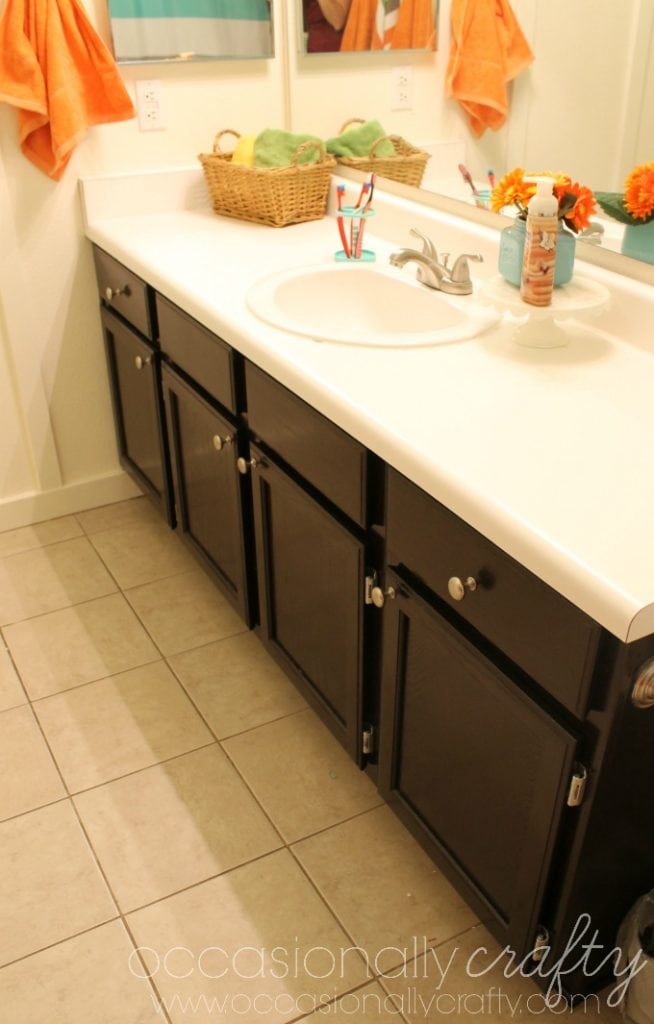
Kids’ Bathroom Makeover and

and my Special Date Stenciled Wall Canvas!
You may also enjoy these paper crafts on Ideas for the Home by Kenarry® –