DIY iPad Cover from A Fat Quarter
THIS POST MAY CONTAIN AFFILIATE LINKS. PLEASE SEE OUR FULL DISCLOSURE POLICY FOR DETAILS.
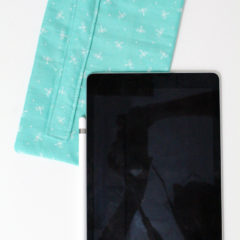
Make a simple DIY iPad cover to protect your screen and keep your pencil handy. This project uses a single fat quarter and basic sewing techniques.
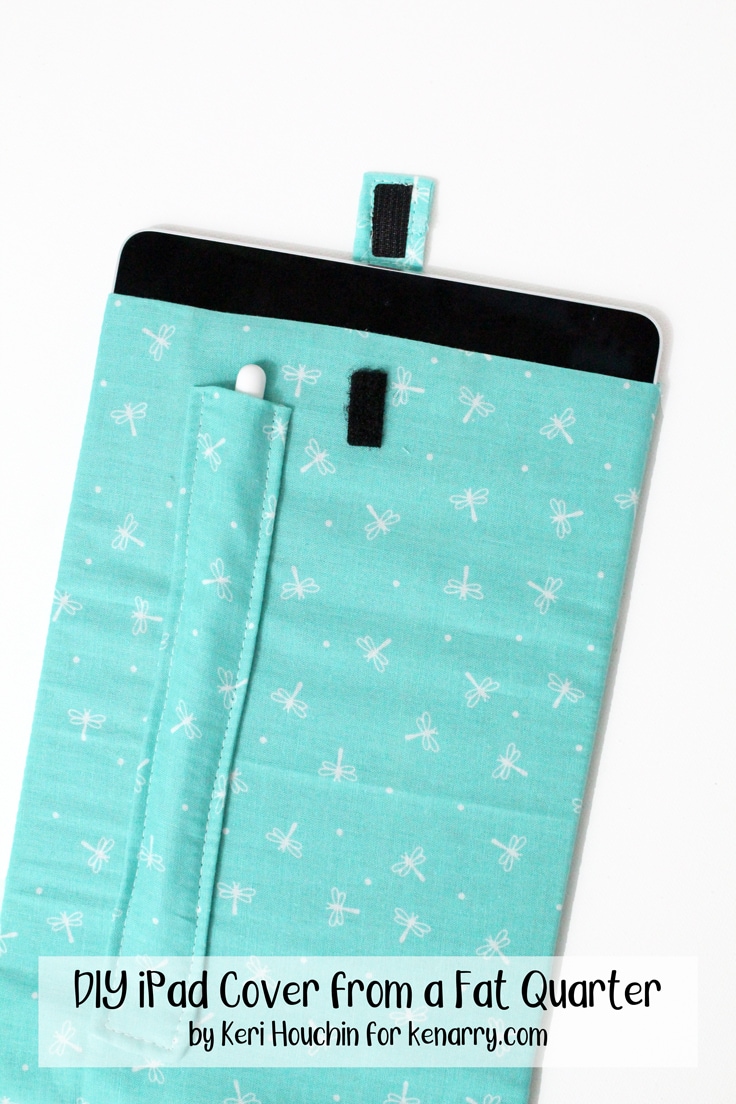
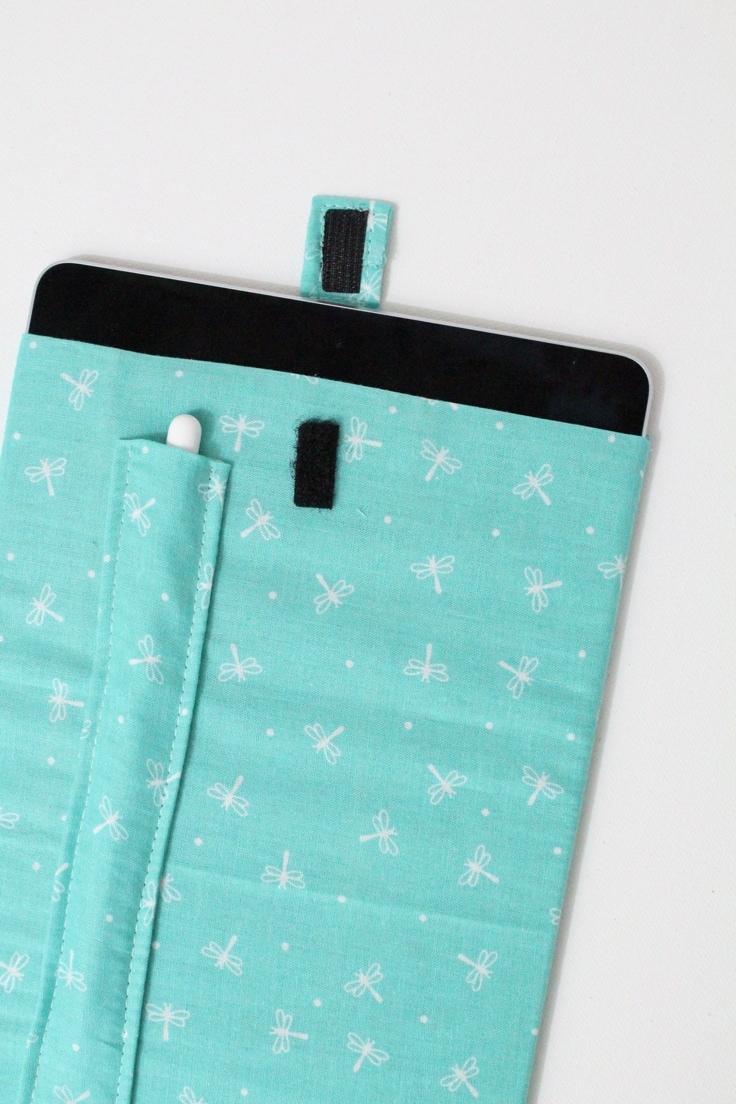
I’m Keri from One Mama’s Daily Drama. I finally took the leap and bought myself an iPad a few months ago. It’s been super handy for small tasks that I want to work on in the evening while watching tv. I worry that my tablet will get scratched if I just leave it on an end table so I decided to make myself a DIY iPad cover. As a bonus, this includes a small pocket to keep track of my Apple Pencil too.
Want more ideas like this? Subscribe today to get our weekly Ideas in Your Inbox newsletter plus other exclusive gifts and offers — all for FREE!
I used basic cotton fabric, but other materials would probably work fine too. I tried making this with a stretchy fleece but found it too bulky. If you’re working with scrap fabric, feel free to mix and match the pieces you use!
How to Make a DIY iPad Cover
My tablet is the 9.7-inch iPad Pro and measures approximately 9.75-inches tall by 6.75-inches wide.
You can use the same technique to make a fabric cover for any size tablet or smartphone. For other devices, you may need a smaller or larger piece of fabric. Most of these steps can be done simply by laying any device on top of the fabric. Be sure to leave yourself a margin for hemming.
What you need:
Craft/DIY Tools Needed:
Supplies Needed:
- fabric fat quarter (18×22 inches) – This one is similar to the one I used.
- coordinating thread
- adhesive velcro for fabrics
Instructions:
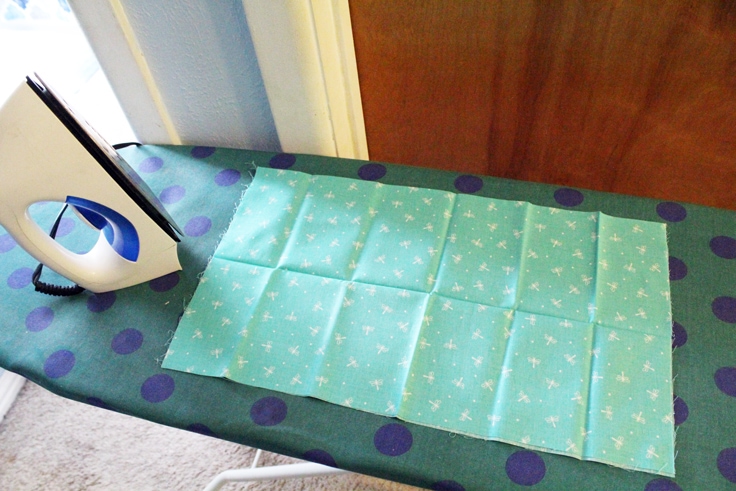
1. Iron the fabric
Start by ironing your fabric to remove the wrinkles and creases. Unfold the fat quarter, leaving it folded in half with the seam at the top, so the piece measures 11×18 inches.
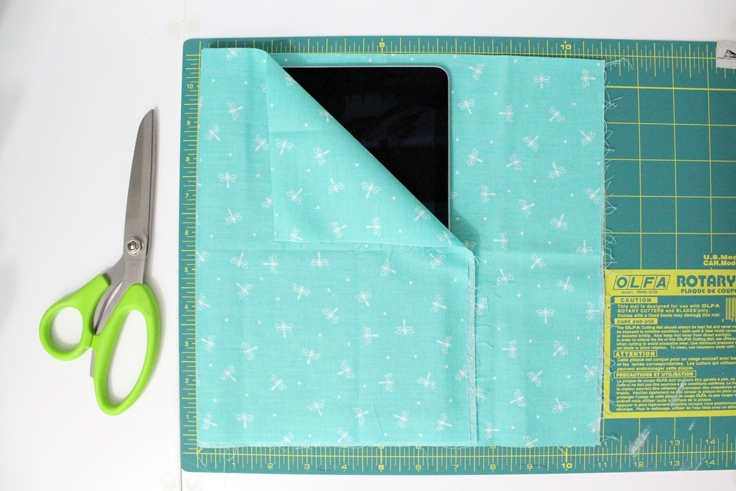
2. Cut fabric into 3 pieces
For the main section of the DIY iPad cover, fold the fabric in half to cover the tablet and cut 3.5 inches off the right edge. To determine the size, I folded one end over the tablet and left about a half-inch overhang.
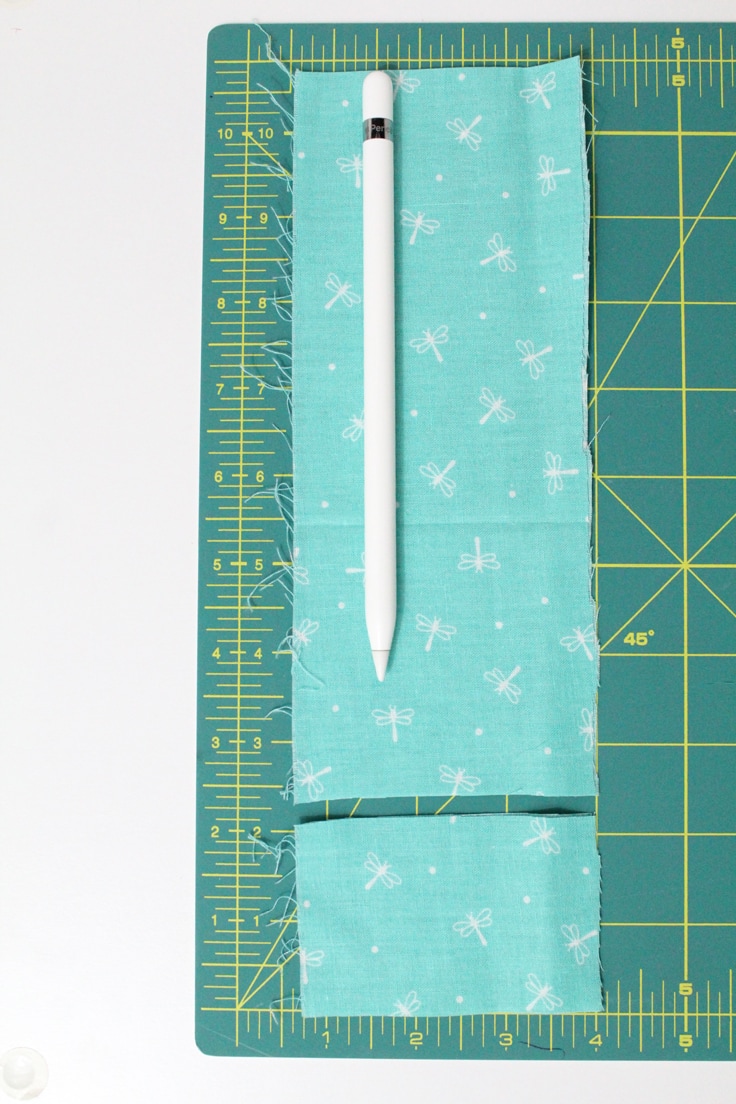
For the pencil pocket, I took that 3.5×11 inch end piece and cut 2 inches off of the bottom. Make sure the top edge is still folded over. Save that last little piece for the closure.
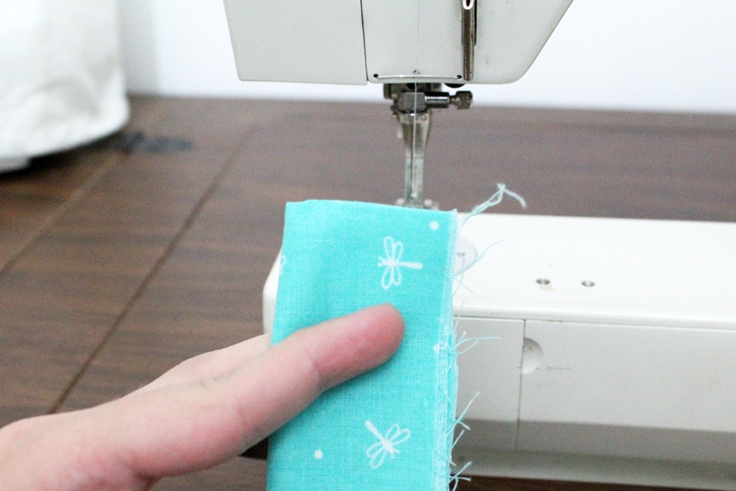
3. Sew the pencil pocket
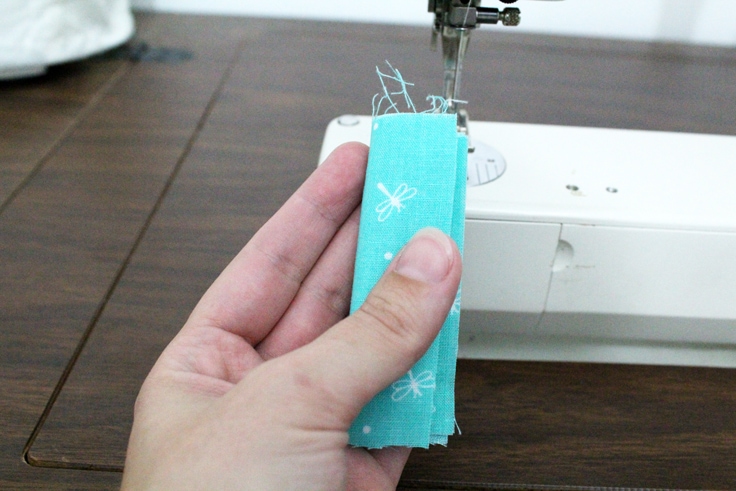
Take the 3.5×9 inch piece and fold it in half vertically, making sure the folded edge is at the top. Sew a running stitch down the open side and across the bottom.
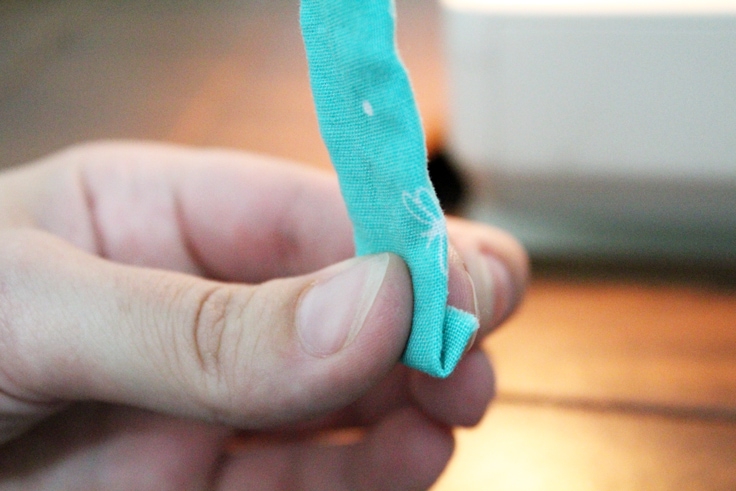
Turn the tube right side out. I found that the pencil was handy for getting it started.
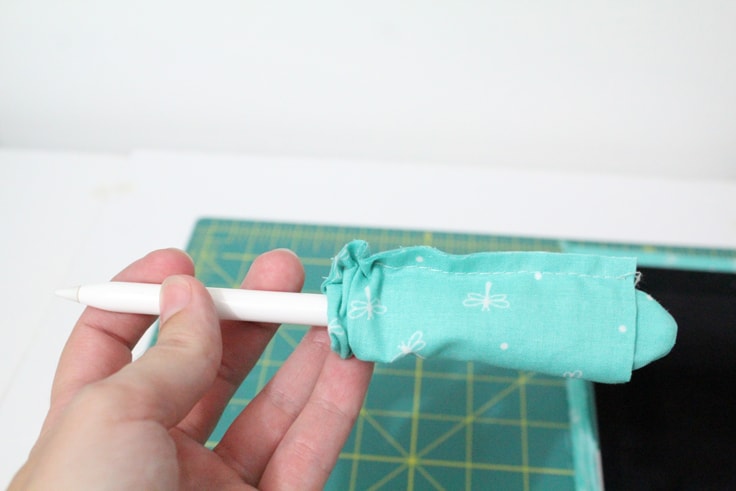
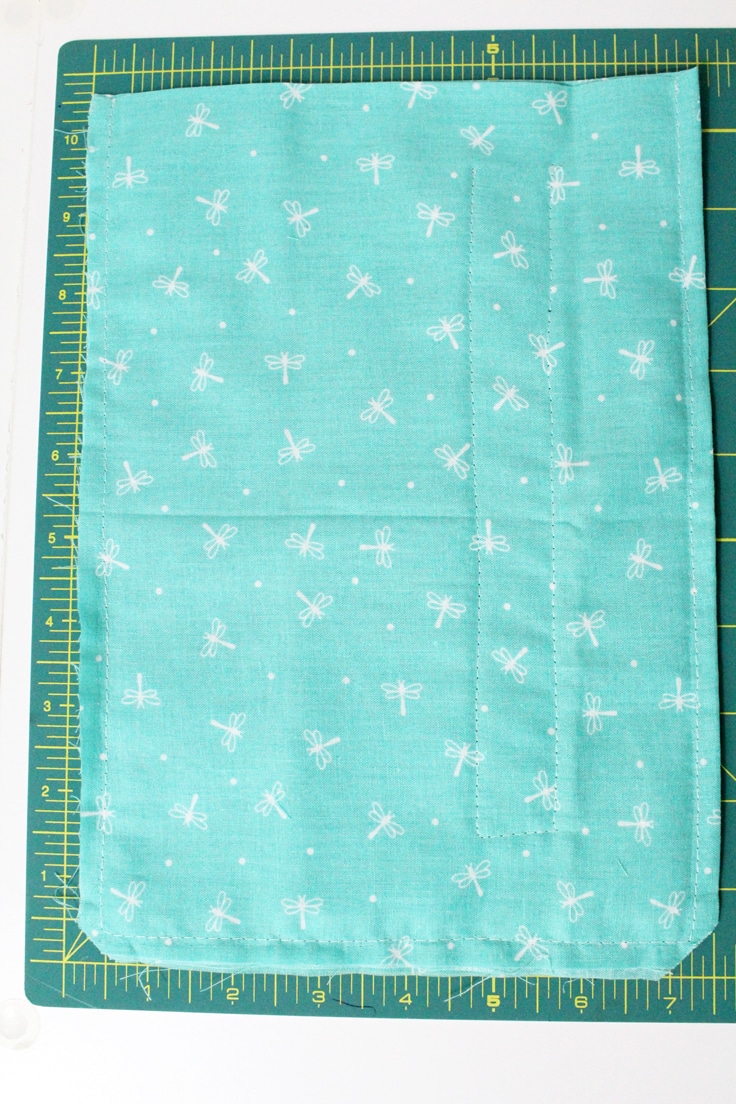
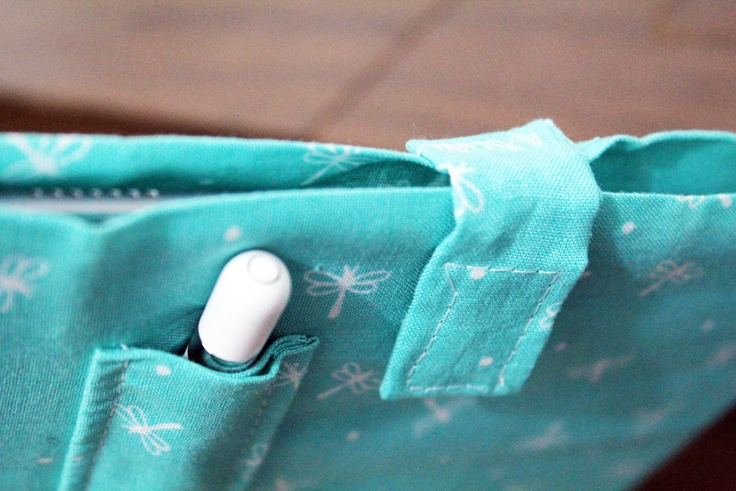
Position the pocket on what will be the front of the iPad cover. Mine is lined up with the left side, about an inch from the edge.
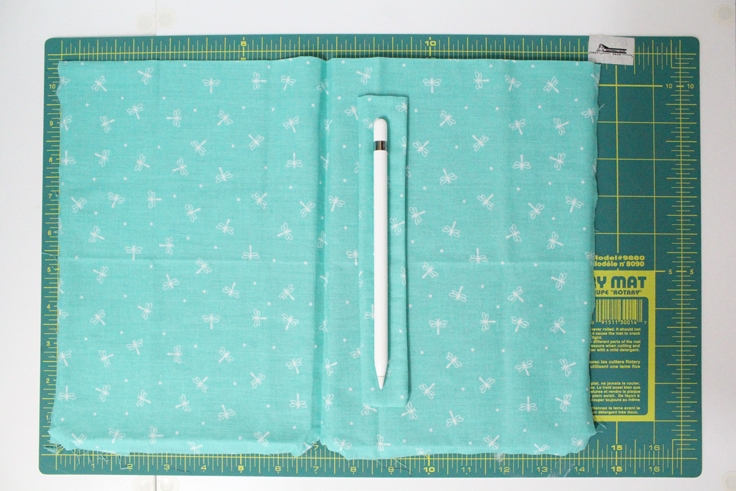
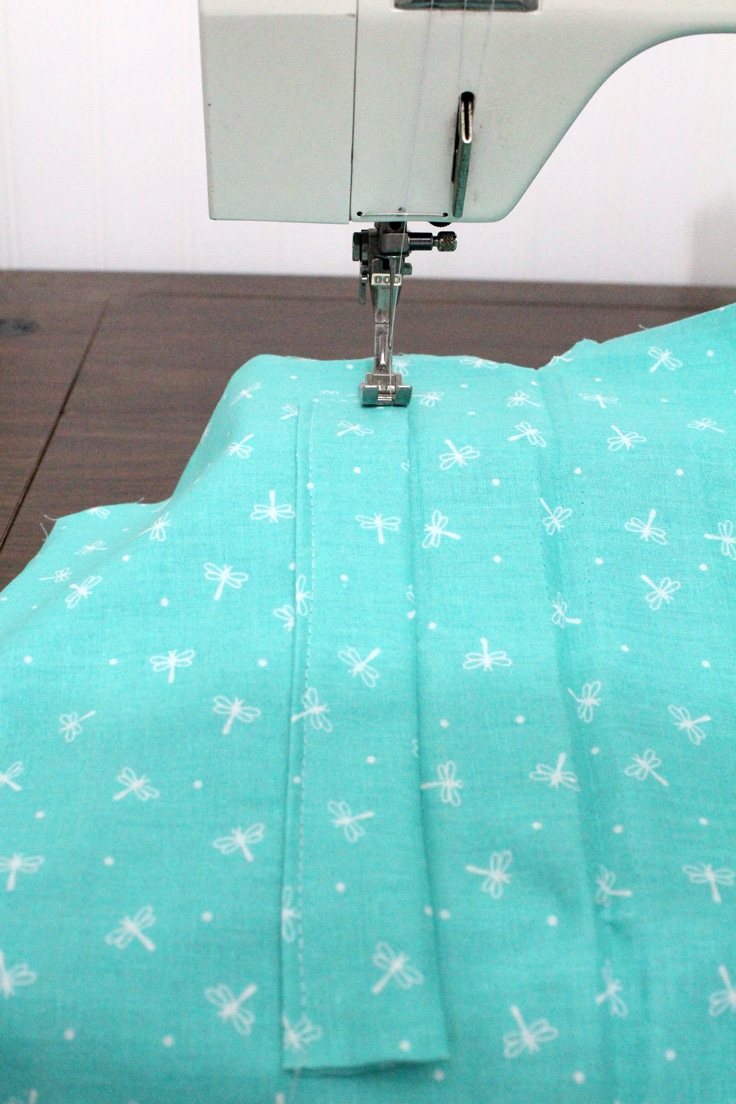
Use a running stitch to sew the pocket in place along both long sides and the bottom.
4. Sew the main iPad cover body
Fold the main piece of fabric in half again with the pocket on the inside. Use a running stitch to sew around the sides and the bottom.
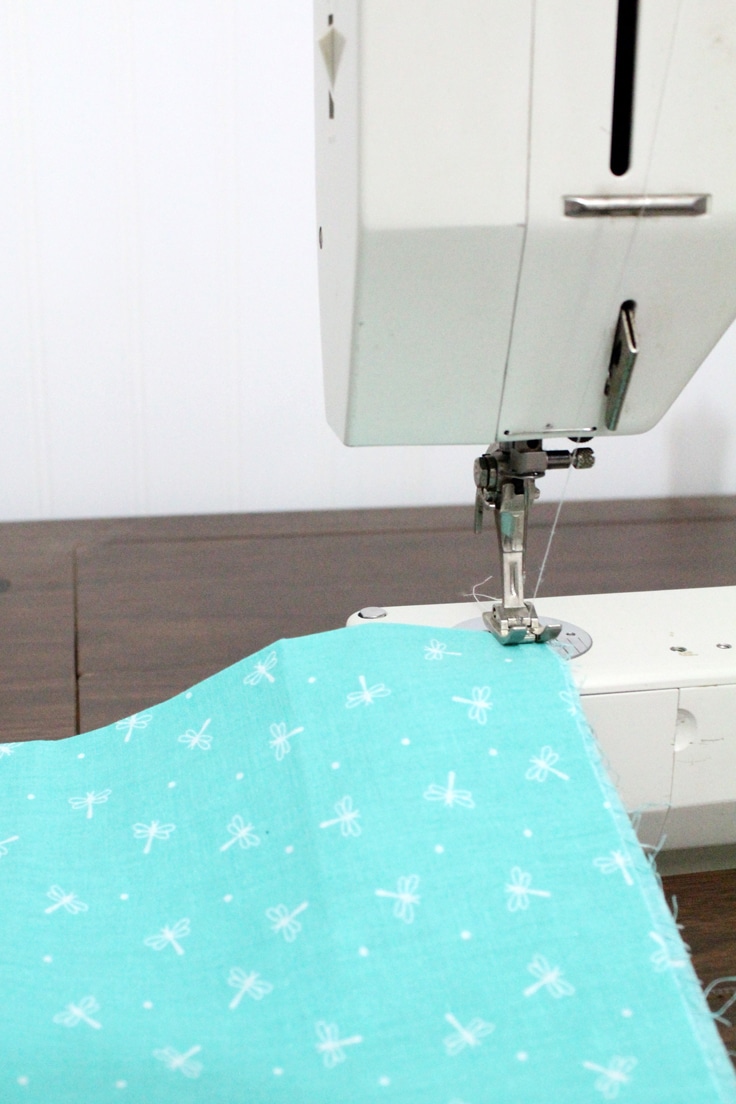
Trim the bottom corners off of the fabric before turning it right-side out. This helps the corners look square because there isn’t fabric bunching where the seams meet.
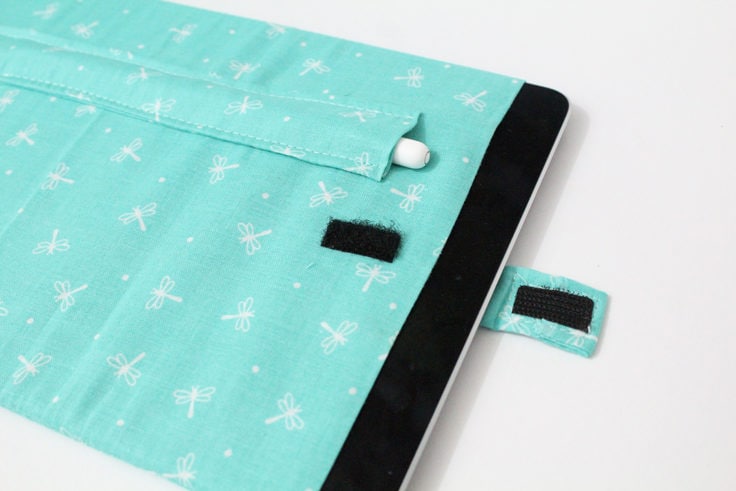
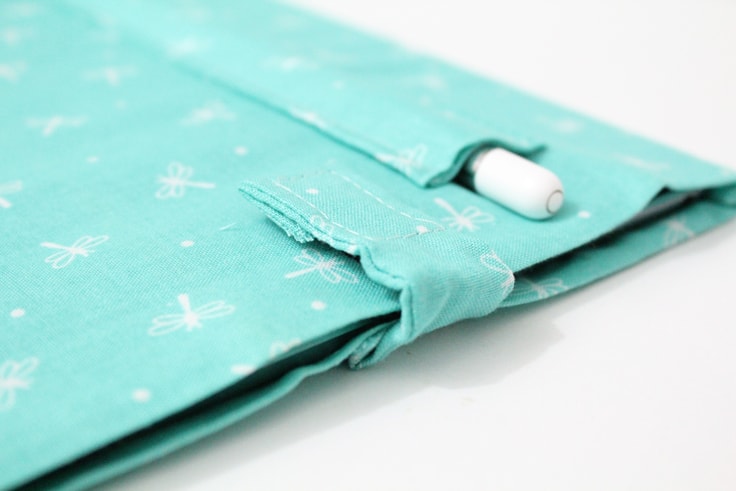
5. Add the closure
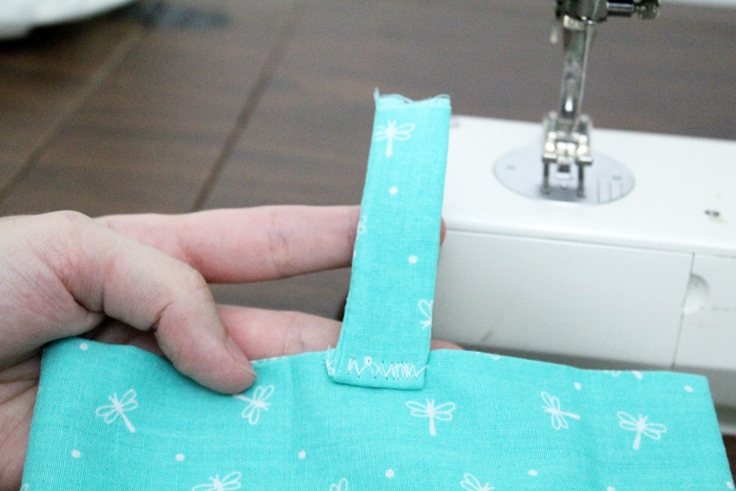
Take that last little piece of fabric and fold it in half. Sew a running stitch down the open edge and turn the tube right-side out.
Fold one end down to prevent unraveling and center it along the top edge of the backside of the cover. Use a zigzag stitch to sew it in place.
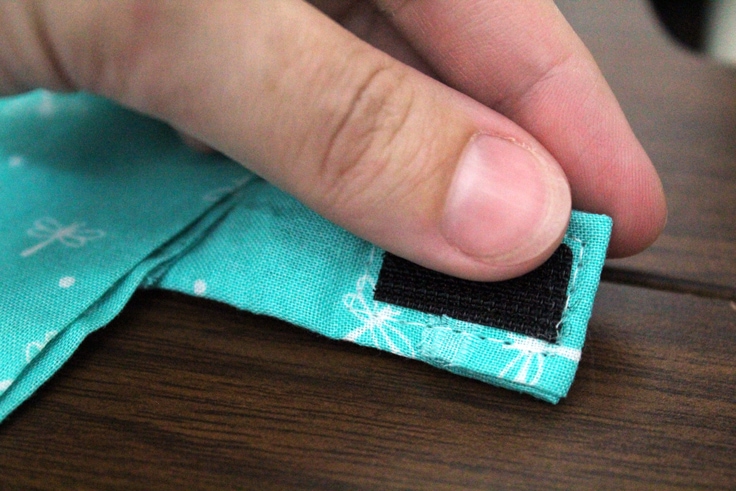
Fold the other open end down and stick the velcro piece over it. Depending on the size of the velcro, you may need to sew a running stitch around it to keep the loose fabric ends flat. If your velcro goes right to the edge of the fabric, it should hold everything flat.
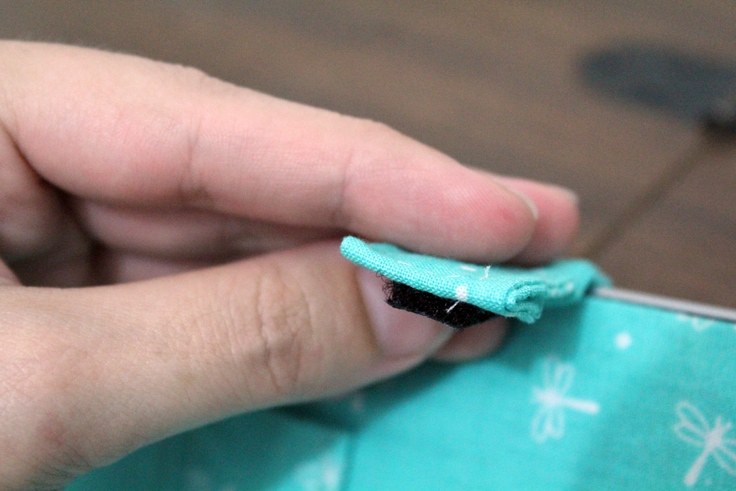
Put the other half of the velcro together and remove the backing, then fold the cover closed to position and stick the velcro in place on the main section of the cover.
DIY iPad cover sewing tips
- Backstitch all of the thread ends a few stitches to ensure they don’t pull loose. Backstitching simply means running the sewing machine in reverse for 3 or 4 stitches at the beginning and end.
- Trim loose thread ends as you go so you don’t have to hunt them down later.
- Remember that handmade items are rarely flawless. Have fun and be creative!
- If necessary, spot-clean the cover, rather than running it through the wash to avoid warping or shrinking the fabric.

Love the ideas you see here on Ideas for the Home by Kenarry®? Subscribe today to get our FREE DIY & Craft Planning Calendar, plus our weekly Ideas in Your Inbox newsletter filled with creative tips and exclusive offers!
What’s Next?
If you enjoyed this DIY iPad cover then you’ll enjoy these iPad activities too.
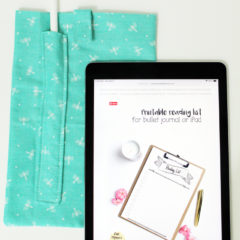
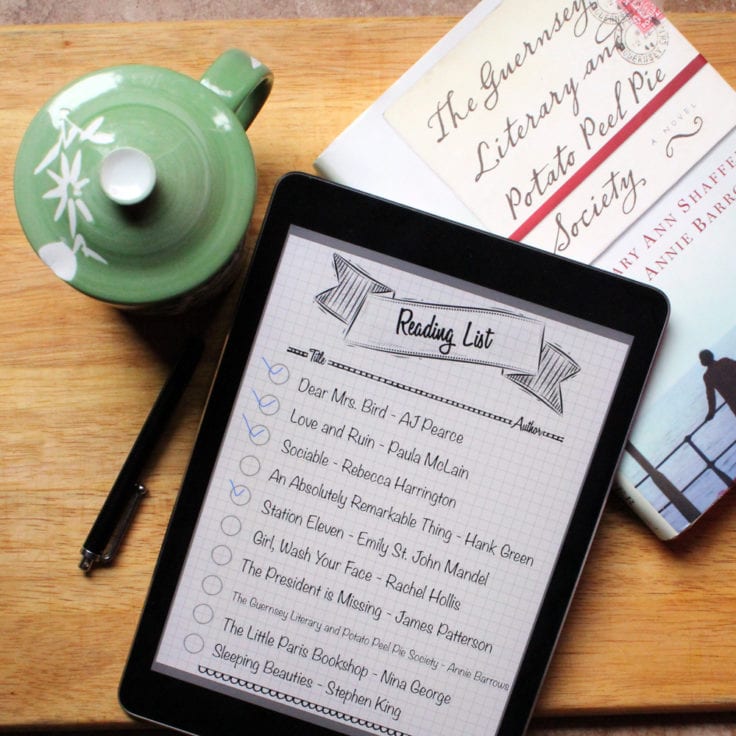
Printable Reading list for Bullet Journal or iPad
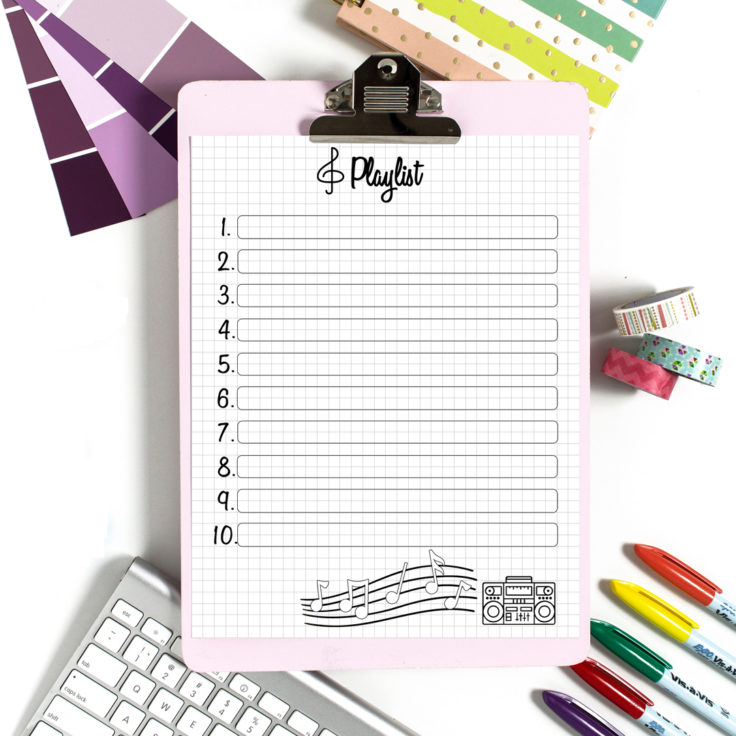
Printable Playlist for Bullet Journal and iPad
You may also enjoy these fat quarter sewing projects on Ideas for the Home by Kenarry® –