DIY Halloween Door Decorations Are Easy with Vinyl
THIS POST MAY CONTAIN AFFILIATE LINKS. PLEASE SEE OUR FULL DISCLOSURE POLICY FOR DETAILS.
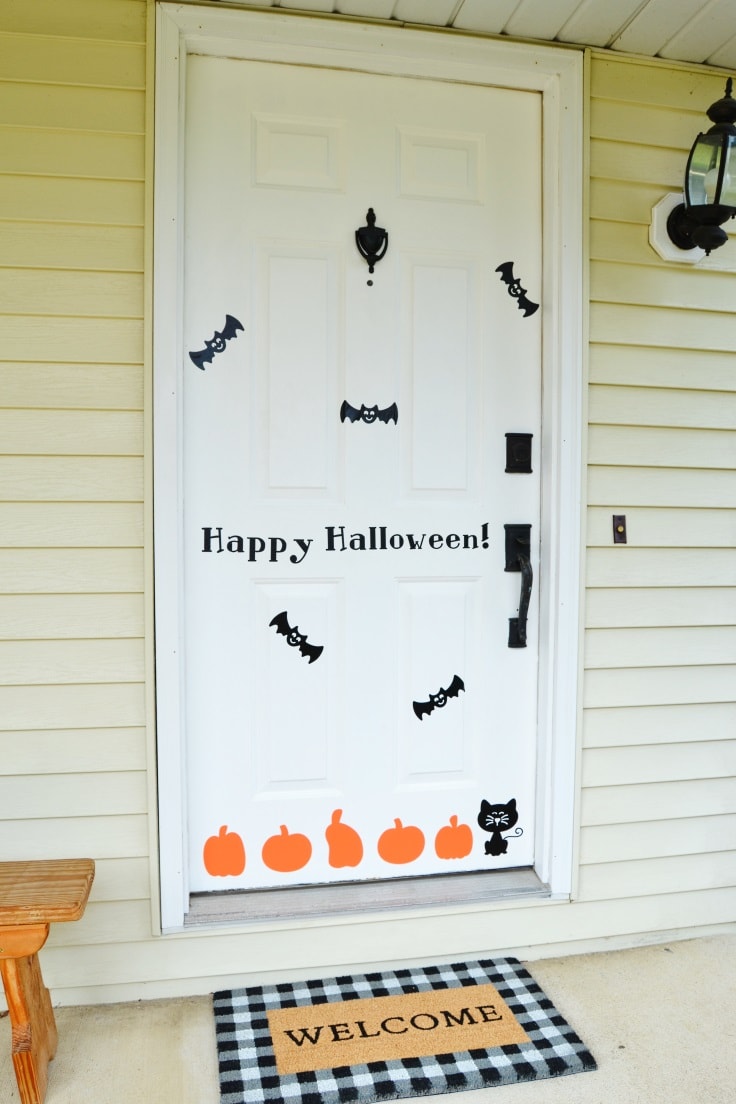
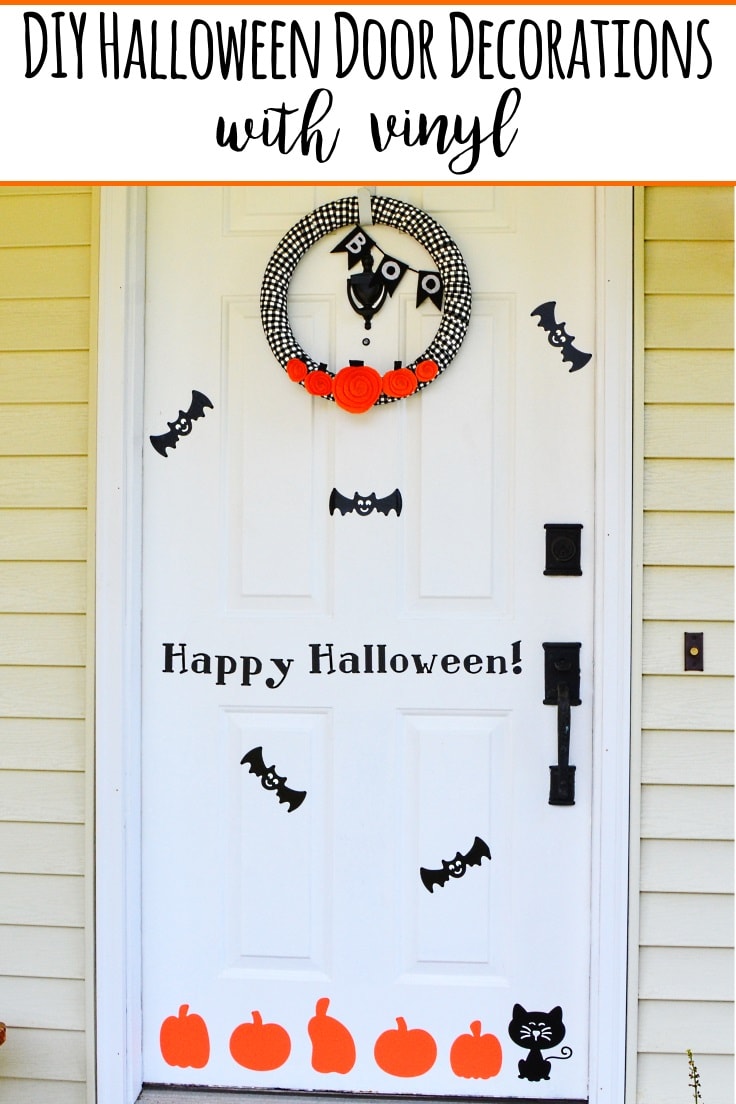
Get your door Halloween ready by following this quick and easy tutorial for how to make DIY Halloween Door Decorations with vinyl.
Hey y’all, it’s Cat from Mary Martha Mama. October is here and let’s just say my boys are more than a little excited for Halloween. This year I surprised them by whipping up some easy DIY Halloween door decorations with some vinyl and my Cricut machine and today I’m sharing it all with you.

In this tutorial I use a Cricut Maker and Design Space files. If you have a Silhouette cutting machine you will not be able to use these design files. You will have to make your own design files but you would follow the same process for applying the vinyl to the door to decorate.
Don’t have a Silhouette or Cricut cutting machine? Don’t worry. You can still make vinyl cutouts to decorate your door by tracing your own designs onto the back of vinyl and using scissors or a Xacto Knife to cut them out.
How to Make DIY Halloween Door Decorations
Be sure to use removable vinyl for your door decorations so that you don’t damage your door when you remove them after Halloween!
What you need:
Want more ideas like this? Subscribe today to get our weekly Ideas in Your Inbox newsletter plus other exclusive gifts and offers — all for FREE!
Craft Tools Needed:
- Cricut Maker or Silhouette (this makes things much easier but like I said earlier if you do not have one then you can trace out designs onto vinyl and cut them out with scissors)
- scraper (or a credit card)
Supplies Needed:
Instructions:
1. Prepare the Door
In order for the vinyl to stick to the door, you’ll want to make sure that the surface of the door is clean. Give the door a quick washing to remove any dust or debris. Let it dry.
2. Cut the Vinyl
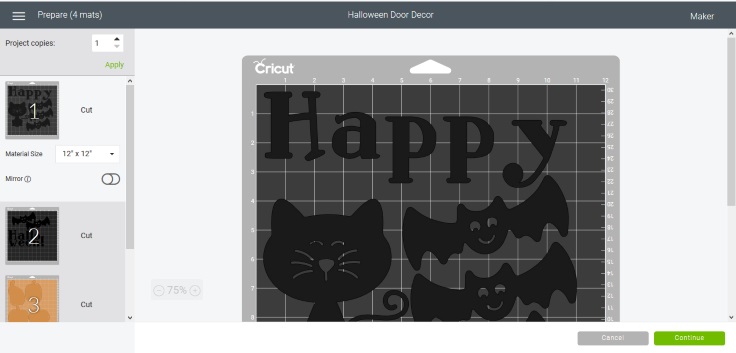
You can make your own designs for DIY Halloween Door Decorations or you can use my project file on Cricut Design Space. When you open the file click “Customize” and then you can resize the images and letters or you can click on the eyeball on the right-hand side and hide any part you don’t want to make.
When you’re ready to cut click on the “Make It” button. Then the screen will show you all of the images laid out on the mats and you can move things around if you need to.
Click “Continue” to move on and select your material (vinyl). Then the software will walk you through loading your cutting tool and mat for cutting.
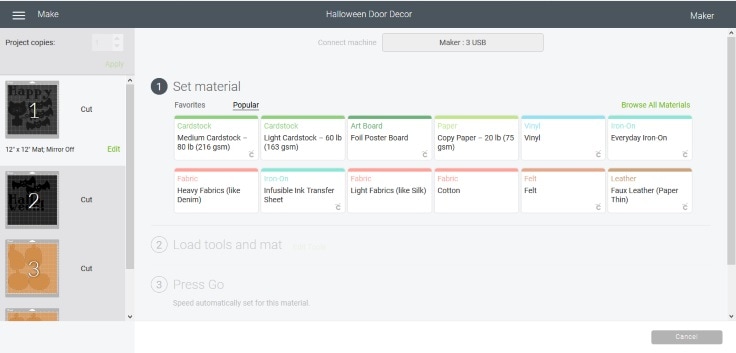
Once the first mat is cut you will then load in the next one. Be sure to pay attention to the order of the mats on the left-hand side of the screen!
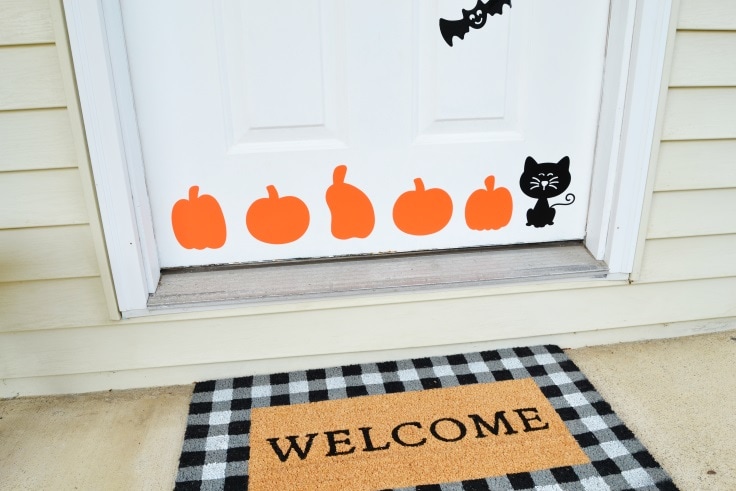
3. Apply the DIY Halloween Door Decorations
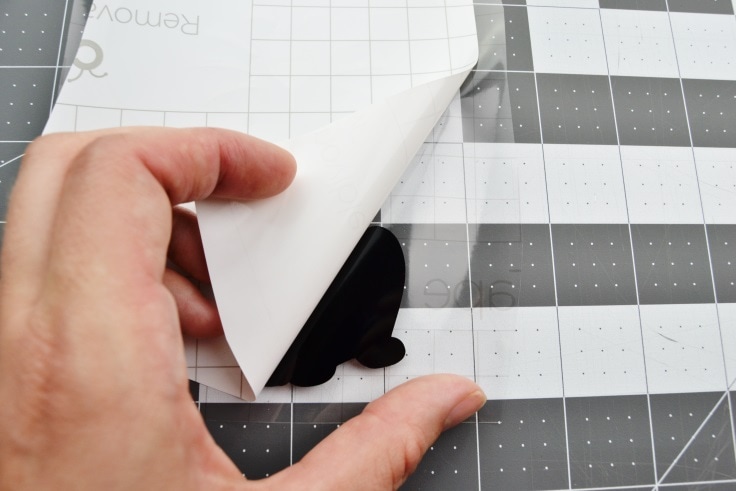
Peel the vinyl off of your cutting mat. Then weed out (remove) the negative space around your images.
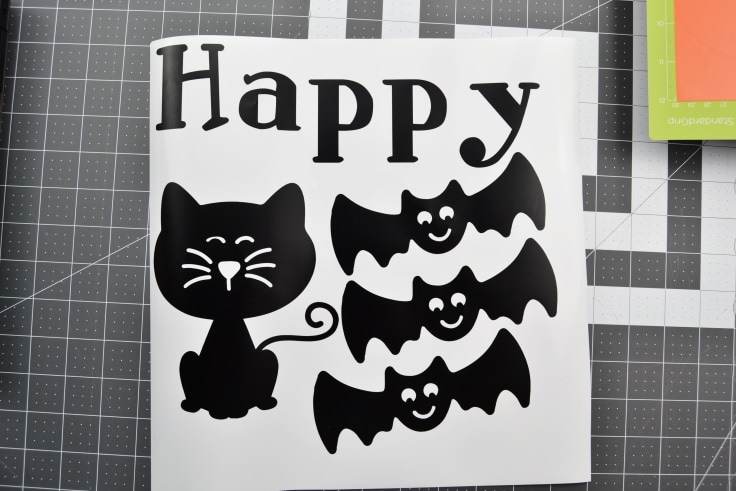
Cut out around each of the images leaving just a little backing paper around the edges.
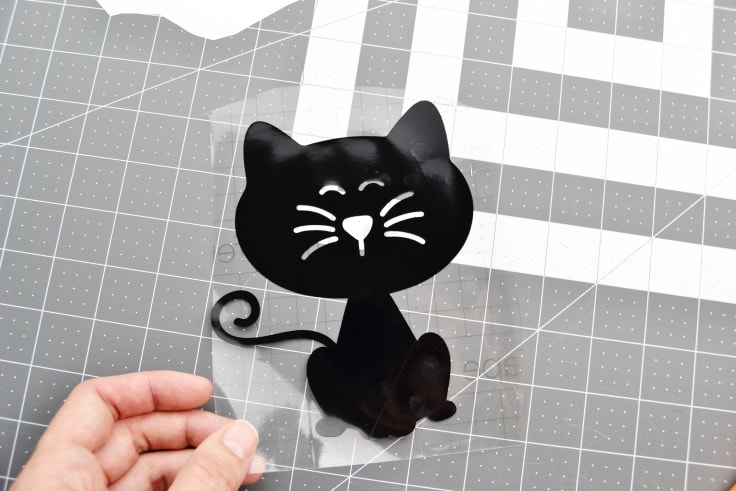
For the words and even some of the images, you are probably going to find it easier to use transfer tape to transfer your vinyl onto the door. Cut a piece of transfer tape that’s just slightly bigger than the vinyl piece you’re applying.
Peel off the paper backing of the transfer tape and apply the sticky side to the front of your vinyl piece. Press down with some pressure while you smooth it down. You may even want to go over it with a scraper or a credit card if you don’t have a scraper.
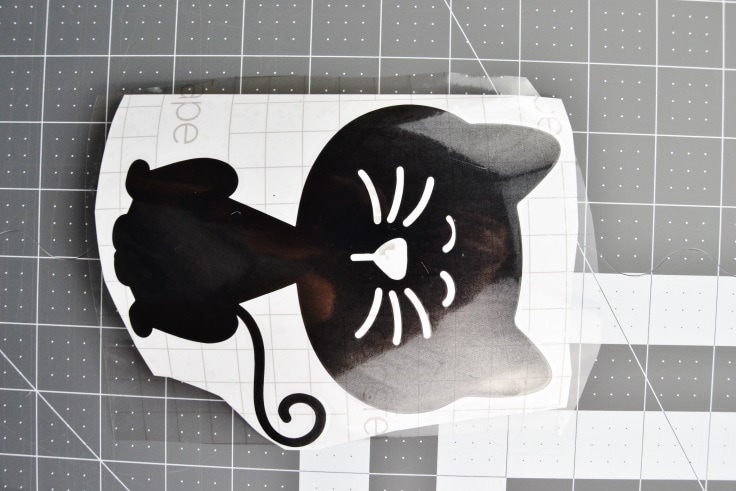
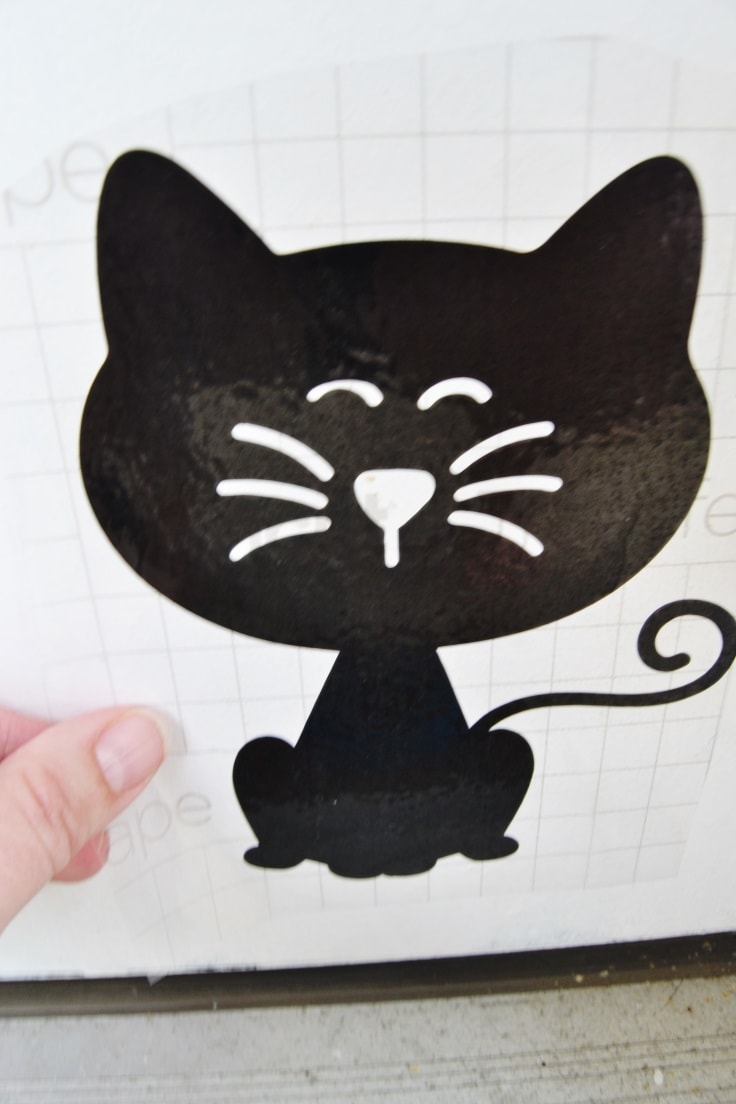
Flip your vinyl piece over so that the backing is on top. Now slowly peel the vinyl backing off so that the image or word is only stuck to the transfer tape.
Now apply this to the door where you want it and again smooth it down with some pressure over the image or word. Then peel off the transfer tape leaving behind your image or word.
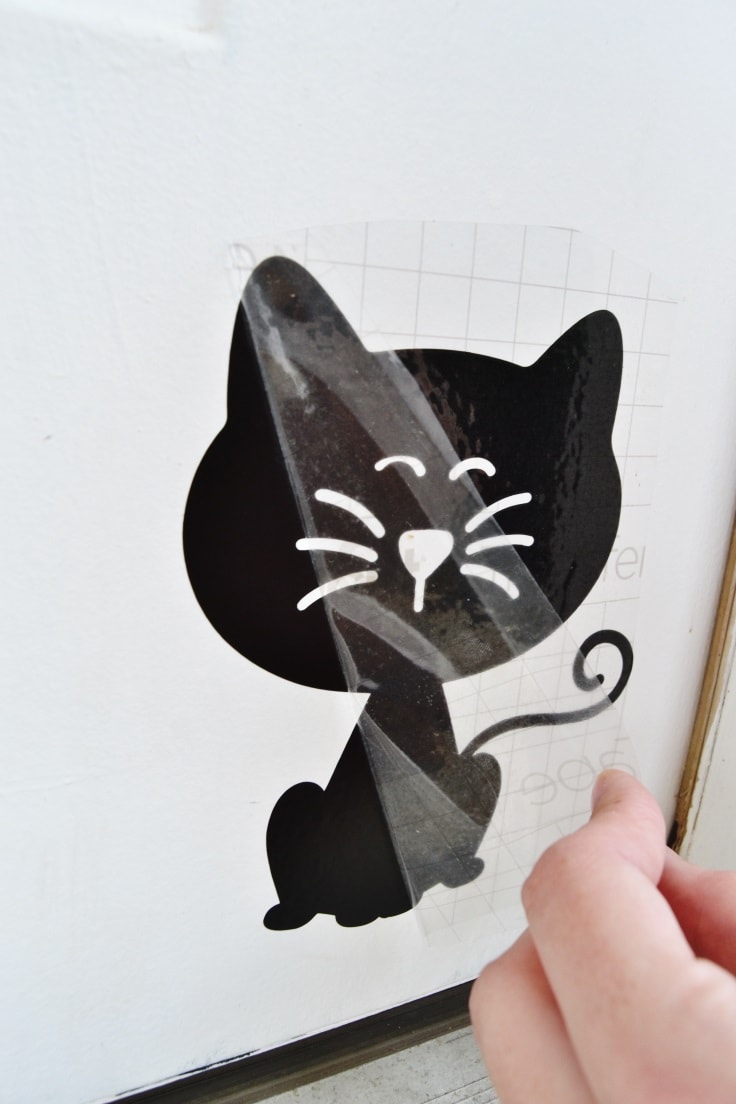

If you start to peel the transfer tape off and the vinyl comes off with it then stop. Repeat the smoothing with pressure to get it to stay put.
Repeat until you have applied all of your DIY Halloween door decorations to the door.
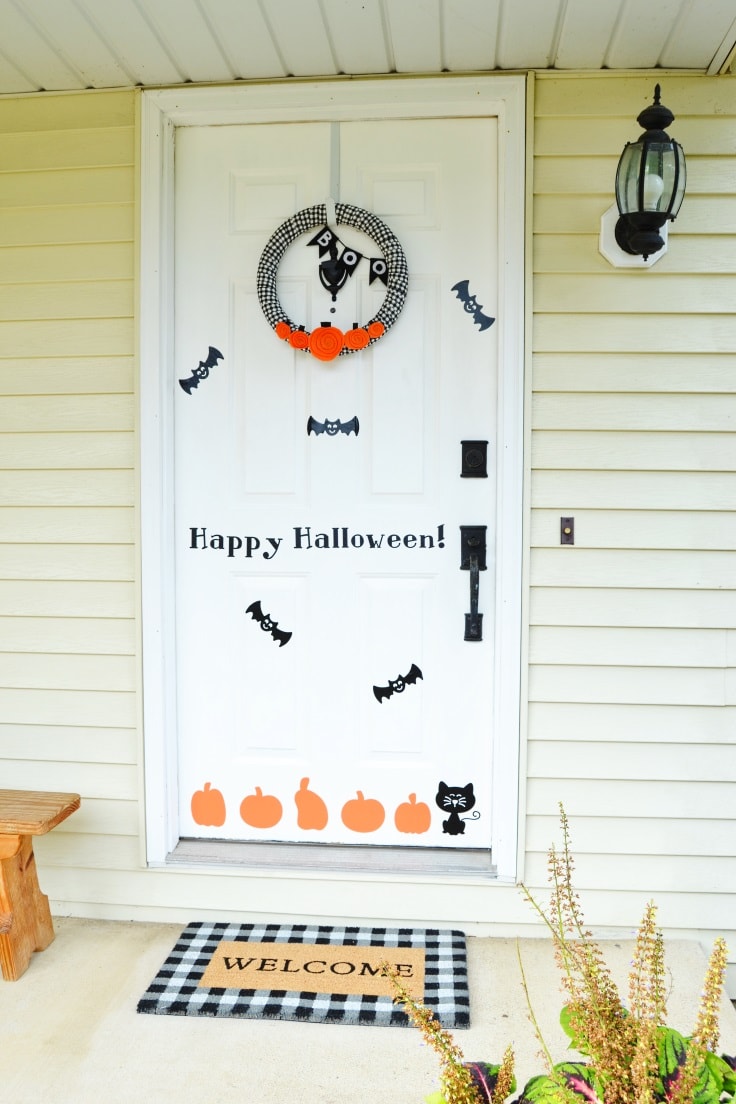
I added in my “Five Little Pumpkins” wreath that I made last year and a coordinating welcome mat to finish off my porch decor.
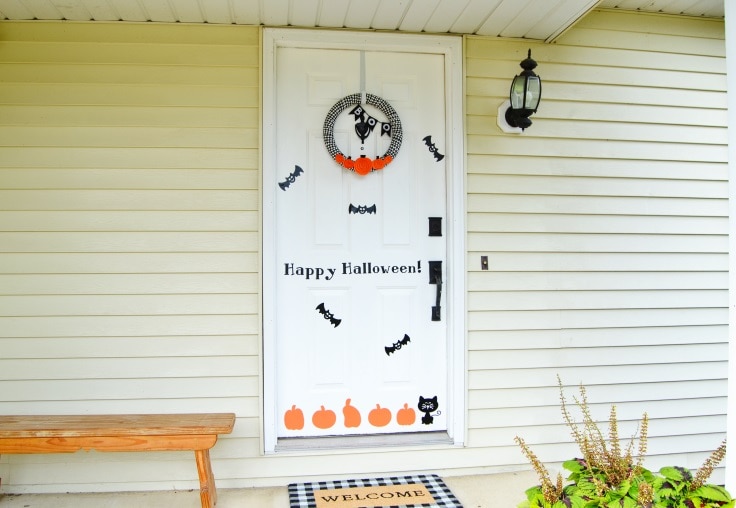
I think this would also be really fun for the garage door or even a classroom door at school!
Love the ideas you see here on Ideas for the Home by Kenarry®? Subscribe today to get our FREE DIY & Craft Planning Calendar, plus our weekly Ideas in Your Inbox newsletter filled with creative tips and exclusive offers!
Want more Halloween Projects?
If you enjoyed these Easy DIY Halloween Door Decorations then you’ll enjoy these Halloween projects too.

Super Hero Mask Template & Tutorial

You may also enjoy these Halloween ideas on Ideas for the Home by Kenarry® –