Easy DIY Decorative Pens Made With Polymer Clay
THIS POST MAY CONTAIN AFFILIATE LINKS. PLEASE SEE OUR FULL DISCLOSURE POLICY FOR DETAILS.
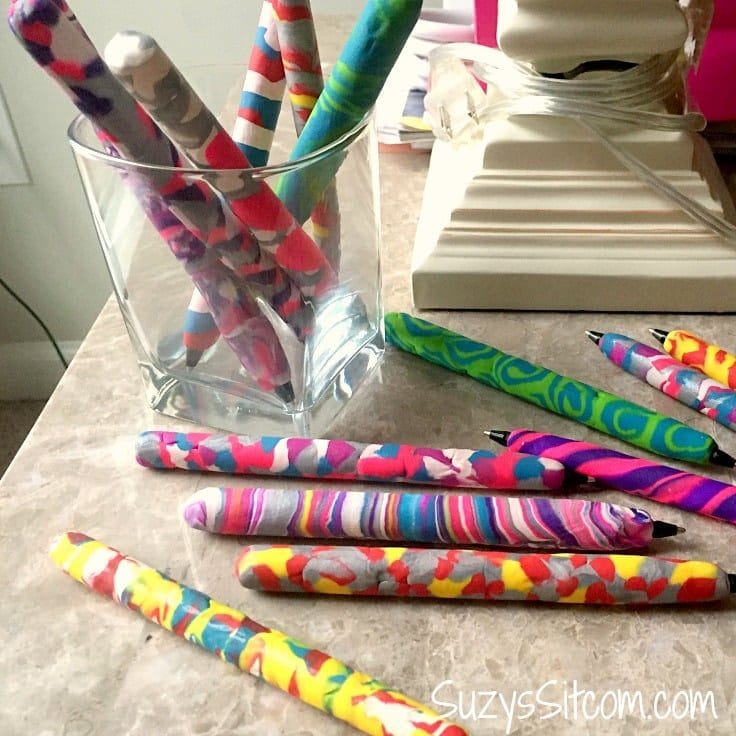
Learn some of the basics of polymer clay and create beautiful accessories for your desk with these easy DIY decorative pens made with polymer clay!
Creating with polymer clay is super simple and I would love to share with you my latest project idea using this fun medium! This is Suzy from Suzy’s Sitcom. Many of my projects are made with polymer clay and this week I made some diy decorative pens with polymer clay to add a fun flash of color to this dreary winter.
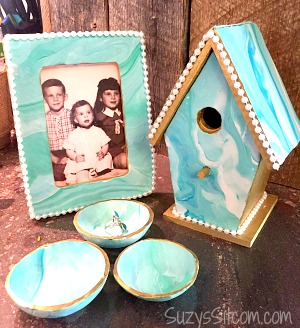
After you make these fun pens, make some faux cloissonne from clay. It’s so much fun!

I was visiting my daughters during the holiday season and when I pulled out the polymer clay in beautiful colors, it wasn’t long before they joined me. We ended up making so many amazing polymer clay colored pens.
You might even say that we got a little carried away!
While you’ve got the supplies out, make a few of these scented clay fresheners too!
How to Make DIY Decorative Pens with Polymer Clay
Polymer clay is super forgiving. It doesn’t harden until you are ready for it to harden. The color combinations are limited only by your imagination. Go grab a bunch of pens and make something beautiful!
What you need:
Want more ideas like this? Subscribe today to get our weekly Ideas in Your Inbox newsletter plus other exclusive gifts and offers — all for FREE!
Instructions:
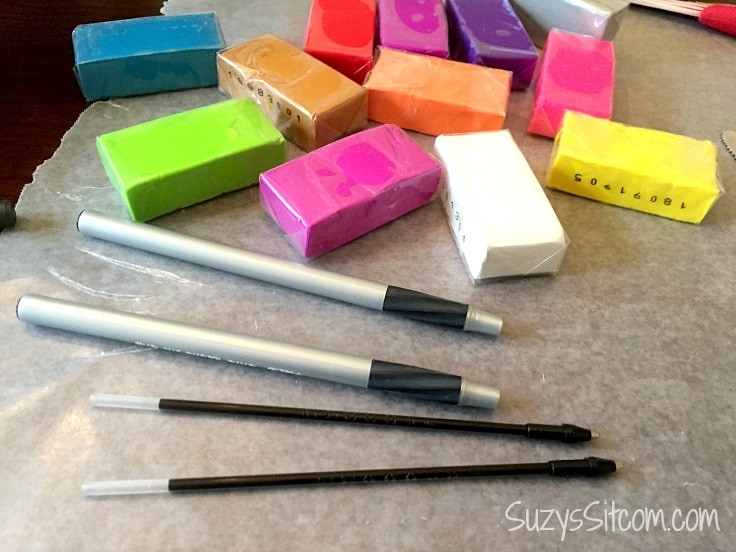
1. Disassemble the Pens
In order to get the polymer clay to a solid consistency, you will be baking the pens. Be sure to purchase either the Bic Stick pens or a solid color pen that the ink can easily be removed from. The solid color Bic Stick pens work great for this project as they do not melt under the 275 degree temperature required by the clay. (I did some research on this ahead of time and it appears that this particular pen is the best option for this project).
Remove the ink by taking the pen apart and pushing the ink well out of the end. (Or use a pair of pliers to pull the ink out, gripping the end of the pen). Set the ink aside for later.
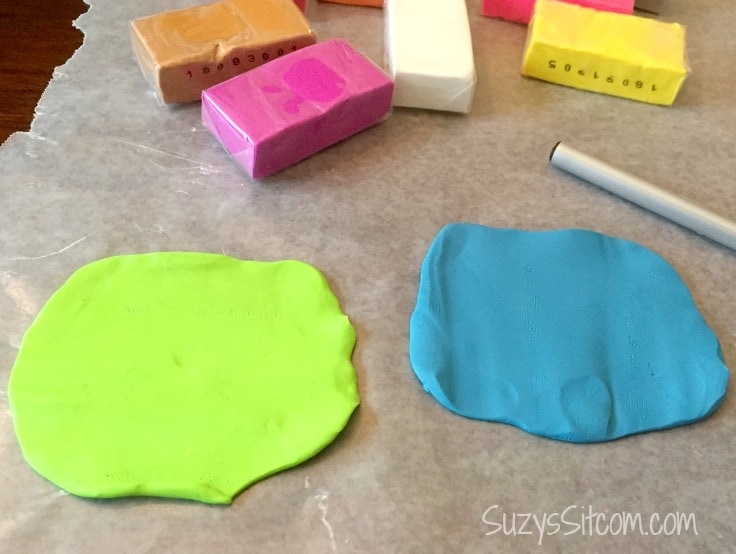
2. Create with Polymer Clay
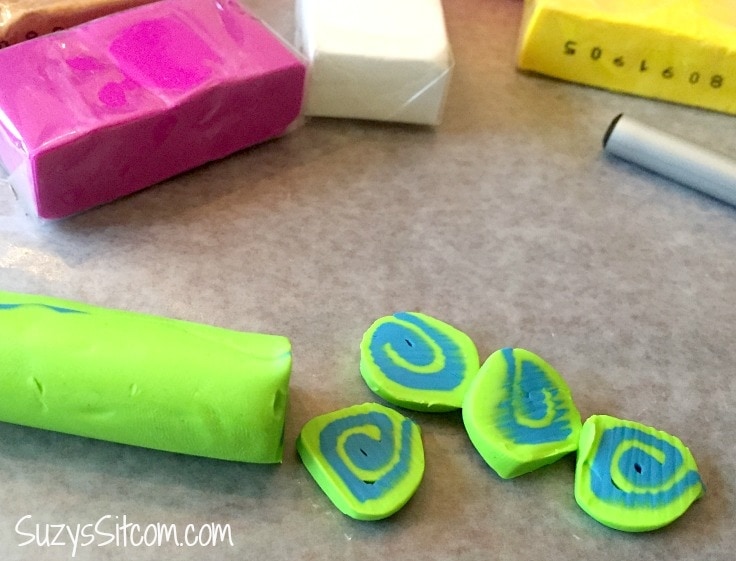
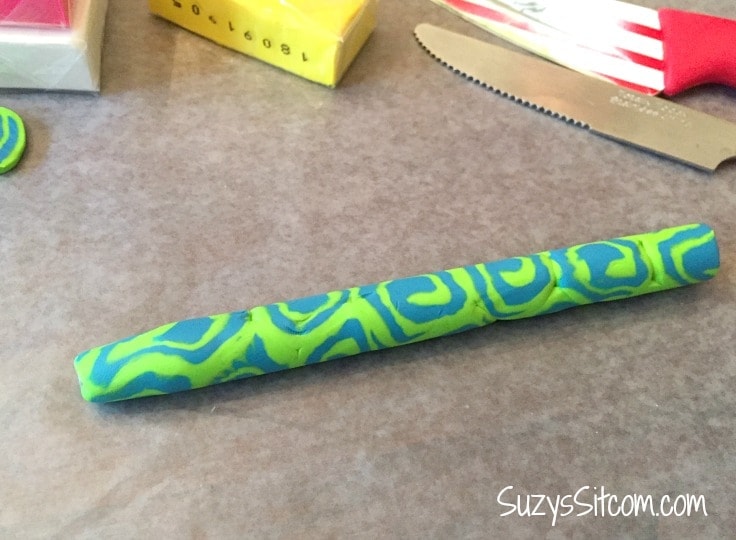
The colorful diy decorative pens can be created with any mix of colors. In this instance, roll out two different colors about 1/8″ thick as shown above. Lay one color layer on top of the other and roll up “jelly roll” fashion. Use a sharp knife to slice into 1/8″ thick slices.
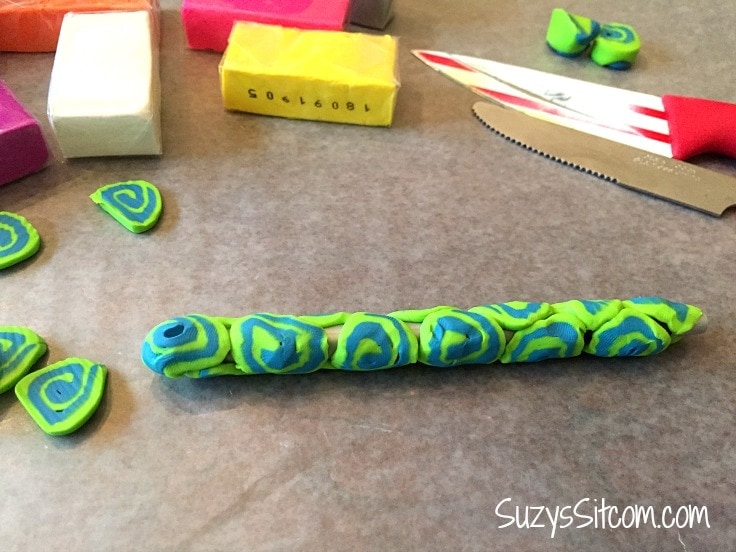
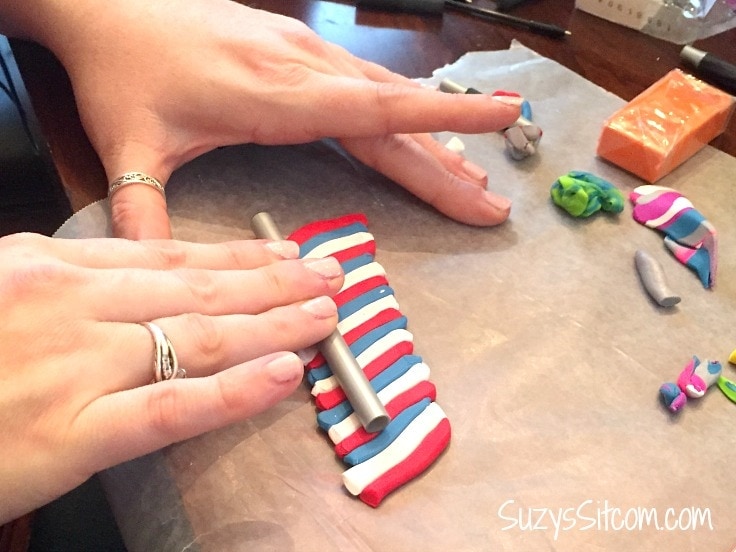
3. Cover the pen with polymer clay
Place the polymer clay slices on the pen, covering all sides and the top. Be sure not to cover the bottom where the ink will be inserted later.
Roll the pen with your fingers on a hard surface until all the polymer clay slices have joined and the outside of the pen is smooth with your desired pattern. This results in a spiral type of design.
4.Other polymer clay ideas for DIY decorative pens
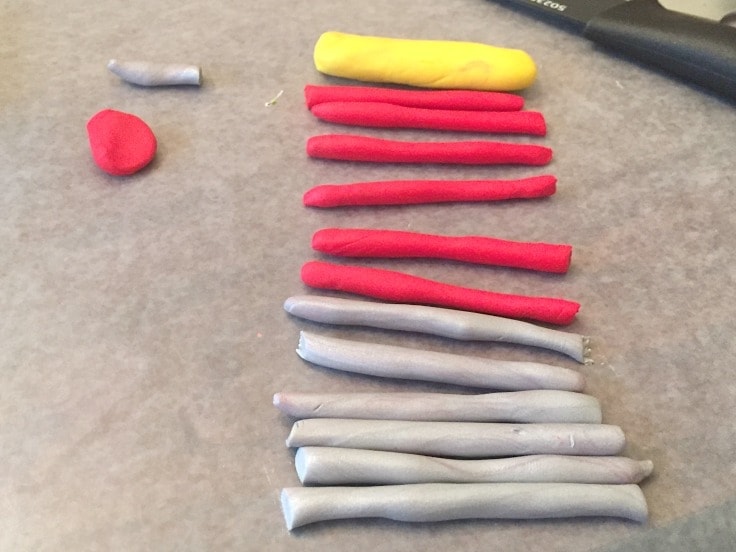
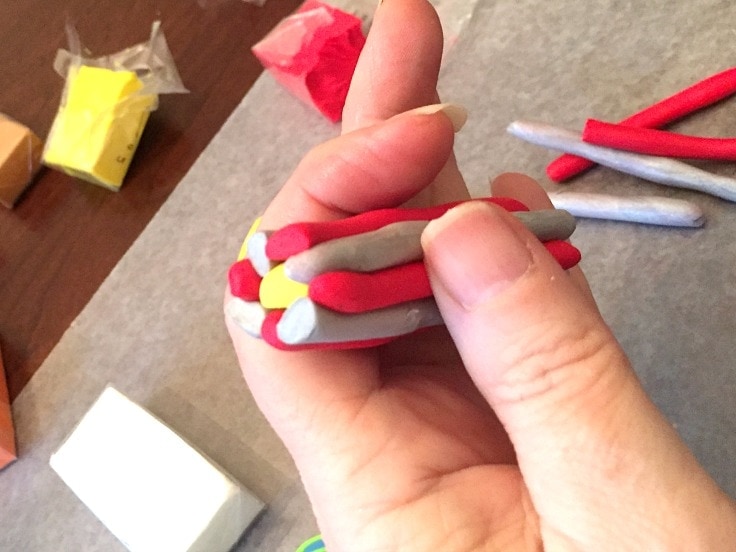
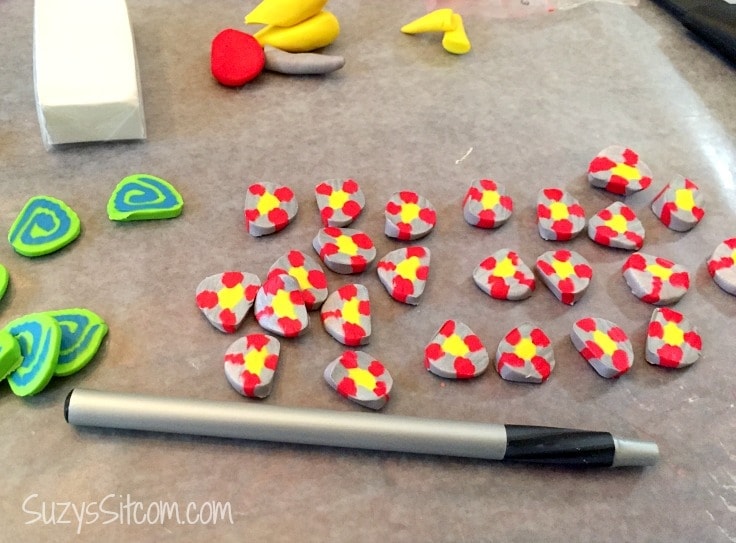
Here we made a simple flower cane. Roll tubes of color in red and gray, and a larger tube of yellow. Place the colored tubes around the yellow as shown above. Then roll on a hard surface with your fingers to reduce the size of the tube to about 1/2″ diameter. Use a sharp knife to slice into 1/8″ inch slices and cover the pen as in the first example.
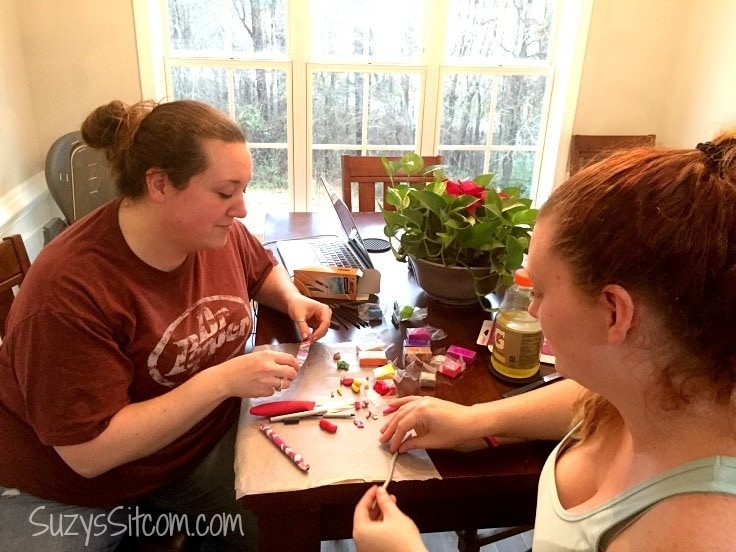
Both of my daughters got involved at this point when they saw how much fun I was having making diy decorative pens. Before I knew it, I was just standing in the background taking photos!
They came up with some great ideas. Shown above, my daughter rolled out tubes of color and then wrapped the pen in it.
They also did a bit of mixing of colors, rolled them out and wrapped the pens- resulting in a marbling effect.
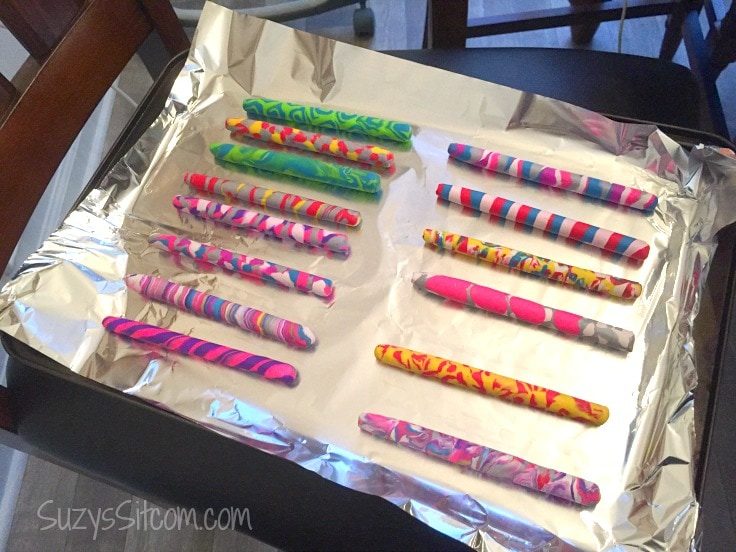
5. How to Bake the Pens
As you can see, things got a little out of hand! We made pens until we ran out of them!
Place the polymer clay covered pens on a sheet of foil on a cookie sheet and bake in a preheated oven at 275 degrees for 15 minutes.

Once the diy decorative pens have cooled, reinsert the ink.
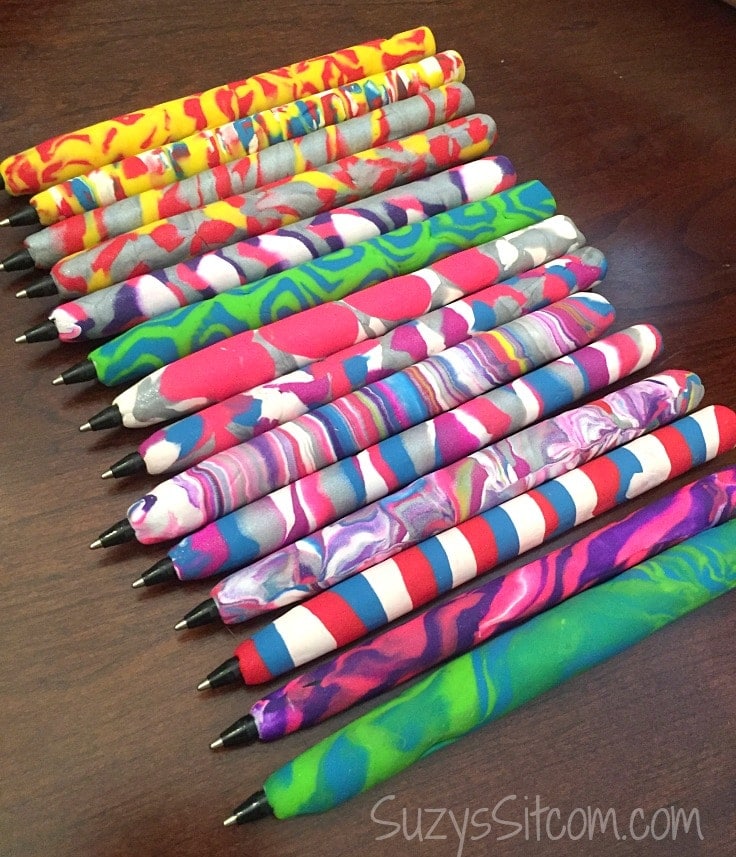
Amazing colors and such a fun project! These pretty polymer clay colored pens are not only fun to make, but will add a bright spot of color to your office space!
Love the ideas you see here on Ideas for the Home by Kenarry®? Subscribe today to get our FREE DIY & Craft Planning Calendar, plus our weekly Ideas in Your Inbox newsletter filled with creative tips and exclusive offers!
More Fun Polymer Clay Projects!
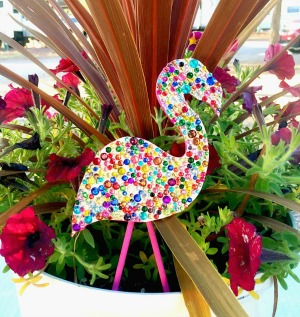
Make Sparkly Flamingo Plant Pokes with Polymer Clay!
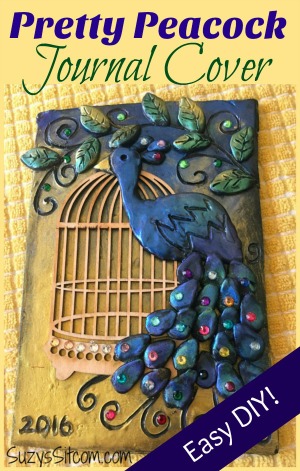
Pretty Peacock Journal Cover with Polymer Clay (Free pattern)!
If you liked these diy decorative pens, you may also enjoy these craft ideas on Ideas for the Home by Kenarry® –
This is the first tutorial I have seen that actually explained and showed each step for covering the pens. I will be using this tutorial to cover my crochet hooks. I know I will need more polymer clay as I have a lot of hooks. I like giving the hooks as a gift when I find a new crocheter.
Hi Donna,
What a great idea to use this same technique on crochet hooks! Your friends who crochet are going to LOVE them. We’d love to see photos of how they turn out.
Best wishes,
Carrie
Ideas for the Home by Kenarry
I am not sure what happened, but this did NOT work for us! This was a huge Pinterest fail. I followed your directions to a T, but the pens shrank and the clay “exploded”. I now have a very sad little one. 🙁
Oh no, Suzette! We’re so very to sorry to hear you and your little one ran into big trouble with this project. Thank you for taking the time to let us know. I checked with Suzy from Suzy’s Sitcom who created this project for us. Suzy had a couple of thoughts on what might have caused the issues you experienced. She said you can run into trouble if your oven was too hot, if you didn’t use the specified brand of pen (very important) or if you kept them in the oven too long. Could any of those three things been the culprit? We hope that helps to troubleshoot the problem if you give it a try again.
Best wishes,
Carrie
Ideas for the Home by Kenarry
worked fantastic now i have a very happy little one
My son and I tried this with Bic Cristal pens and the pens melted! I will try to find the Bic Round Stic pens ans try again!
Oh no! The type of pen you use can definitely make a difference. Do let us know how it turns out for you the next time you try it.
Best wishes,
Carrie
Ideas for the Home by Kenarry
How was the one made that looks like an agate? (All the colors in very thin lines.)
Hi Stephanie, yes that’s exactly how you make the agate look. Roll out two different colors about 1/8″ thick as shown in the photos just before step 2. Lay one color layer on top of the other and roll up “jelly roll” fashion. Use a sharp knife to slice into 1/8″ thick slices and then press onto the sides of the pen.
Happy crafting!
Best wishes,
Carrie
Ideas for the Home by Kenarry
Has anyone tried adding glittering to the clay before baking it?
Hi Cindi,
We have not tried it, but this article we found online might be helpful to you – Can You Mix Glitter with Polymer Clay?
Let us know if you try it!
Best wishes,
Carrie
Ideas for the Home by Kenarry
How do you keep the pens from drying out since the caps no longer fit? Thank you for the tutorial!
Hi Mari!
Great question. We reached out to the creator of this DIY, and she let us know:
I created that project about 4 years ago and I still use the pens that I made. I have had not issues with drying out at all. In fact, they are my favorite pens to use. Capping or uncapping a bic or most ballpoints doesn’t really make a difference. They’re designed not to dry. Eventually, they run out, but the project is a quick one to simply make more if you like.
Hope this helps!
– Lisa, Ideas for the Home by Kenarry Customer Care
Do you leave the pen tube inside the clay while it bakes?
Hi Michelle!
Great question! Yes, you leave the pen tube inside the clay while it bakes for 15 minutes.
Happy crafting,
Lisa, Customer Care at Ideas for the Home by Kenarry