Designer Holiday Wreath: How To Make A Magnolia and Glittered Pinecone Wreath
THIS POST MAY CONTAIN AFFILIATE LINKS. PLEASE SEE OUR FULL DISCLOSURE POLICY FOR DETAILS.
Learn to make a designer holiday wreath! Christmas is the perfect time to go big, go glittery, and get dramatic! Then finish with a big, loopy bow!
Greetings Kenarry readers! We are Jennifer and Kitty from Running With Sisters, and we have a wonderful holiday project to share: A Magnolia and Glittered Pinecone Wreath! We love making wreaths – for every season and holiday! And we’ve learned some great tips and tricks along the way.
One of our best tips for a wreath like this is to use at least three different sized decorations: something big and beautiful to be the star of the show, something medium sized to fill in the gaps, and something smaller to knit it all together. So when we saw these gorgeous magnolias, we knew they were meant to be the stars of our latest holiday wreath!

Christmas is the perfect time to go big, go glittery, and get dramatic! And we love to finish a wreath with a big, loopy bow. We even made a little video to show you how we make our bows big and loopy!

Get our e-book The Ultimate Guide to Making a Burlap Wreath plus a special limited time offer for 25% off Kenarry burlap ribbon when you subscribe to be an Idea Insider. It’s totally FREE!
Your privacy is important to us. We promise not to spam you or share your information. You can opt-out at any time. See our privacy policy for more information.
Disclosure: This blog post contains affiliate links for products or services we think you’ll like. This means if you make a purchase from one of these links, Ideas for the Home by Kenarry® will make a small commission at no additional cost to you so we can keep the great ideas for the home coming your way. All opinions expressed are derived from personal experience.
How To Make A Designer Holiday Wreath
Materials
- 18” grapevine wreath form
- 3 faux magnolias, 7” diameter
- 50 faux floral magnolia leaves, small and medium (we cut ours from two long garlands)
- 16 pinecones, 2” – 4”
- 8 ball ornaments, brushed gold and glittered gold, 2.5” diameter
- 8 ball ornaments, brushed gold, 1.5” diameter
- 12 ball ornaments, brushed gold and glittered gold, .75” diameter
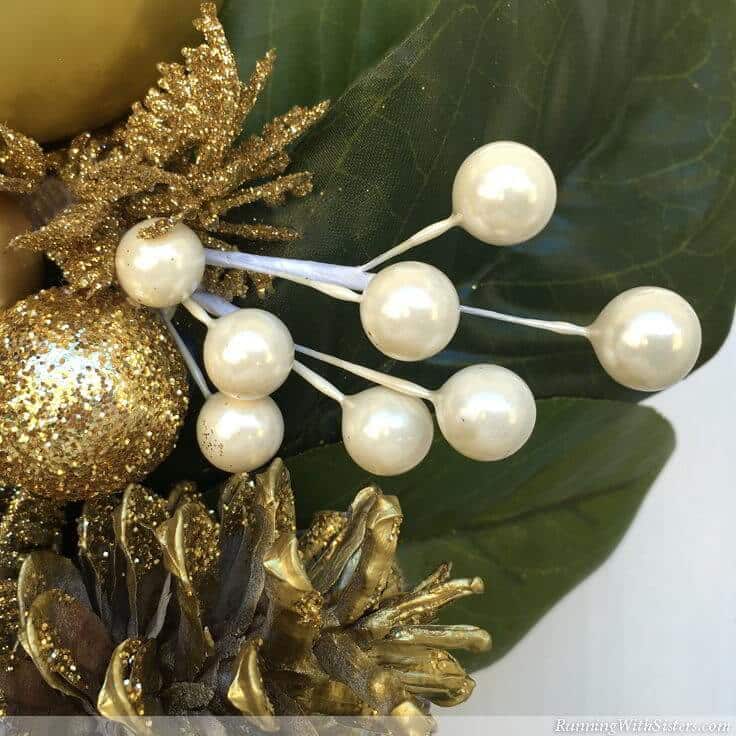
- 4 pearl berry picks
- 4 gold fir sprays
- 12 feet purple wired ribbon, 2.5” wide
- Metallic gold spray paint
- Fine gold glitter
- White craft glue
- Floral wire
Tools
Steps
1. Glitter The Pinecones
Before we started assembling our wreath, we prepped the materials that needed painting and glittering (that way everything was ready to go!). So we started by spray-painting the pinecones gold. (We recommend brushing off any dirt first.) Then we glittered the tips. To do this, we made a five-to-one mixture of water and white glue. We painted it onto the tips of the pinecones and then sprinkled generously with the gold glitter. You should let your glittered pinecones fully dry before you start making your wreath.
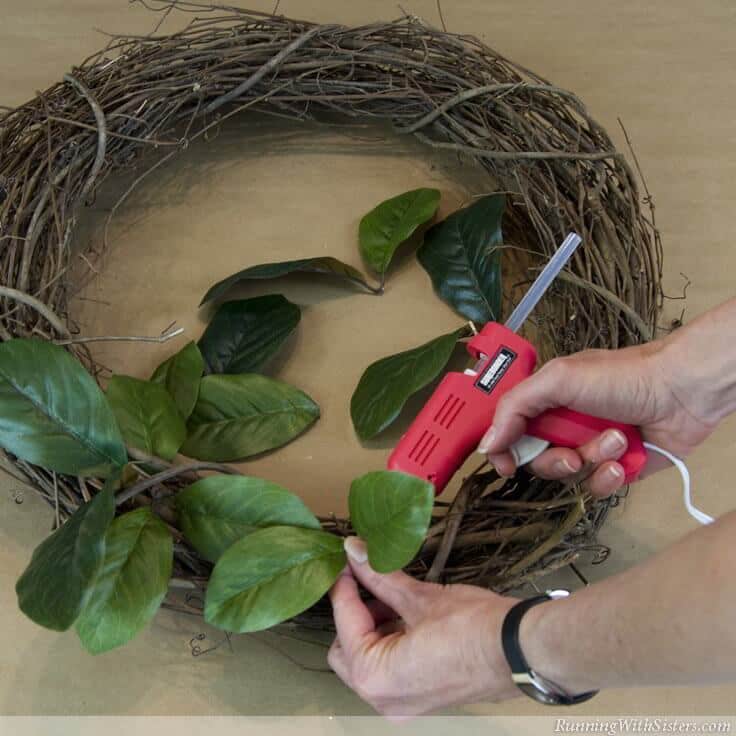
2. Create The Background
Next we created a bed of leaves as a backdrop for the magnolias, pinecones, and ornaments. We snipped the leaves off two long magnolia garlands, then we glued them individually onto the grapevine wreath with hot glue. We like to cluster the leaves into overlapping flower shapes to make it look more natural.
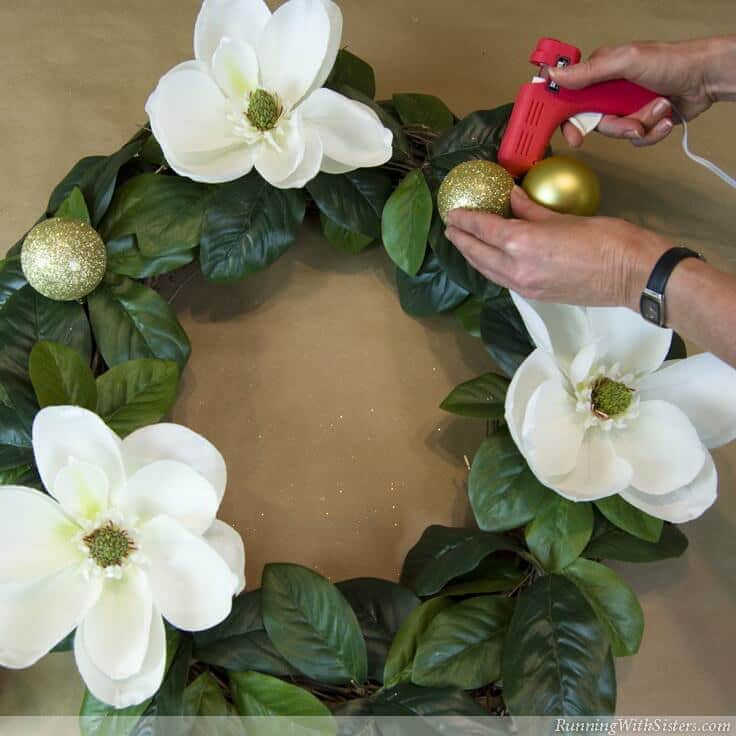
3. Add The Big Stuff
The biggest stuff goes on next and in this case, that’s the magnolias. We evenly spaced the flowers and hot glued them to the wreath right on top of the leaves. Then we added the largest ball ornaments, some clustered together and some alone. They went into the spaces between the magnolias.
4. Add A Big Bow
Some people like to add the bow last, but we think it needs to go on with the other big stuff. That way you can tuck the smaller decorations in and around it. For a dramatic wreath like this, we like a big, loopy bow! We attached the bow to the top of the wreath so the tails would hang into the center and fill up that open space.
If you’ve never made a big bow like this, here’s a video showing how we like to make them. It’s easier than you think!
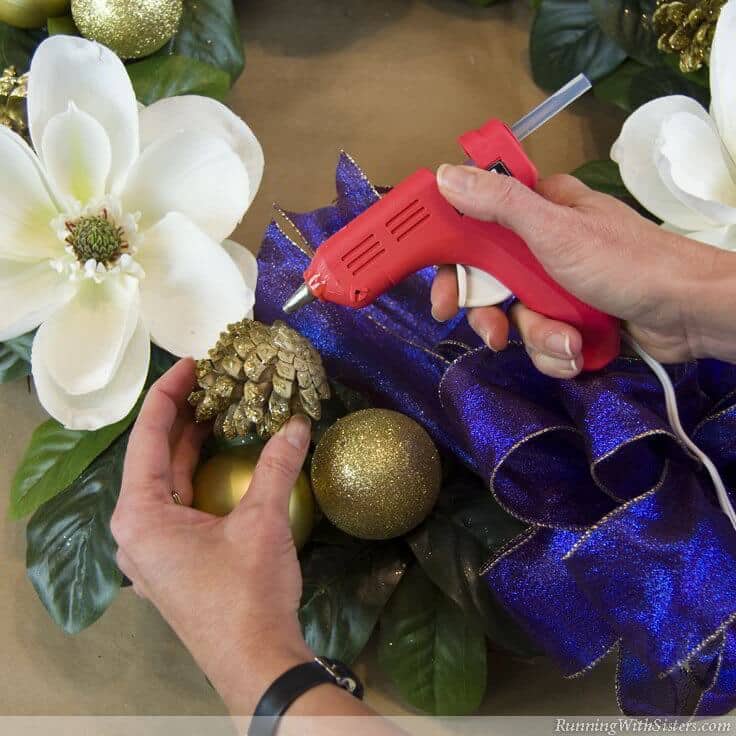
5. Add The Pinecones
Next we added the glittered pinecones. We tucked them into the spaces created by clustered ornaments, and we glued them poking out from under the magnolia petals. By decorating the wreath with the biggest items first, you create obvious spaces to add the next smaller items. Your wreath will have clear openings that are perfect for your pinecones.
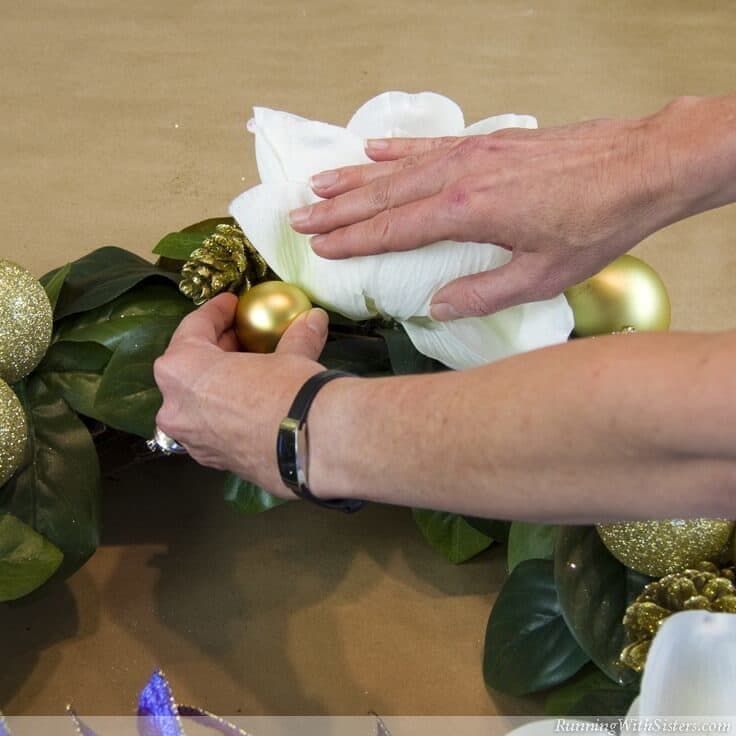
6. Add Smaller Goodies
Then we started filling in with smaller ornaments. This step helps cover any bare spots and fill in smaller gaps. We used matte and glittered ball ornaments, so we made sure to spread them out and not have too many that were the same in the same spot.
7. Add Picks
Lastly, we added berry picks and fir sprays. Our berry picks came with lots of branches on a stem. So we cut them apart into smaller picks and just glued them all the way around the wreath. We tucked them into ornament clusters and under the pinecones and magnolias. We did the same with our gold fir sprigs. (The fir sprigs were a dollar store find!) We cut them apart and hot glued them in and around the items already on the wreath.
We use this same process to make all our wreaths, although the Christmas ones are always the most glamorous! Still, we always start with a background like leaves, then add the goodies from the biggest to the smallest. And we finish with picks and sprays. Once you try it, you’ll be shopping the floral section at the craft store looking for superstars to inspire your next wreath. Let us know how it goes!

If you’d like to share this idea, you can pin this photo:
Do you have a special way of making wreaths you love? Have any tips or tricks to share? We’d all love to hear them. Let us know in the comments below!
Cheers,
Jennifer & Kitty
Want to see more of our projects? Here are a few more posts from our blog:
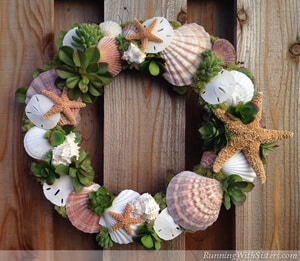
Seashells and Succulents Wreath

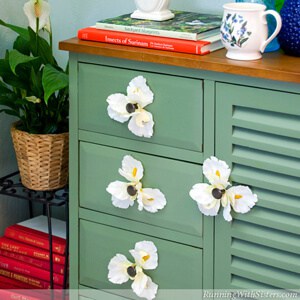
Get One-of-a-kind Style With Flea Market Finds
Dollar Store Decorating Projects
What’s Next?
While you’re here, be sure to check out other holiday projects on Ideas for the Home by Kenarry® –
One Comment