Decorating With Spring Bulbs: Simple Hyacinth & Muscari Display
THIS POST MAY CONTAIN AFFILIATE LINKS. PLEASE SEE OUR FULL DISCLOSURE POLICY FOR DETAILS.
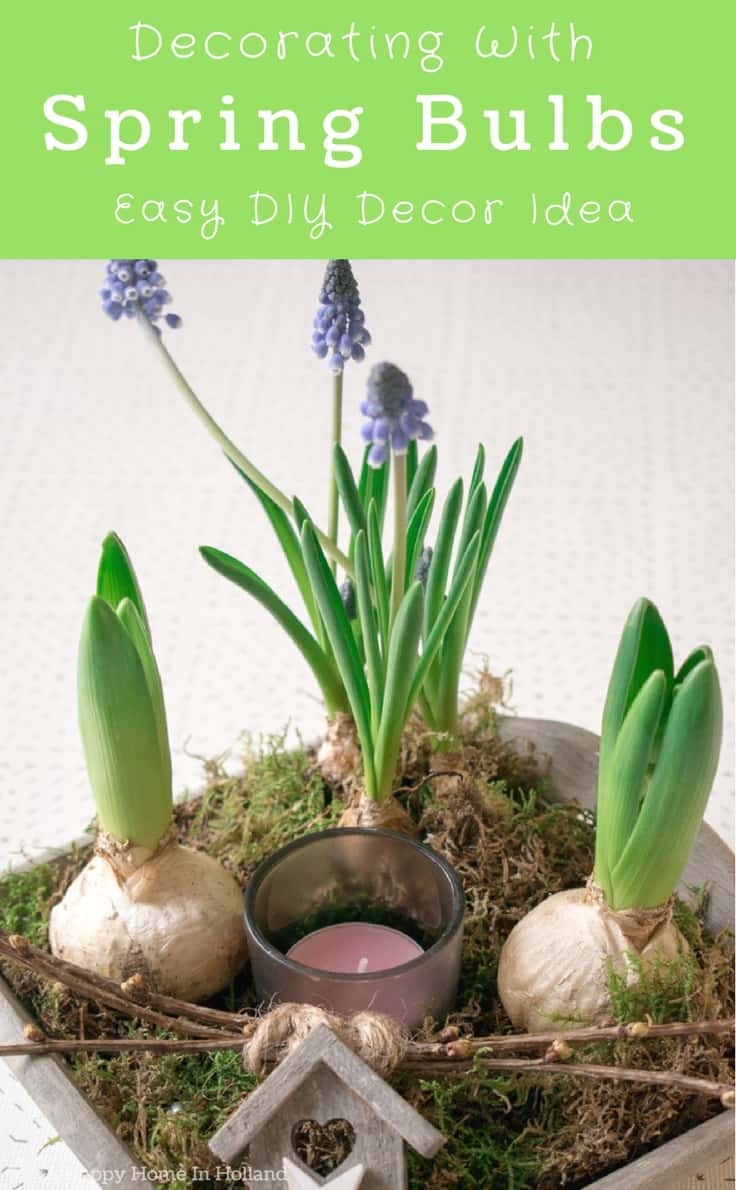
Use your spring bulbs to decorate your home. Learn how to create a beautiful (and easy) spring display using just a few hyacinths and muscari (aka blue grape hyacinth).
Do you ever bring your spring bulbs inside to decorate your home? No? Then you should!
You can create some beautiful displays using just a few spring bulbs and other supplies.
Hello, it’s Sam here from A Happy Home In Holland.
And as always, I’m happy to be back here again at Kenarry to show you another easy DIY idea for your home.
This month, since spring is not so far away, I thought I’d share a simple but very pretty way to display spring bulbs in your home.
Before I moved here to the Netherlands, I always used to just plant my bulbs in the garden and wait for spring. But now I love to use them to brighten the place up throughout the whole year and especially during the Spring and around Easter time. They are so versatile and cost very little.
Obviously, living here in the Netherlands makes me a little bit biased, after all, the Dutch are definitely the experts when it comes to flower bulbs and over the years I have managed to pick up a trick or two.
Did you know that the bulbs do not need soil to bloom? Yes, all the energy they need to produce flowers sits right there inside the bulb. Obviously, when you plant them in the soil they get more nutrients which helps them grow bigger and stronger but for the purpose of temporary flower displays in your home, it is fine to carefully remove the soil and display the bulb on its own.
This little display idea that I am going to share with you today, as with most of my projects, is very simple and budget friendly too.
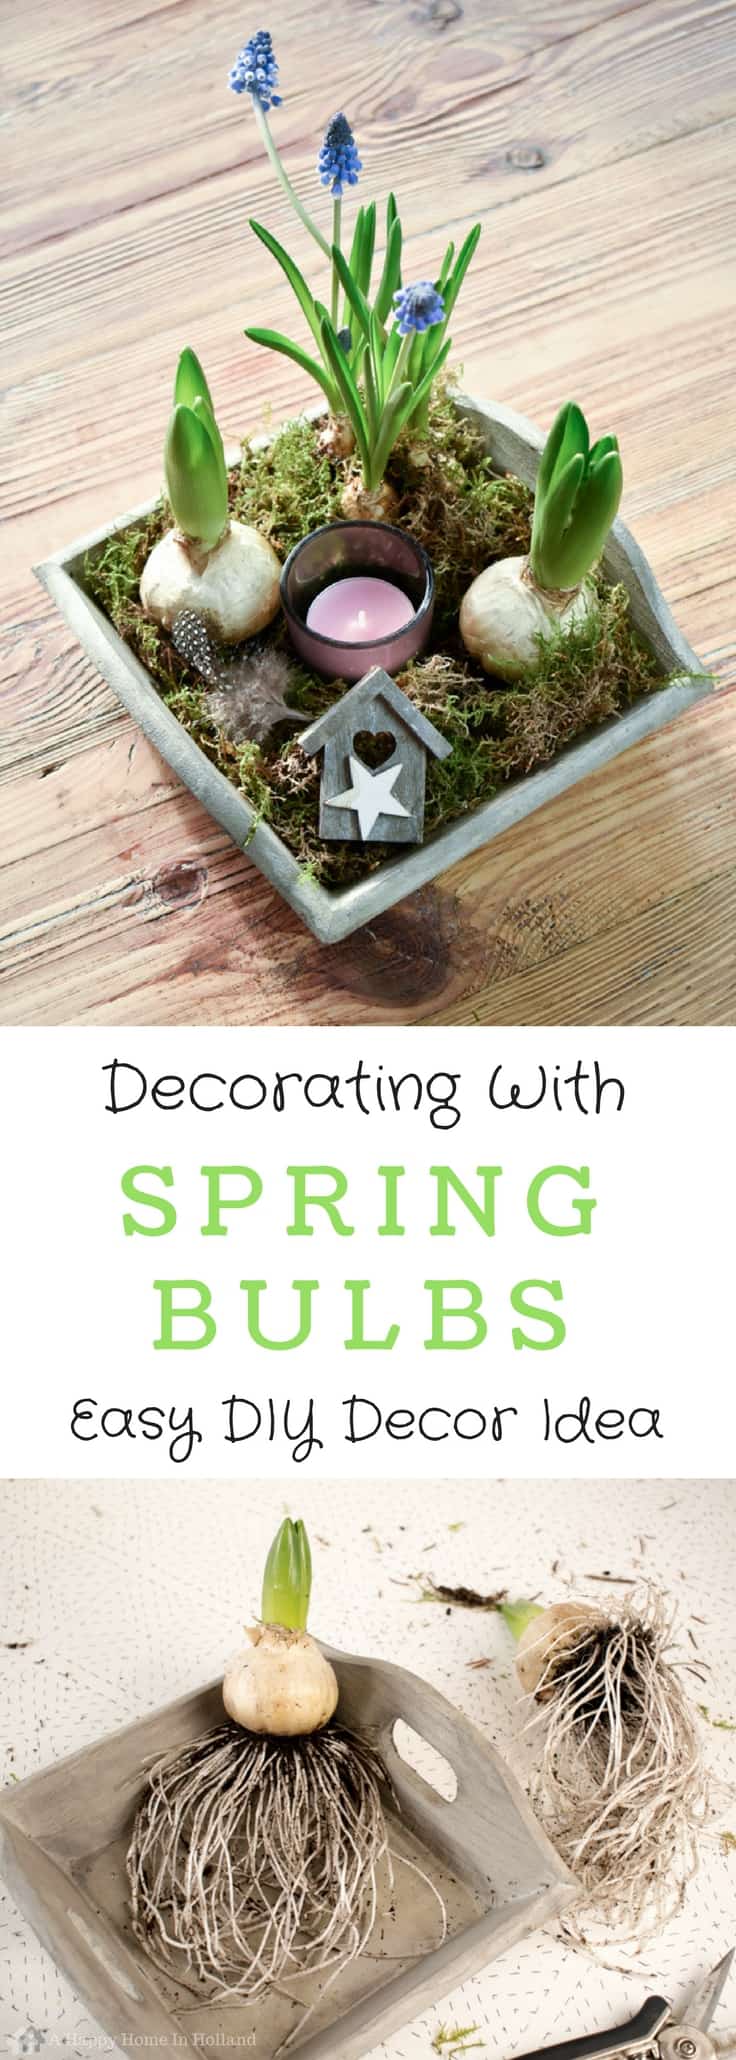
DIY Spring Bulbs Arrangement
Disclosure: This blog post contains affiliate links for products or services we think you’ll like. This means if you make a purchase from one of these links, Ideas for the Home by Kenarry® will make a small commission at no additional cost to you so we can keep the great ideas for the home coming your way. All opinions expressed are derived from personal experience.
Materials & Tools
- small wooden tray (This 9″ square wood planter would work or this tray is larger, but similar.)
- glad wrap
- 2 x hyacinth bulbs
- 3 x muscari bulbs (aka blue grape hyacinth)
- some moss
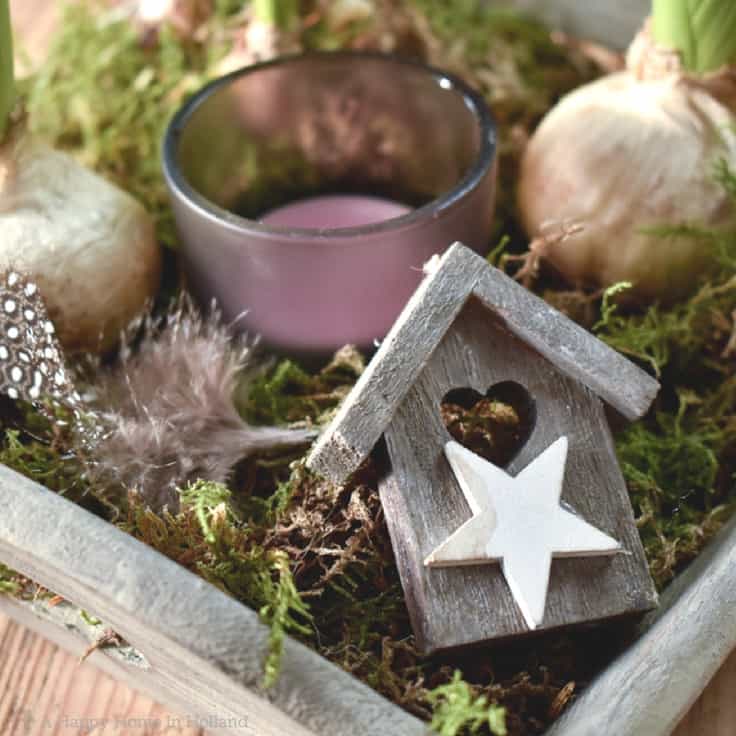
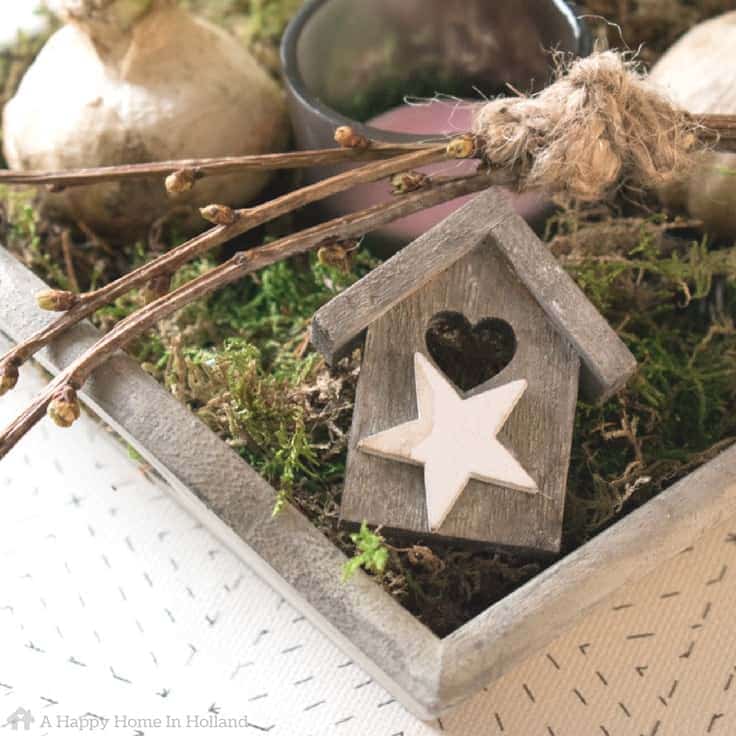
- small candle votive
- natural looking embellishment (I used a small wooden birdhouse. This distressed wooden birdhouse and this rustic wooden birdhouse are a little larger, but similar in style. This white birdhouse would be pretty too.)
- little eggs (these can be real or fake)
- cherry blossom twigs
- natural looking twine or string
- pruning shears or sharp scissors (to cut the twigs)
Steps
1. Line the tray with a piece of gladwrap or plastic (this will stop the moisture seeping into wood).
2. Carefully take the bulbs out of the pots and loosen the soil from around the bulbs and the roots.
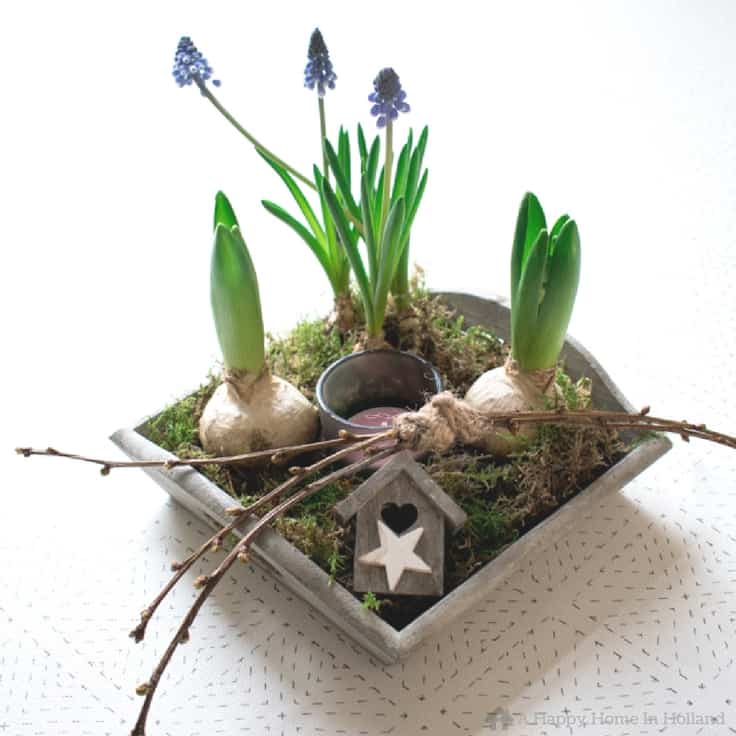
3. Place the hyacinth bulbs in the two opposite corners the tray.
4. Add the 3 muscari bulbs in another corner to create a triangle formation with the hyacinth bulbs.
5. Now place your moss over the roots and base of the wooden tray, make sure that you leave the bulbs exposed on the top.
6. Create a little indentation in the middle of the moss and add your glass candle votive.
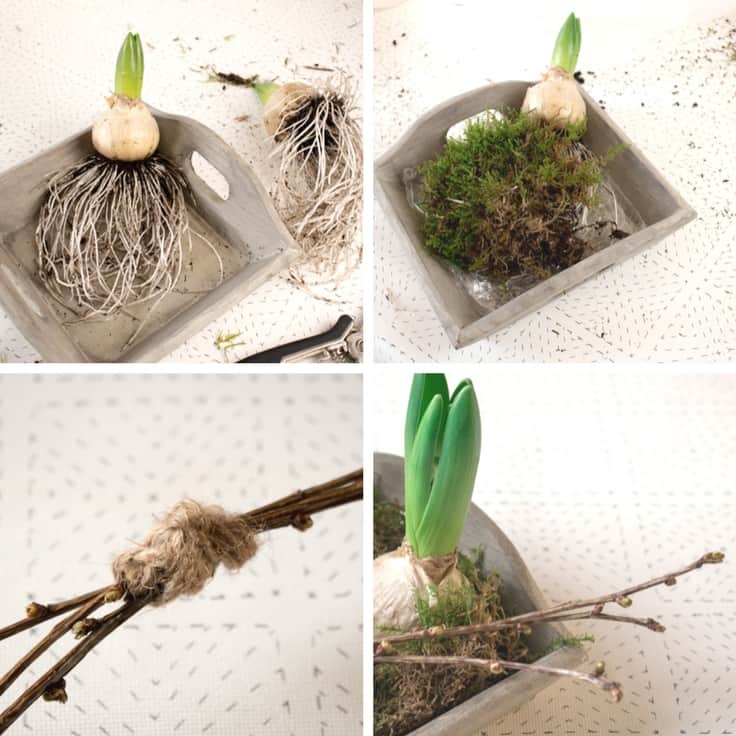
7. Cut 6 cherry blossom twigs to a length of about 6″.
8. Arrange the twigs so that 3 overlap the other 3 and bind them in the middle with some string or twine.
9. Place the twigs at an angle across the display.
10. Add your embellishment – this can be anything; a little birdhouse, a small wooden heart, a little rabbit, etc.
11. And last but not least add your little eggs – I always like to add a few broken ones to my display.
You can add a small amount of water underneath the moss to stop them drying out too quickly but make sure you keep the bulbs dry. Check the water level daily and top up as required.
This is just one idea but the beauty of decorating with bulbs is that you can use whatever you have at hand and play around with the design until you are happy with what you have.
Now it is your turn, see what you can come up with.
If you liked this idea you may like some of my other ideas for Spring and Easter:
Decorating With Narcissus Bulbs
Mod Podge Photo Transfer Project
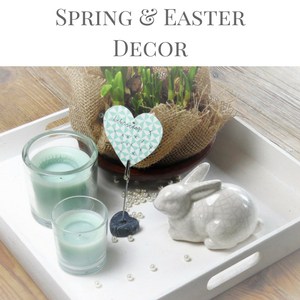
Spring & Easter Home Decor Ideas
Love the ideas you see here on Ideas for the Home by Kenarry®? Subscribe today to get our FREE DIY & Craft Planning Calendar, plus our weekly Ideas in Your Inbox newsletter filled with creative tips and exclusive offers!
What’s Next?
While you’re here, be sure to check out other spring ideas on Ideas for the Home by Kenarry® –
One Comment