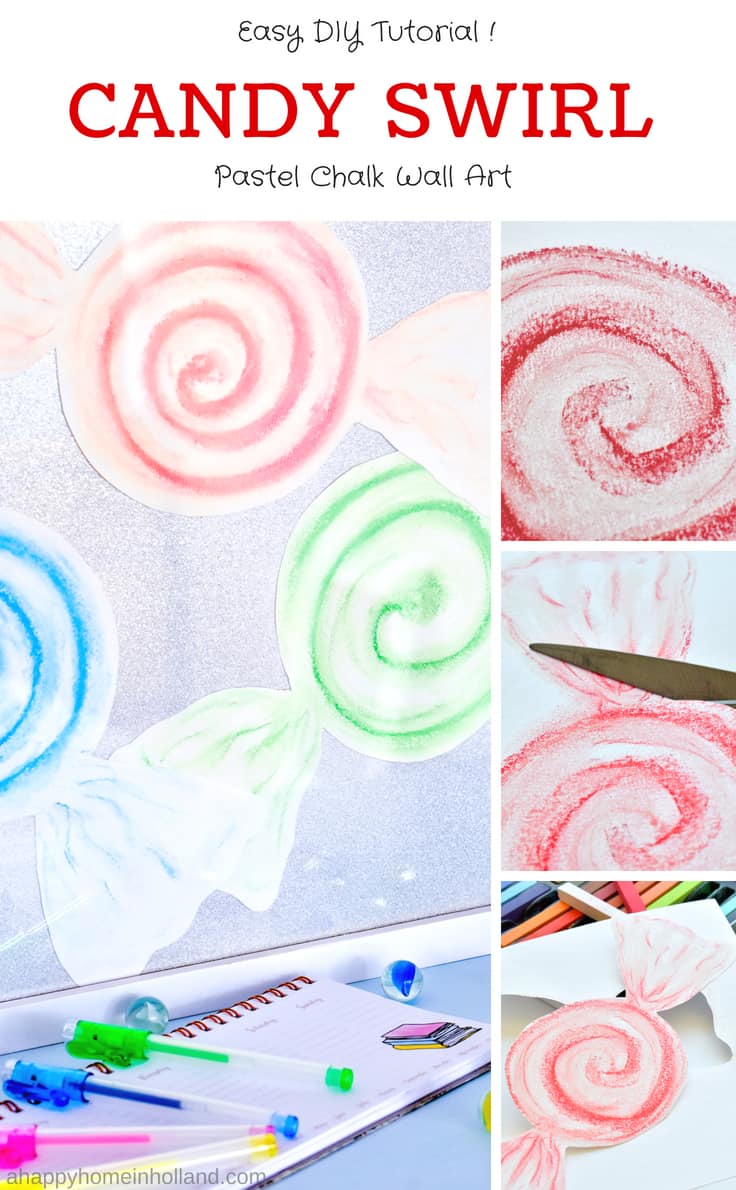
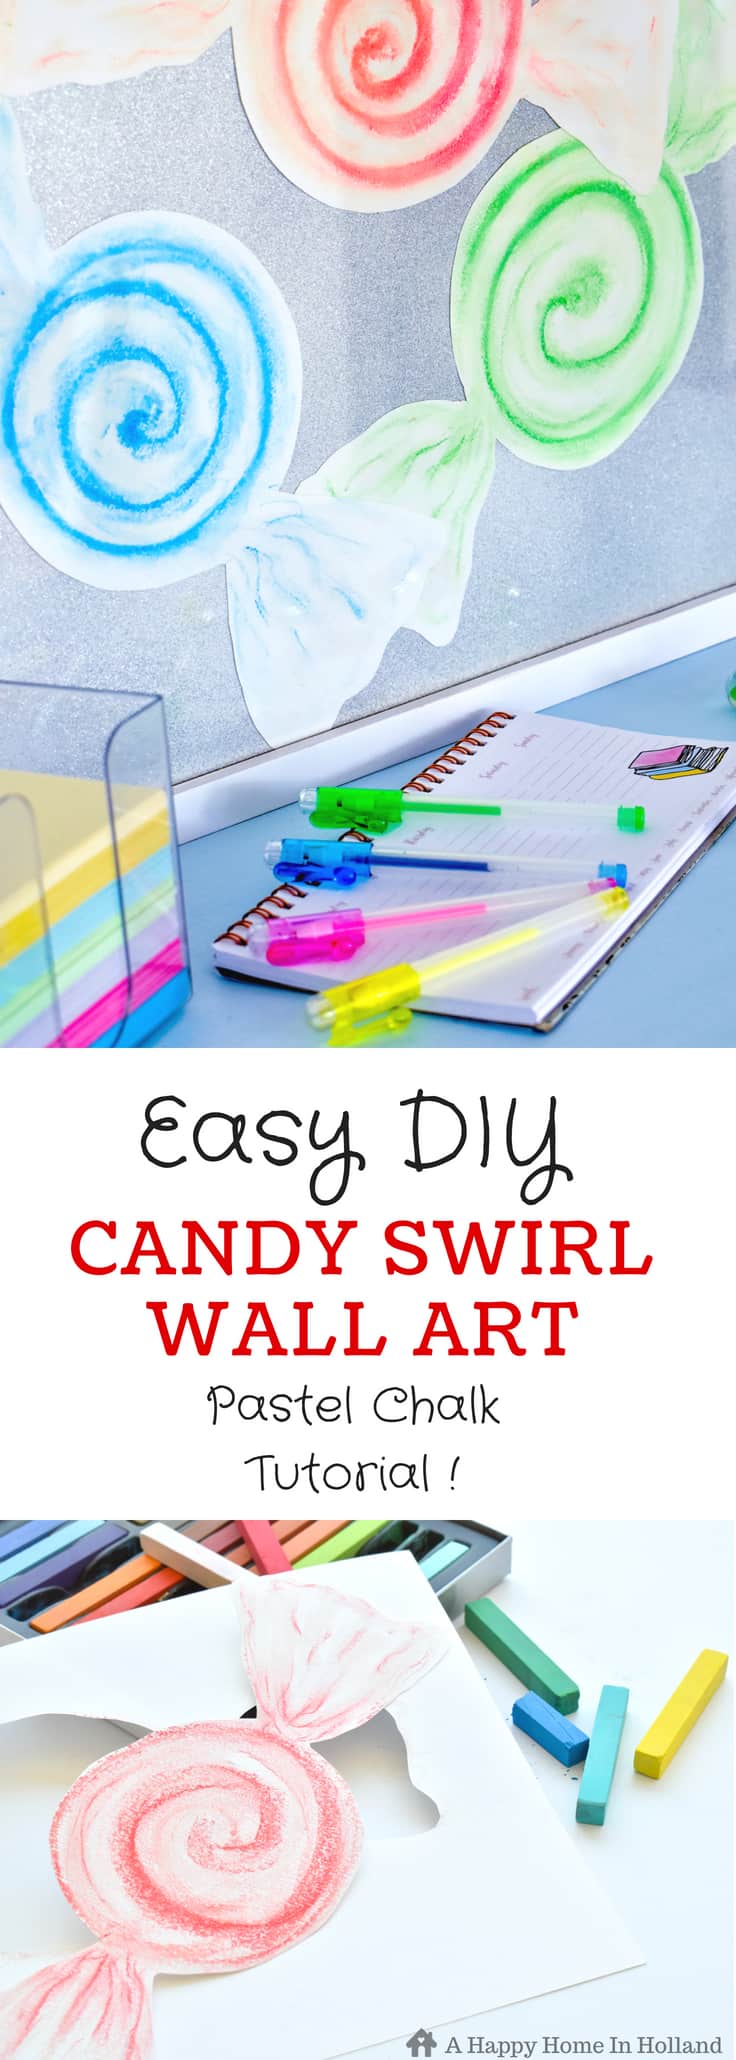
How To Make Your Own Candy Swirl Wall Art
THIS POST MAY CONTAIN AFFILIATE LINKS. PLEASE SEE OUR FULL DISCLOSURE POLICY FOR DETAILS.
This beautiful DIY Candy Swirl Wall Art is easier to do than you would think. It used colored pastel chalks – you really don’t even to be artistic to create a piece of wall art like this.
Hello Kenarry friends, it’s Sam here from A Happy Home in Holland and this month I wanted to share this really fun wall art idea with you. Have you ever used pastel chalks before? If not, you really should. They are pretty inexpensive and are very easy to use (this project is also simple enough for kids to do).
How To Make Chalk Pastel Candy Swirl Wall Art
This wall art is perfect for beginners. It’s super easy – and you’ll have a sweet and cheery wall art in no time at all.
Disclosure: This blog post contains affiliate links for products or services we think you’ll like. This means if you make a purchase from one of these links, Ideas for the Home by Kenarry® will make a small commission at no additional cost to you so we can keep the great ideas for the home coming your way. All opinions expressed are derived from personal experience.
Candy Swirl Wall Art Supplies
- Textured white paper (drawing or watercolor paper works well for this)
- Pastel chalks
- Plain backing paper (if you don’t want the hassle of spray painting with glitter like I did, then it is also fine to just use some coloured paper instead)
- Silver glitter spray (optional)
- Adhesive spray or paper glue
- Large picture frame
- Fixative Spray (or you can just use hairspray like I did)
- Sharp scissors
Candy Swirl Wall Art Instructions
1. How To Draw The Candy Swirl Centers
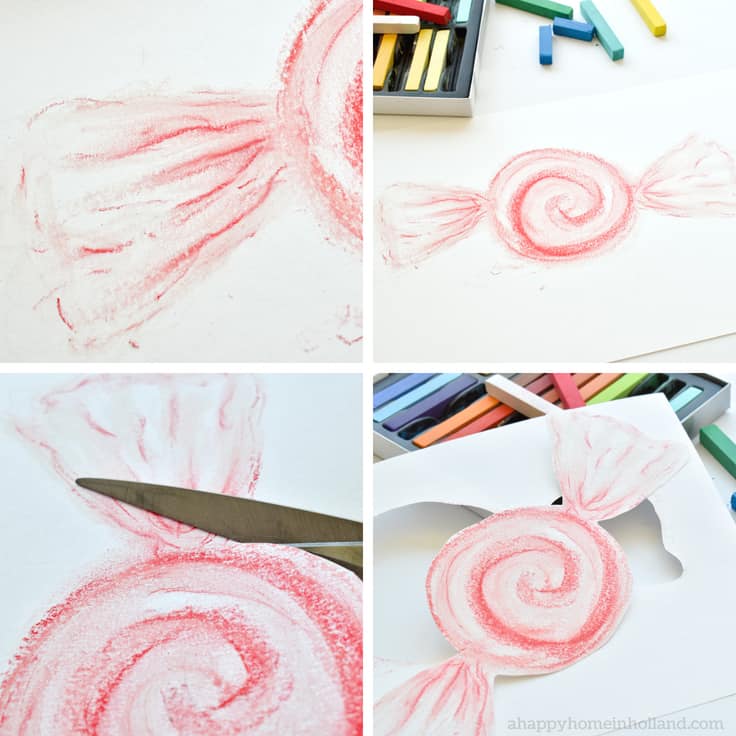
Begin with a white pastel chalk and create a big swirl in the centre of the paper. I made my swirls about 3″ in diameter but you can make them any size you want. Make sure you leave enough room either side of it on the paper that you have enough room to draw your wrappers.
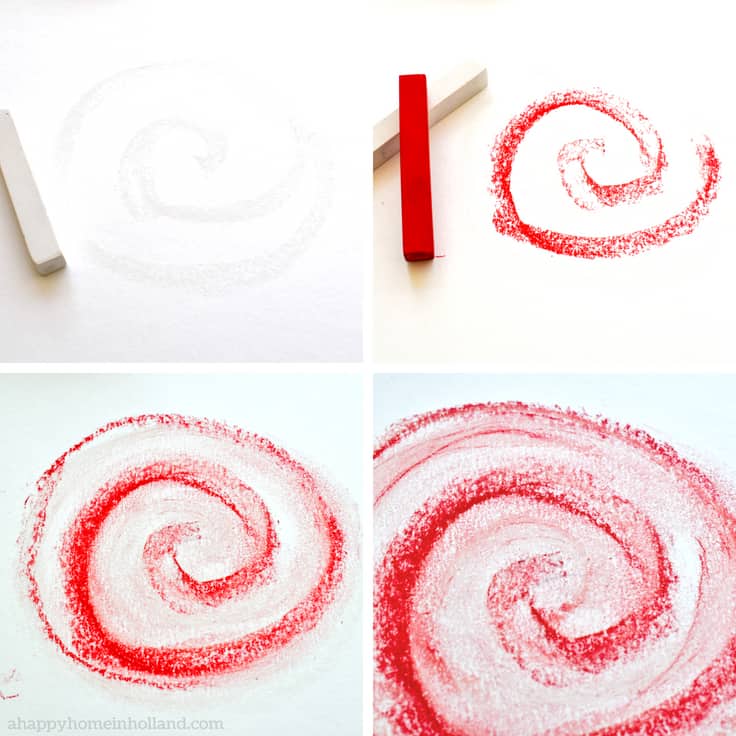
Next, take a colored pastel chalk and draw another swirl next to the white swirl.
Now using your finger, in a circular motion following the swirl pattern, rub the chalk to blend it a little.
See how it looks and if needed you can thicken your lines repeating the same steps.
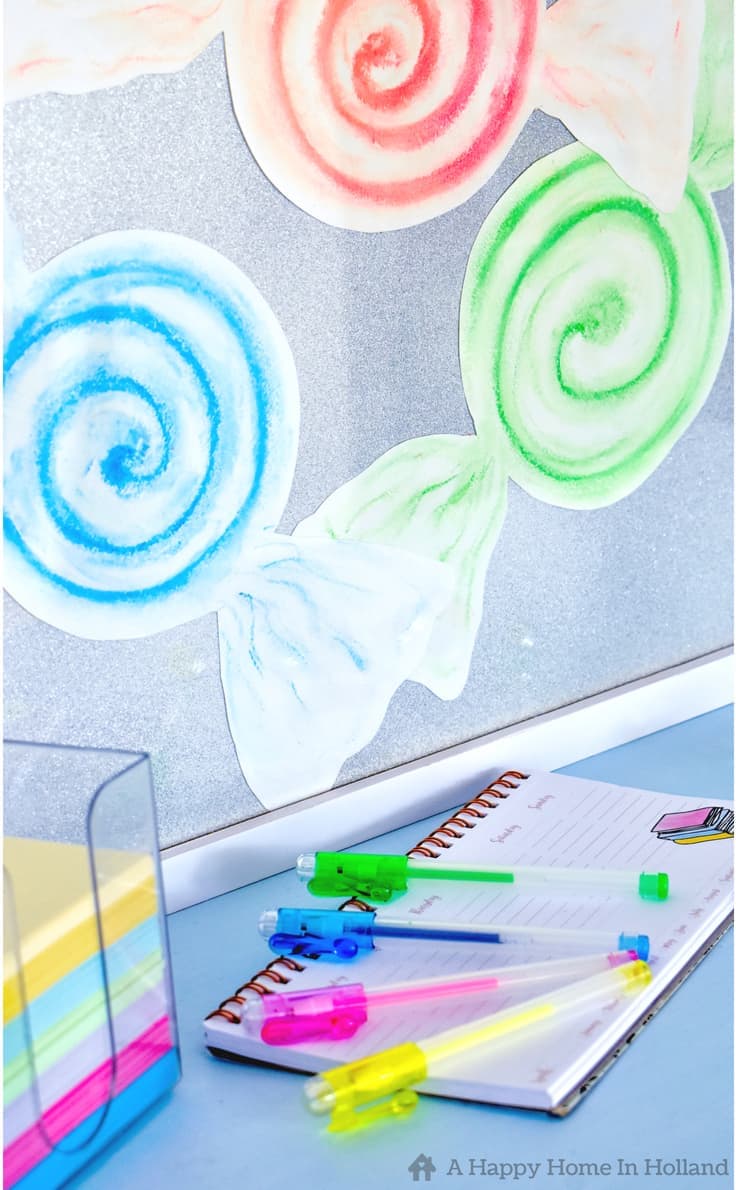
2. How To Draw The Candy Swirl Wrappers
To draw the wrappers, take your white colored chalk pastel and draw two wavy angled lines to form a V shape (in the pic below I initially did them too straight but corrected them after). Add more wavy lines in the middle of the two lines then add a few sketchy curved lines on the end to create the triangle shape.
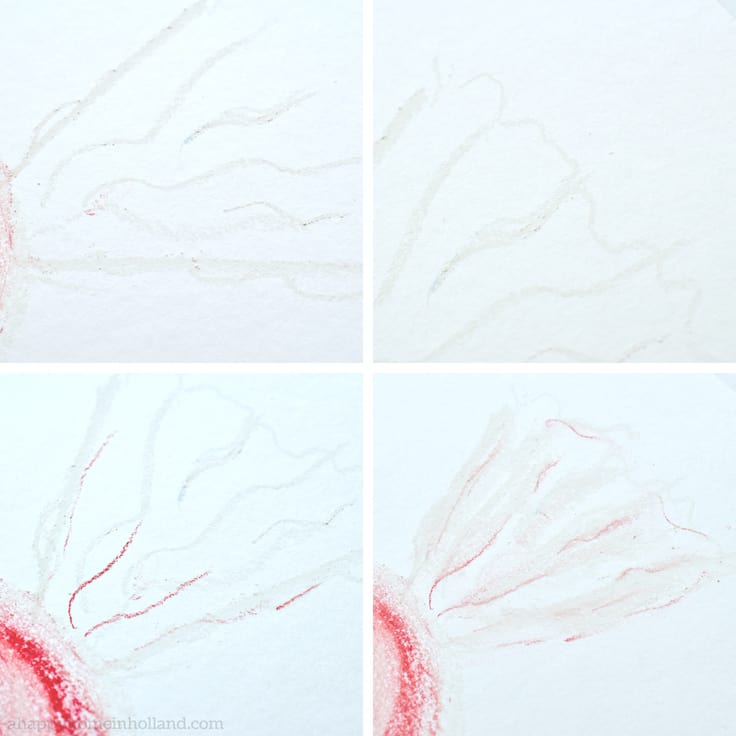
Take your colored pastel chalk and add in some more sketchy lines then blend in an outward motion with your finger.
Take your white chalk again and some highlight lines.
Again blend and if needed add a few more colored lines until you are happy with the results.
For the best results, be careful not to make your lines too thick and keep it light and a bit sketchy.
3. How To Cut Out The Candy Swirls
Using a sharp pair of scissors, simply cut out your candy shape.
It doesn’t have to be perfect and it’s even better if you make it a little wavy and uneven.
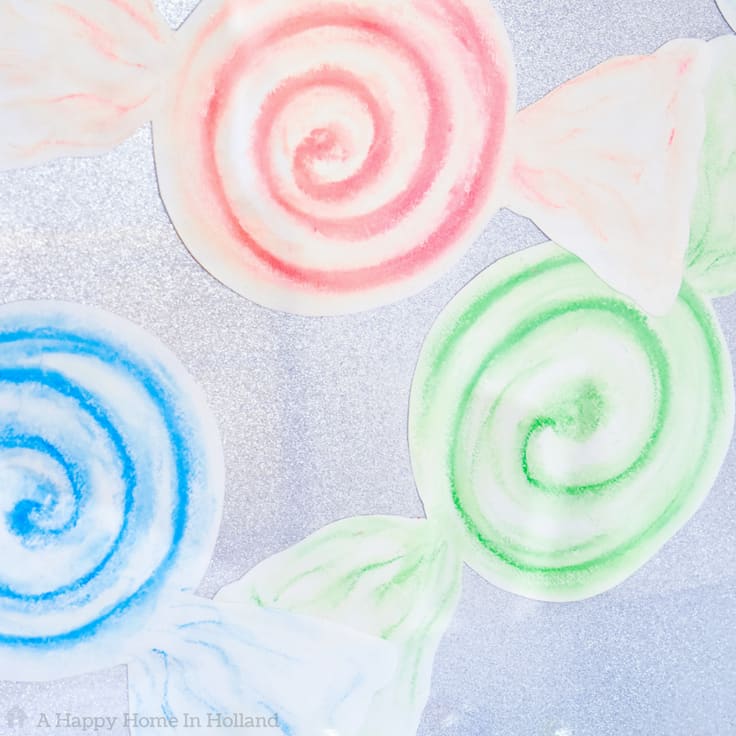
Repeat the above steps using different colors to make more pieces of candy.
4. Create The Backing
For mine, I just flipped over the insert that came with the picture frame so that I had a plain white background. I then sprayed this with some silver glitter spray.
As I said before, it’s totally fine just to go ahead and use a plain colored piece of paper for the background. I only used the glitter because I already had it at home and I didn’t want to have to go out and specially buy something.
5. Sealing The Chalk Pastels
You don’t have to do this step, but if you are putting it under a glass frame I would advise that you do seal it as the chalk dust can get a little bit messy on the glass.
I didn’t have a proper fixative spray so I used hairspray. If you do use fixative or hairspray be sure to test it first as it can change the colour of the chalk pastels. With mine, it intensified all the colors and actually turned the pink I was using into a red color.
6. How to Attach The Candy Swirls
I used a light coating of adhesive spray on the back and stuck them into place on the backing paper. I found that it was very easy to use the adhesive spray as I was able to reposition them without getting into a sticky mess.
If you don’t have adhesive spray then go ahead and use normal paper glue but just make sure that you don’t use too much as it may wrinkle your artwork.
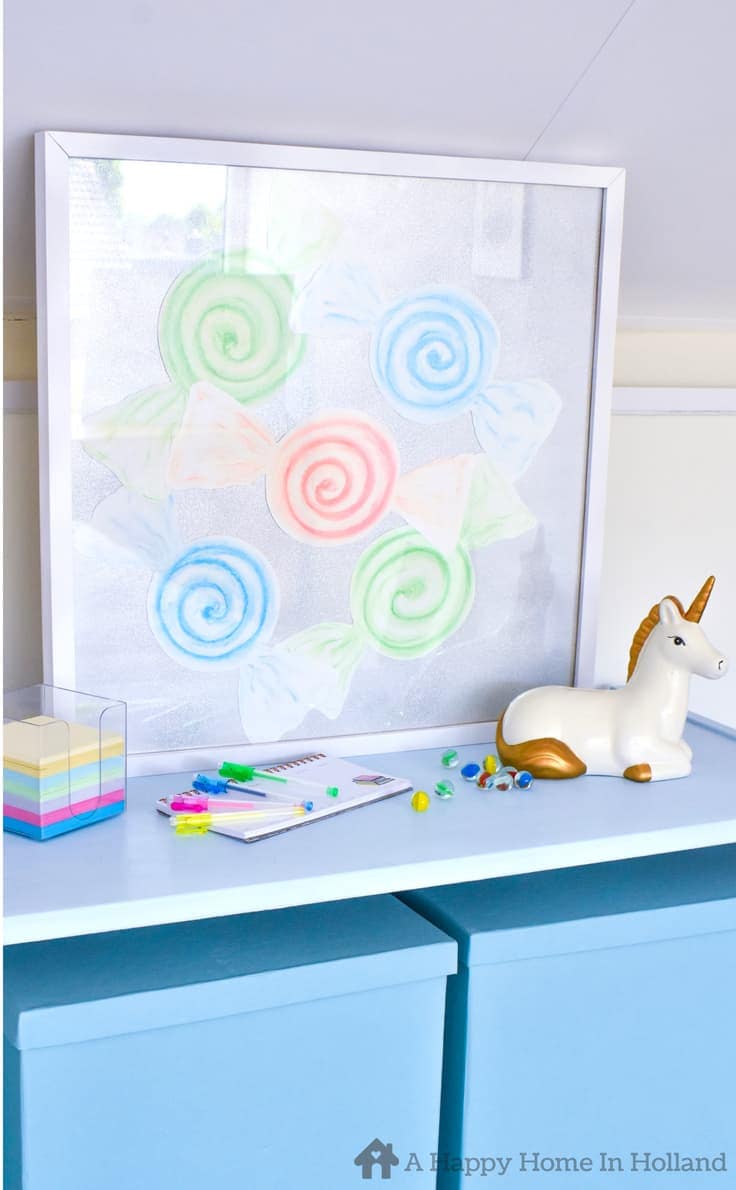
Once your glue has dried you can put it into your frame and find the perfect spot to hang your DIY Candy Swirl Art Work.
As you can see by this tutorial, creating artwork using pastel chalks is not so hard and a can be a lot of fun!
You can find more of my Easy DIY & Craft Tutorials over on A Happy Home In Holland. Here are a few of my latest posts:
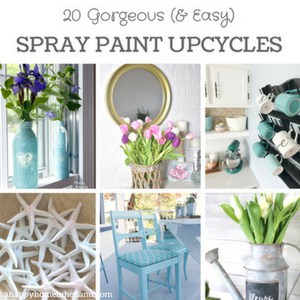
20 Easy DIY Spray Paint Furniture & Home Decor Upcycles
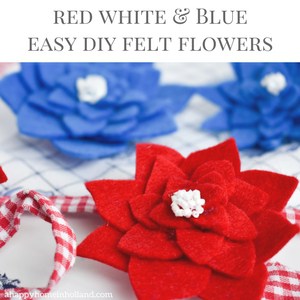
Red White & Blue DIY Felt Flowers
More Craft Ideas
While you’re here, be sure to also check out these craft ideas on Ideas for the Home by Kenarry®:
- Cupcake Liners Flower Craft
- Decorative DIY Heart Picks
- Mini DIY Paper Lampshade Idea: LED Lights Upcycle