Easy Sew Burlap Placemats
THIS POST MAY CONTAIN AFFILIATE LINKS. PLEASE SEE OUR FULL DISCLOSURE POLICY FOR DETAILS.
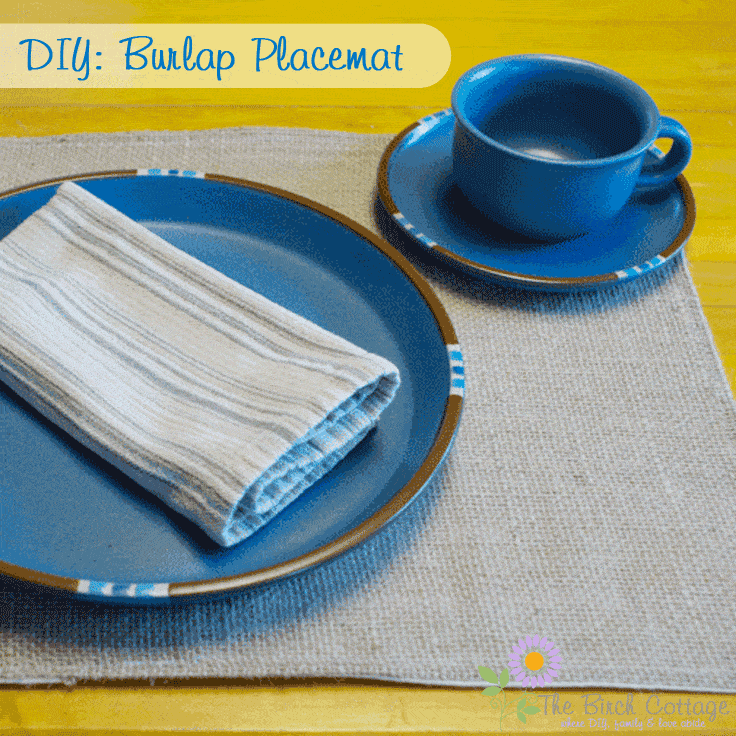
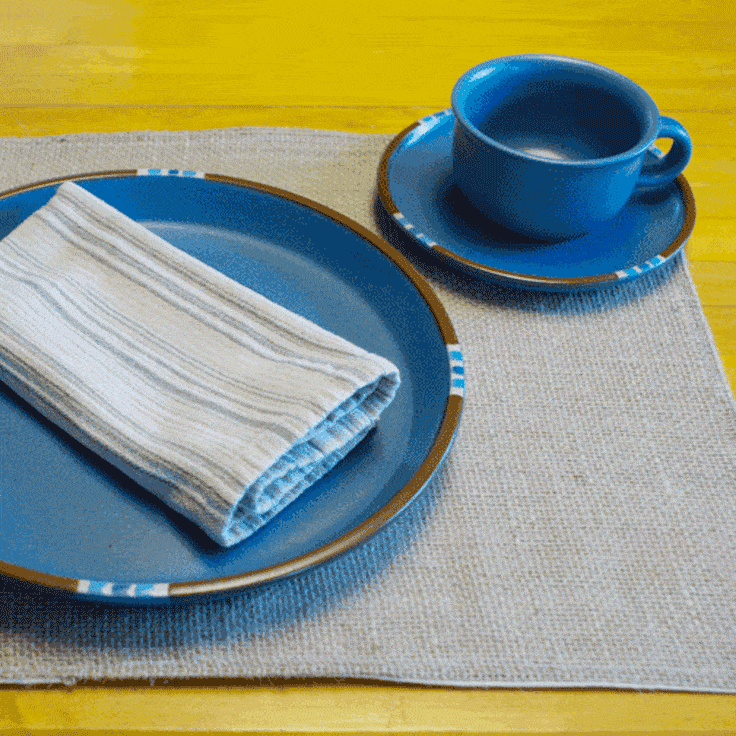
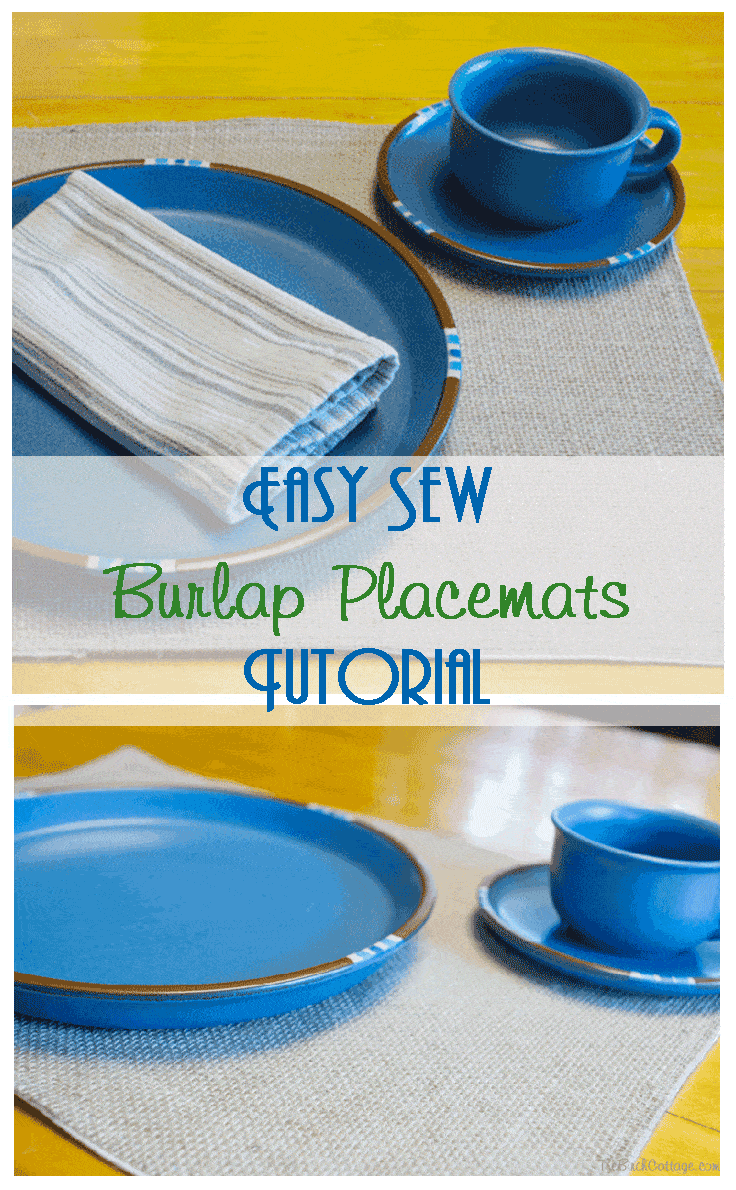
This easy to sew burlap placemats tutorial features burlap and linen for added durability. It’s a simple and quick project for burlap lovers!
Hello, Ideas for the Home by Kenarry® readers! I’m Pam from The Birch Cottage and I am just giddy to be here again today sharing one of my favorite burlap DIY projects with you. I don’t know about you, but I just love burlap and anytime I can incorporate burlap into my home decor, I’m a happy girl. Just imagine how happy I am now that I’m sharing this Easy Sew Burlap Placemats tutorial with you!
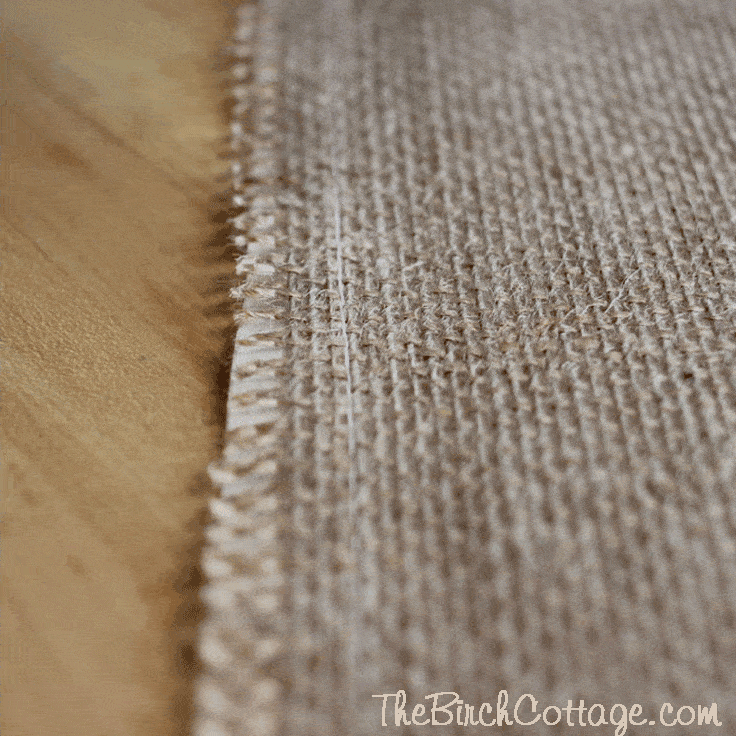
I did a little experimenting with the placemats until I came up with just the right look. I just love the way these burlap placemats turned out and they were super easy to sew! Although I like the look of the burlap placemats with the fringe edges, but I wasn’t sold on the durability. Burlap, as I’m sure you know, likes to come un-woven. Simply sewing stitches around the perimeter of the placement just didn’t seem sturdy enough for my family.
Get our e-book The Ultimate Guide to Making a Burlap Wreath plus a special limited time offer for 25% off Kenarry burlap ribbon when you subscribe to be an Idea Insider. It’s totally FREE!
Your privacy is important to us. We promise not to spam you or share your information. You can opt-out at any time. See our privacy policy for more information.
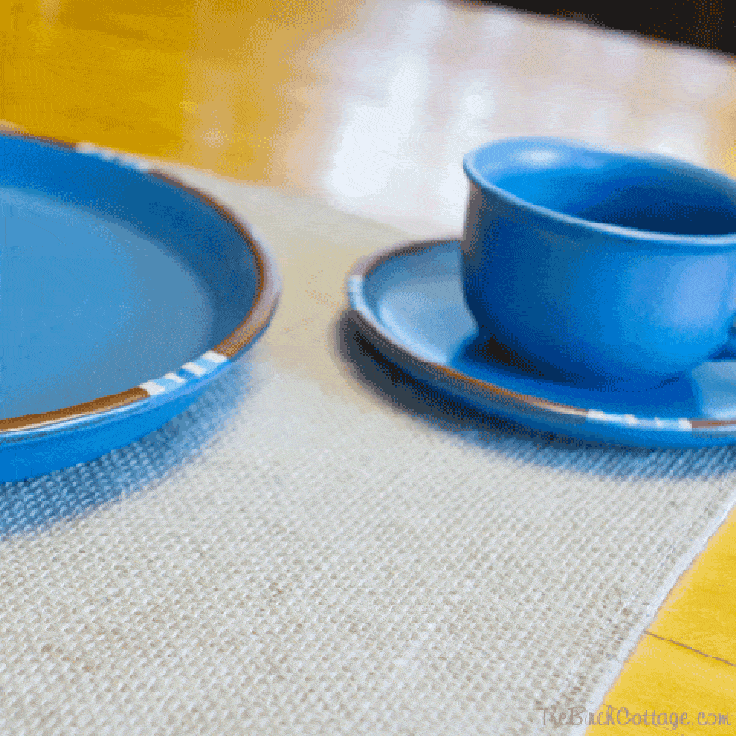
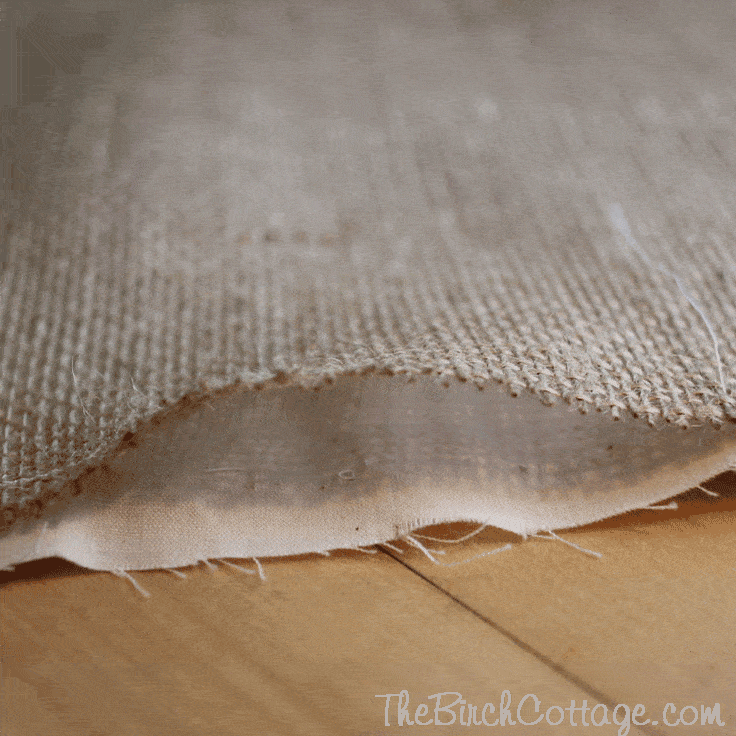
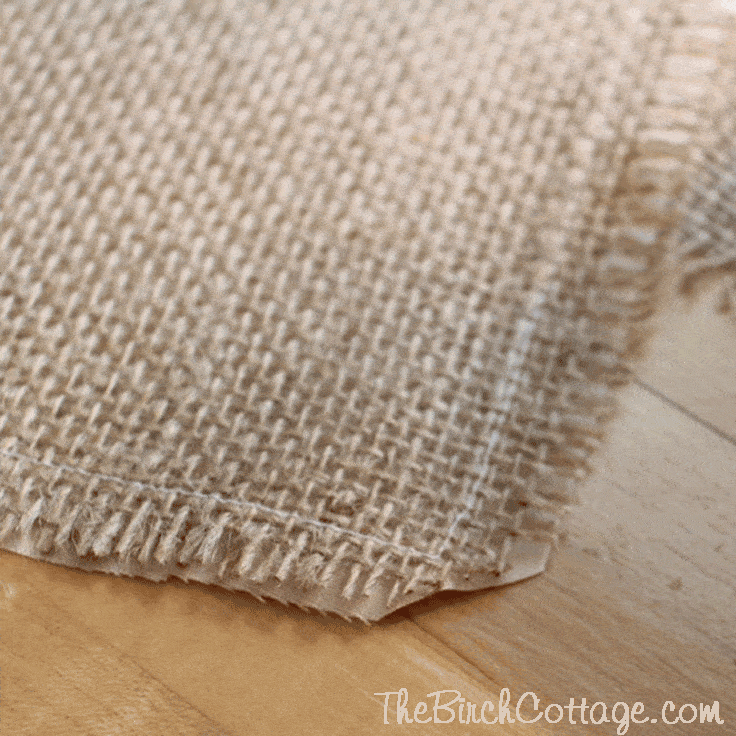
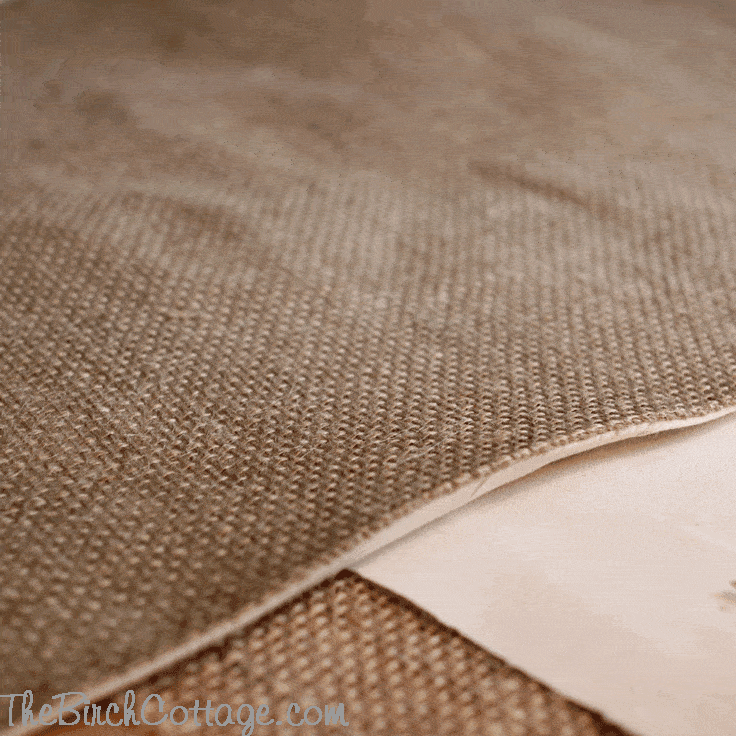
So, I came up with the idea of sewing the burlap onto natural cotton linen. The linen makes the placemats reversible and adds stability and durability to the burlap. I love the look of the natural linen cotton with its fibers and think it contrasts well with the burlap. For even more anti-fraying assurance, I added a top stitch around the entire edges of the placemat.
Easy Sew Burlap Placemats
Materials:
- Burlap
- Cotton Fabric
- Sewing Machine
- Scissors
- Thread
Instructions:
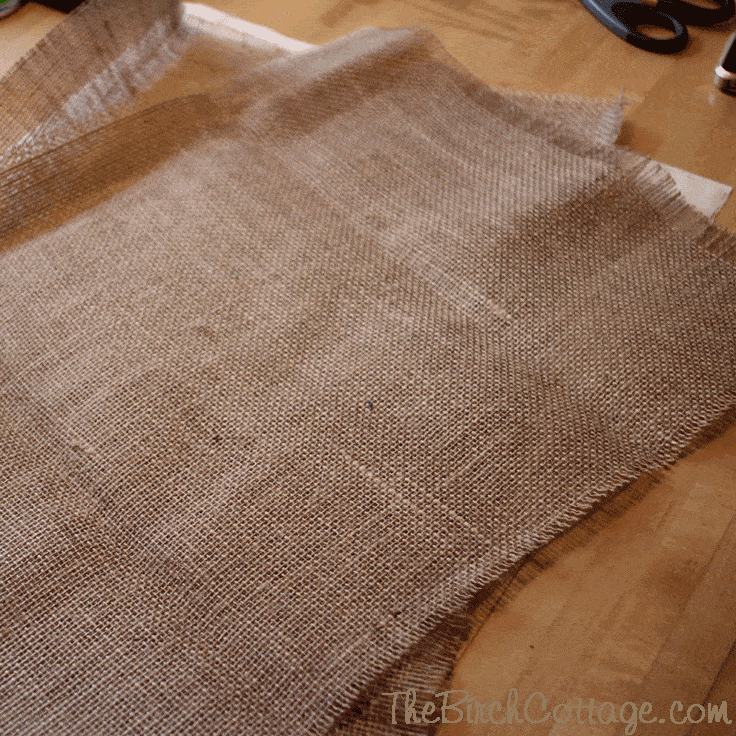
- Cut the burlap so that it measures 16″ x 22″ for each placemat you want to make.
- Cut the cotton fabric so that it measures 16″ x 22″ for each placemat you want to make.
- You should have one 16″ x 22″ piece of burlap and one 16″ x 22″ piece of cotton fabric for each placemat.
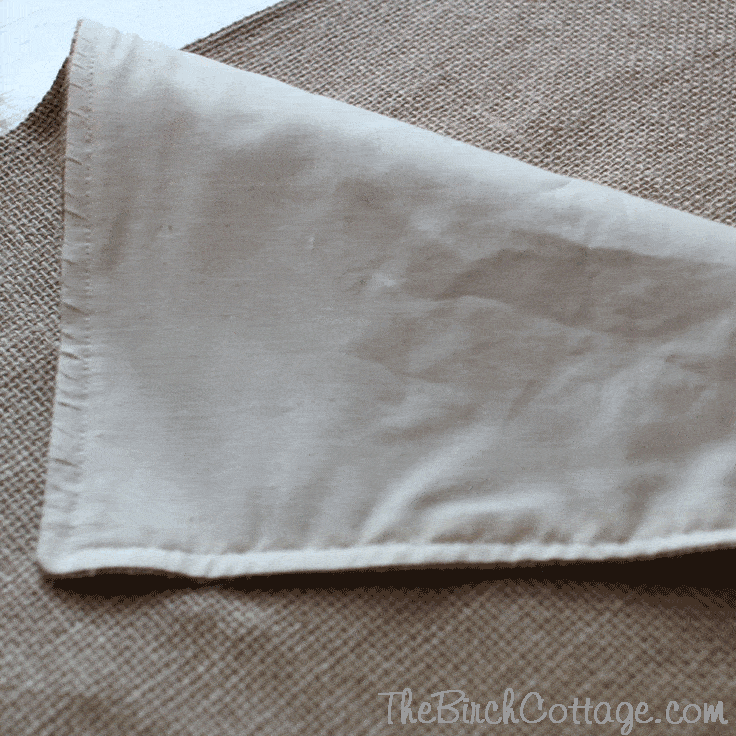
- Lay one piece of cotton fabric face up and lay one piece of burlap face down onto the cotton fabric. Sew around the placemat using an 1/2″ seam allowance. Be sure to leave about a 3″ opening for turning the placemat.
- Trim seams and clip corners.
- Turn the placemat inside out, being sure to push out the corners.
- Press the seams down flat (with your iron) around the entire placemat. Then top stitch about 1/4″ from the edge of the placemat around the entire placemat.
- Repeat for each placemat.
There you have it! An Easy Sew Burlap Placemat! Aren’t they just too cute?!
I hope you have enjoyed this tutorial half as much as I enjoyed making the placemats and sharing it with you. Here’s to a great DIY filled summer! Thanks for allowing me the pleasure of sharing my Easy Sew Burlap Placemat tutorial with you today on Ideas for the Home by Kenarry®
If you like this project, you might also like the following DIY projects from The Birch Cottage:
Grilled Pork Tenderloin Recipe
Love the ideas you see here on Ideas for the Home by Kenarry®? Subscribe today to get our weekly Ideas in Your Inbox newsletter plus other exclusive gifts and offers — all for FREE!
What’s Next?
While you’re here, be sure to check out other burlap projects on Ideas for the Home by Kenarry® –





Was wondering whether the placemats would look prettier if they were edged with bias binding? I’m imagining strips cut on the bias from off-cuts of floral cotton fabric. Don’t get me wrong I love your idea! Is it possible to laminate the placemats?
Gloria, you could certainly use bias tape, but it adds a layer of complexity. I was trying to keep the project “easy” and keep in mind that we are working with burlap. Burlap ravels, frays and can be a little difficult to work with.
I have never tried laminating burlap, but so long as you’re able to keep the fabric straight, I would think you probably could. I would probably not sew the backing on the placemat and just cut out a piece of burlap if you’re going to try laminating.
I love the placemats as I made them and use mine all the time. They have held up just great. Good luck with your project!
I am interested in trying this, but as a beginner sewer, I want to make sure I do this correctly. Instructions state to cut the burlap so that it measures 16″ x 22″ for each placemat you want to make and cut the cotton fabric so that it measures 16″ x 22″ for each placemat you want to make.
Then it states that I should have one 16″ x 22″ piece of burlap and one 15″ x 22″ piece of cotton fabric. Where did one 1″ go and why would it be shorter if you are going to turn it inside out?
I like how simple this is. Thank you
Mona, thanks for visiting Kenarry! The reference to the 15″ x 22″ piece of fabric would be a typo. So sorry about this. You should, indeed have one 16″ x 22″ piece of burlap and one 16″ x 22″ piece of cotton fabric. So sorry about the confusion!
Ugh… These are HUGE. I was so stupid to cat all my fabric to the size mentioned. They are WAY big. So I google placemat sizes and find that a typical large placemat is only 14×20. 🙁
Hi Bansidhe,
I’m sorry to hear you were disappointed with the final size of your burlap placemats. Placemats can vary in size and are typically a personal preference based on the size of your table and the “look” you’re going for with your table decor. Based on the dimensions for this tutorial, with a half inch seam all the way around, the final placemats should be 15×21″ so only an inch larger in each direction than the standard or typical dimensions you found in your google search.
If you haven’t sewn yours already, you could cut the material down smaller to be the width and length you’d like. If you have already sewn them, you could carefully cut along your seams and then follow the process again to sew around the edges. With the half inch seams on all ends the new dimensions should be smaller like you’d hoped.
Best wishes – and happy crafting!
Carrie from Ideas for the Home by Kenarry®
Hi!
Thanks for writing such a useful guide! They look so good and sounds deceptively manageable to make! I would love to make circular version but don’t know where to start on how you’d do the cotton border. Would you have any suggestions on where to find help for this?
Hi, Olivia! Round or circular burlap placemats sound like a really good idea. Why didn’t I think of that? You would actually make the circular placemats the same way as the rectangle. One thing that will be different is that before you turn the placemats right side out, you’ll want to clip your seam allowance all the way around the circle.
I did find a YouTube video by The Sewing Room Channel that explains how to sew a round placemat. Maybe this will help you? You’ll find it here: https://youtu.be/ThGBid8bmlQ.
I hope this helps!!
Pam Baker
The Birch Cottage