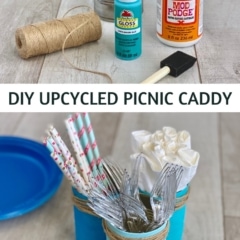
DIY Upcycled Can Picnic Caddy
THIS POST MAY CONTAIN AFFILIATE LINKS. PLEASE SEE OUR FULL DISCLOSURE POLICY FOR DETAILS.
Create upcycled picnic and party accessories with vegetable cans. This DIY Upcycled Can Picnic Caddy tutorial makes a great tabletop addition for utensils.
Hey Kenarry readers! Trish here and as promised in April I have another DIY upcycled can project that is perfect for summer. Think backyard BBQ, picnics and pool parties!

Want more ideas like this? Subscribe today to get our weekly Ideas in Your Inbox newsletter plus other exclusive gifts and offers — all for FREE!
A few months ago, I showed you how to upcycle a vegetable tin can into pencil holder decorated with your favorite photos. This time we’ll be painting the cans rather than covering them in pictures. That said, we will be using Mod Podge just like the last upcycled can creation.
How to Make A DIY UPCYCLED CAN PICNIC CADDY
Before you begin creating you will want to decide on the color(s) you will be using to make your picnic caddy.
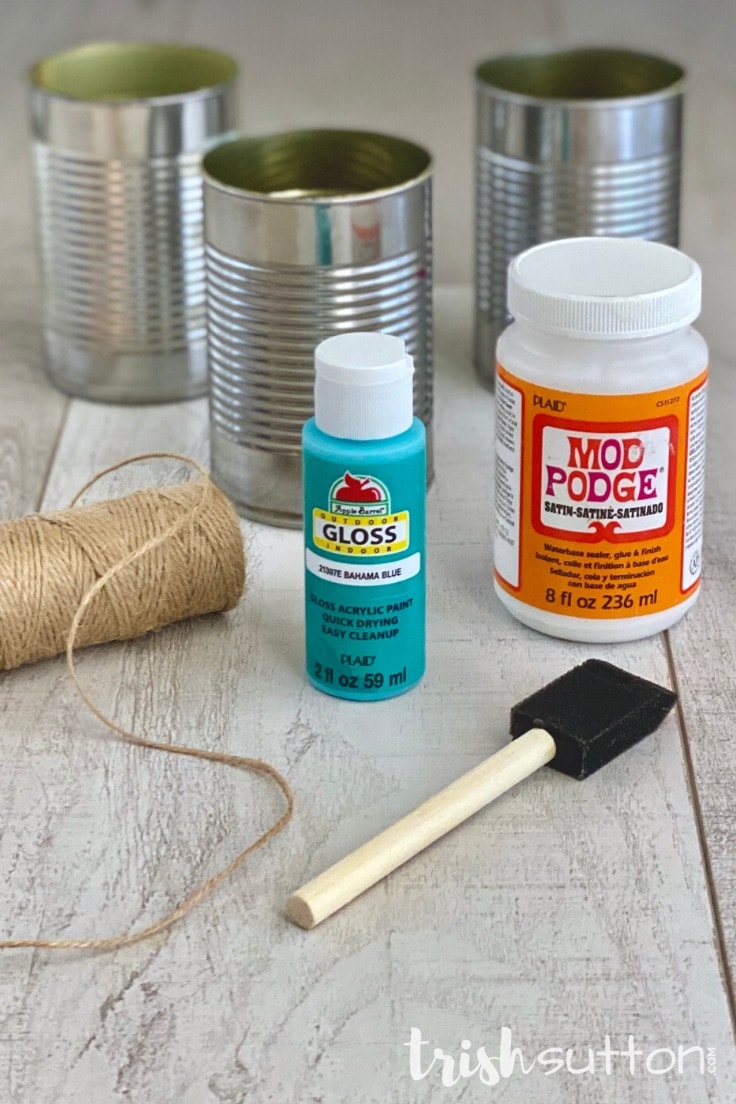
What you need:
SUPPLIES Needed:
- Acrylic Paints
- Mod Podge
- 3 Empty Vegetable Cans
- 3 Sponge Paint Brushes
- Jute
- Hot Glue Gun
- Hot Glue Stick
- Scissors
Instructions:
1. prepare cans & Mix paint.
Begin with clean vegetable cans. Remove as much of the label and glue as you can then make sure the outside of your cans are dry.
To create the tin can paint, mix equal parts of paint and Mod Podge glue together. Use a sponge brush to mix the two liquids together in a small container (or on a paper plate) until they are well combined.
2. paint the picnic caddy cans.
Next, use a sponge brush to paint your tin cans. Depending on the color of paint(s) selected it may require more than one coat of paint; see my tip below on speeding up the dry time for your DIY Can Picnic Caddy.
3. wrap the painted cans.
When the paint has dried on all three cans you will use jute to secure your picnic caddy cans together. Add a dot of hot glue on one can and carefully press the end of the jute string to it to ensure it stays in place. Then begin wrapping jute around the first can.
After you have circled the first can at least twice move in the motion of figure eight to wrap the next can and secure it to the first can by wrapping the jute tightly around it. Do the same thing for the third can then continue to wrap jute through and around all three cans to create your DIY upcycled can picnic caddy. It is not necessary to follow the same path. In fact, the cans tend to stay in place better if you mix it up a bit.
Finally, when your desired thickness of jute has been achieved add another dot of glue to one can and secure the jute to the glue. I like to hide my glue spots by aligning them on the “inside” of my picnic caddy.
TIPS FOR DIY UPCYLED CAN PICNIC CADDIES.
- To speed up the dry time use a blow dryer on the cool setting to dry the paint.
- Color coordinate your caddies with the theme of a special event.
- Use colorful string rather than jute.
- Paint designs or add lettering to your DIY Upcycled Can Picnic Caddy.
- Beware of the cans sharp edges. I use a can opener that leaves a lip free of sharp edges on my cans. Pull tab cans will leave a clean edge, as well.

What’s Next?
If you enjoyed this DIY Upcycled Can creation then you’ll enjoy these upcycled creations too!

Upcycled Patriotic Wind Sock DIY Outdoor Decor

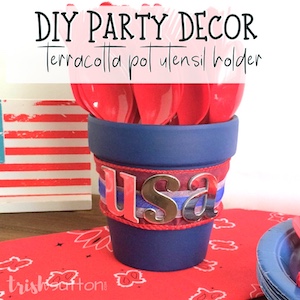
You may also enjoy these upcycled can ideas on Ideas for the Home by Kenarry® –